If you’ve ever dreamed of biting into a warm, soft loaf fresh from your own oven, you’re in the right place. This Easy Homemade White Bread Recipe is a joyous celebration of simple ingredients transformed by a few magic kitchen moments into golden, fluffy bread that makes everything taste better. It’s a recipe that brings the comforting aroma of fresh bread into your home and hands you the satisfaction of creating something truly delicious from scratch. Whether you’re a seasoned baker or just starting out, this bread will quickly become a beloved staple in your kitchen.
Ingredients You’ll Need
Getting your ingredients ready is the first step to success with this Easy Homemade White Bread Recipe. Each component is straightforward but essential: from the warm water that wakes up the yeast, to the vital wheat gluten that gives the loaf its perfect texture, every ingredient has a starring role in shaping the ultimate white bread.
- 2 ⅔ cups very warm water (105-110°F): Just like a cozy bath, this temperature activates the yeast without killing it.
- 2 tablespoons instant yeast: The secret to your bread’s rise and fluffiness; active dry yeast can work, too, with some adjustments.
- 1/3 cup granulated sugar: This sweet touch feeds the yeast and enhances the bread’s flavor and crust color.
- 3 tablespoons oil (olive or vegetable): Adds moisture and helps keep your bread tender and soft.
- 1/2 cup vital wheat gluten: Boosts elasticity for a perfect crumb; substitute with bread flour if you don’t have it on hand.
- 7 teaspoons Diamond Crystal kosher salt: Balances the flavors and strengthens the dough structure (adjust if using different salt types).
- 6 1/4 cups bread flour: Spoon and level for accuracy — this flour is the backbone of your bread, providing strength and structure.
How to Make Easy Homemade White Bread Recipe
Step 1: Warm Up the Water
Start by warming your water to a perfect temperature—comfortably warm, like a baby’s bath, between 105 and 110 degrees Fahrenheit. This cozy temperature helps activate your yeast without the risk of killing it, which is critical for that beautiful rise later on.
Step 2: Bloom Your Yeast
Add the instant yeast and sugar to the warm water, then give it a little stir. Watch closely for bubbles or foam—this lively dance shows your yeast is alive and ready. If nothing happens, the yeast might be compromised, so it’s best to start over.
Step 3: Add Oil and Vital Wheat Gluten
Pour in your oil and sprinkle the vital wheat gluten. These add softness and improve the dough’s stretchiness. If you opt to skip the gluten, simply replace it with an equal amount of bread flour.
Step 4: Season with Salt
Salt isn’t just there for taste; it controls yeast growth and strengthens the dough. Use the exact amount for your salt type. For those using Diamond Crystal kosher salt, 7 teaspoons is the way to go—this detail makes all the difference.
Step 5: Measure and Add Bread Flour
Spoon and level your bread flour into your measuring cup for accuracy. Add 6 cups to the bowl, setting a solid foundation for your dough.
Step 6: Start Mixing
Attach your dough hook if you have a stand mixer and mix on medium-low speed, combining until the flour is mostly incorporated. Scrape down the bowl and add the remaining 1/4 cup flour slowly as needed, keeping your dough’s texture just right.
Step 7: Adjust the Dough Texture
Your dough should feel smooth and elastic but slightly sticky—think just tacky enough to shine when you press it lightly. Avoid adding too much flour to prevent a heavy loaf. This slightly sticky feel is the promise of soft, airy bread.
Step 8: Knead to Perfection
Knead the dough for at least 5 to 6 minutes to develop gluten properly. This step is what gives your bread strength and that delightful chewy crumb we all crave.
Step 9: Prep Your Loaf Pans
Grease two 9×5 inch loaf pans generously with nonstick spray or oil. This ensures your bread will release smoothly after baking.
Step 10: Portion and Shape
Divide the dough into two equal parts, patting each into a rectangle matching your pan size. Roll the dough gently, pinch seams, and tuck the ends underneath to form a neat loaf that fits snugly.
Step 11: Rise in a Warm Spot
Spray the dough with nonstick spray, cover with plastic wrap that’s also sprayed, and place the pans in a warm, cozy spot—like inside a gently warmed oven. Let the dough rise until it puffs up about an inch above the pan edges.
Step 12: Bake Your Loaves
Remove plastic wrap and pop your loaves into a 350 degree Fahrenheit oven for 25 to 30 minutes. The crust should turn a lovely brown, and the bread will pull away slightly from the pan edges. A thermometer check reading about 200°F in the center guarantees perfect doneness.
Step 13: Cool and Enjoy
Invert the loaves onto racks to cool on their sides, allowing the bread to maintain its tall, fluffy shape. After at least 30 minutes of cooling, slice gently with a serrated knife and savor that fresh-baked aroma and flavor.
How to Serve Easy Homemade White Bread Recipe
Garnishes
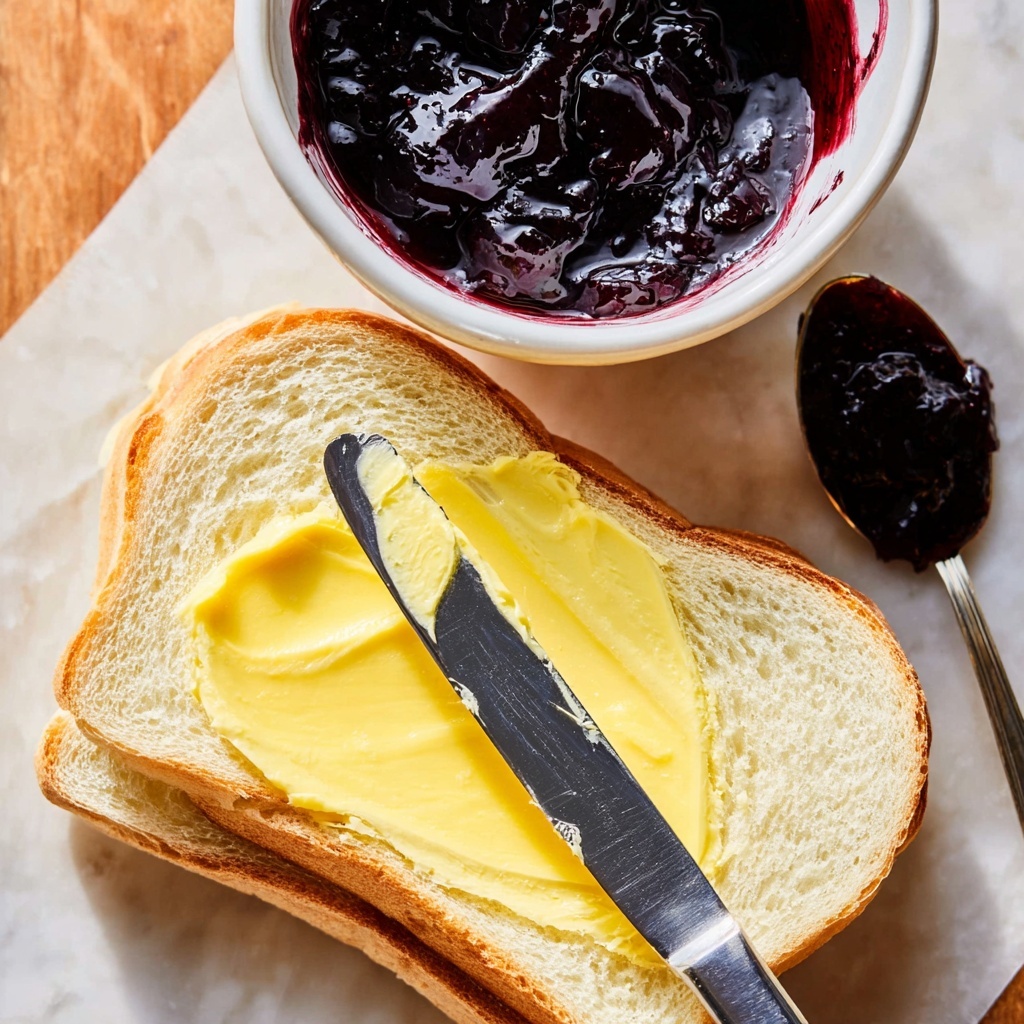
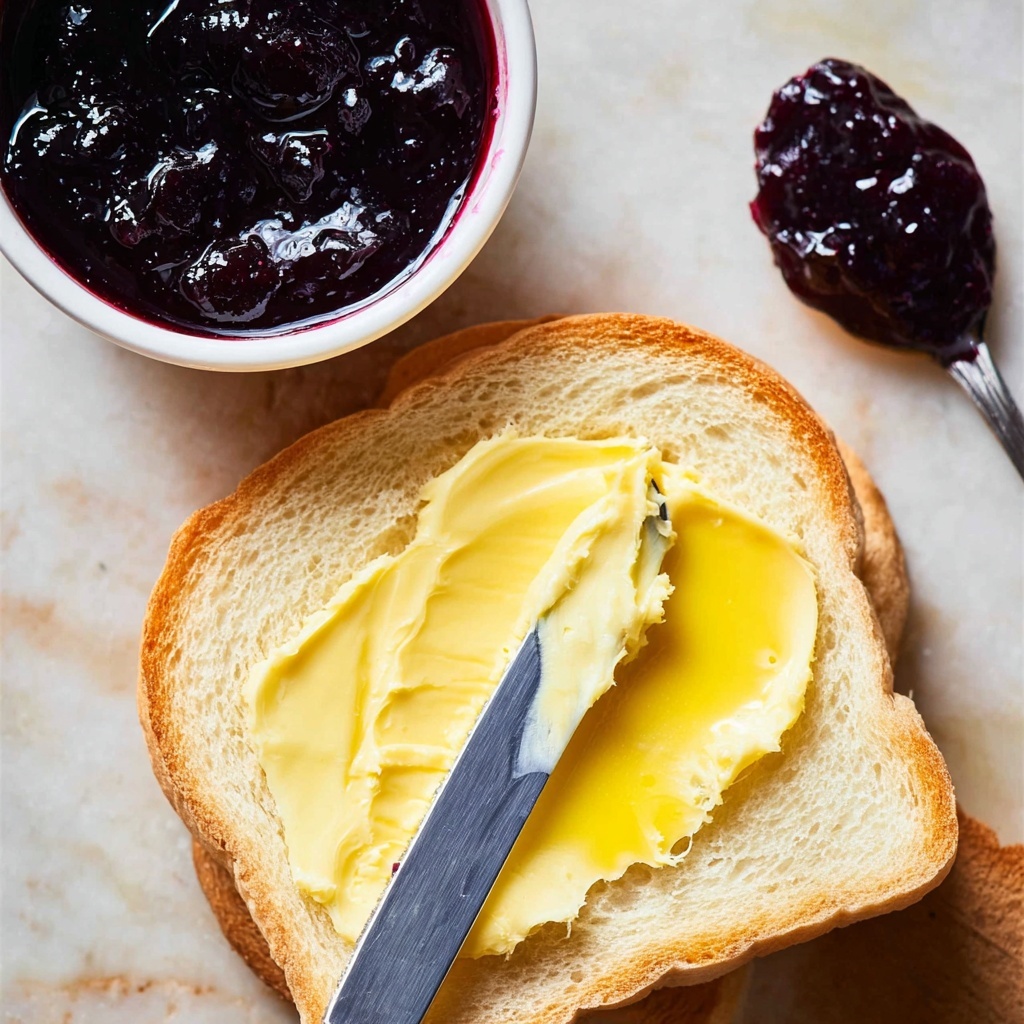
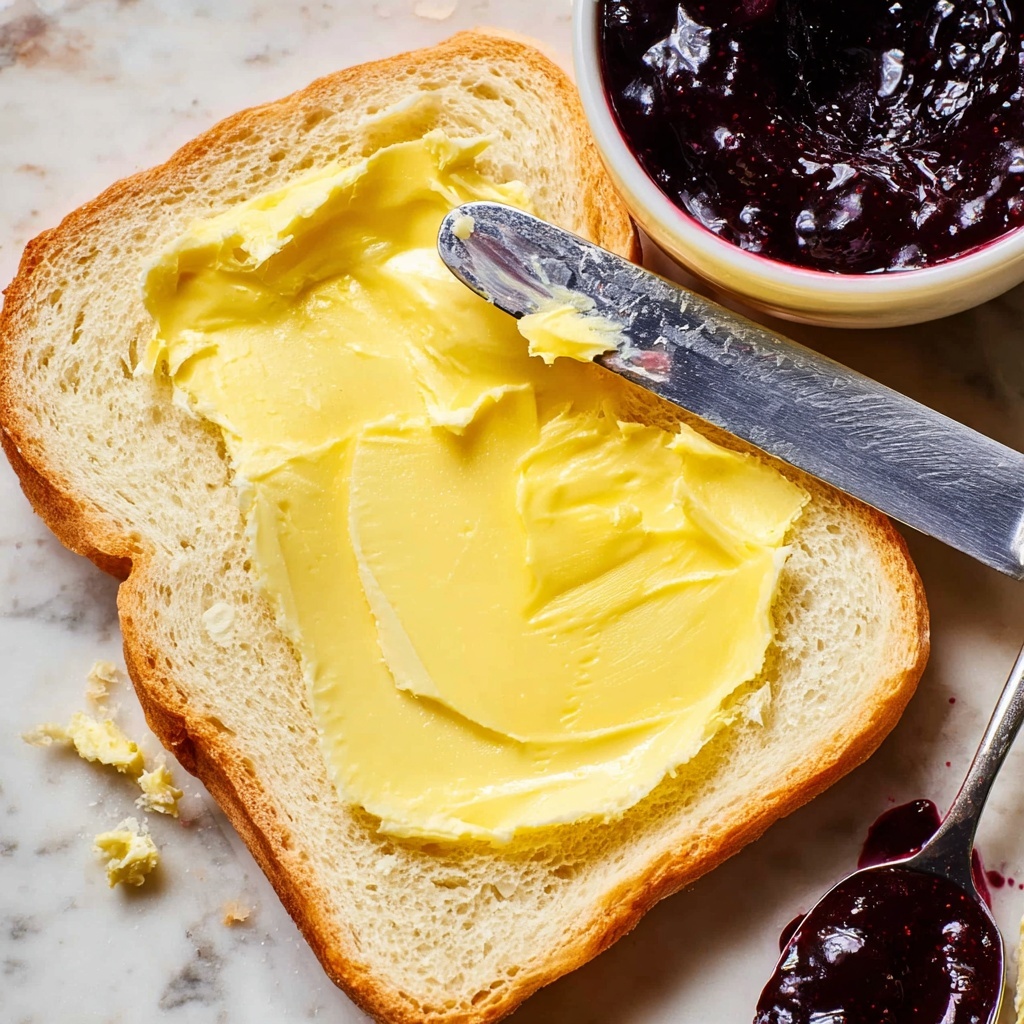
Once your home-baked bread is cooled, nothing beats a pat of butter melting into a warm slice, or a drizzle of honey for a sweet touch. For a more decadent option, try spreading homemade jam or cream cheese on top for an indulgent treat.
Side Dishes
This Easy Homemade White Bread Recipe pairs beautifully with savory dishes like soups—imagine dipping into a creamy tomato bisque—or alongside fresh salads for a balanced meal. It’s also perfect for hearty sandwiches with your favorite fillings.
Creative Ways to Present
Cut thick slices and lightly toast them for a crispy contrast to soft bread. Or turn slices into mini bruschettas topped with fresh tomatoes, basil, and mozzarella for a charming appetizer. Serving with herb-infused olive oil for dipping can turn your simple bread into an elegant starter that everyone will love.
Make Ahead and Storage
Storing Leftovers
Wrap your cooled loaves tightly in plastic or place in gallon-sized ziplock bags to keep them fresh. Storing unsliced bread until you’re ready to eat helps prevent drying out, but this bread will stay fresh at room temperature for up to two days.
Freezing
If you don’t plan to enjoy your bread immediately, freezing is your best friend. After cooling, freeze whole loaves or individual slices. Slice before freezing for easy, convenient portions when you want them later. Frozen bread maintains a fresh-baked texture and flavor for several months.
Reheating
Toast your frozen slices directly from the freezer on a low setting. You may need to toast twice for a perfectly warm and crispy bite. For whole loaves, briefly heat in a warm oven to refresh the crust and crumb.
FAQs
Can I use active dry yeast instead of instant yeast?
Absolutely! If using active dry yeast, you might want to dissolve it in the warm water for about 5 to 10 minutes before mixing with other ingredients to ensure it activates properly.
What if I don’t have vital wheat gluten?
No worries. You can substitute an equal amount of bread flour for vital wheat gluten. Your bread texture will still be great, though a little less elastic and chewy.
Why is my dough sticky, and should it be?
Yes, a slightly sticky dough is perfect. It indicates enough hydration, which leads to a soft, airy crumb. Avoid adding too much flour even if it feels sticky; over-flouring can make bread dense.
Can I make this bread without a stand mixer?
Definitely. You can mix and knead the dough by hand. It might take a little more time and elbow grease, but the results are just as wonderful.
How long can I store homemade bread before it goes bad?
Homemade bread, without preservatives, typically stays fresh at room temperature for about two days. For longer storage, freezing is the best option to preserve freshness and flavor.
Final Thoughts
This Easy Homemade White Bread Recipe is more than just bread—it’s a way to fill your home with warmth, love, and irresistible aromas. Whether it’s for a special occasion or an everyday treat, trust me when I say this loaf will quickly become a cherished favorite. So roll up your sleeves, gather your ingredients, and enjoy the simple pleasure of baking your own fresh white bread. Your taste buds (and everyone around you) will thank you!