If you’ve ever marveled at the sparkling, crystalline sweetness of classic rock candy and wondered how to recreate that magic at home, you’re in for a treat! Today, I’m going to share with you exactly how to make rock candy recipe that not only dazzles with its beautiful, gem-like appearance but also delights your taste buds with a perfect balance of sweet and fruity flavor. With a handful of simple ingredients and a little patience, you’ll have your very own homemade rock candy that’s perfect for snacking, gifting, or brightening up any celebration.
Ingredients You’ll Need
The beauty of this recipe lies in its simplicity. Each ingredient works together like a dream team, ensuring your rock candy forms perfectly and tastes absolutely divine. Let’s break down what you’ll need to turn sugar into those magnificent crystals.
- ½ cup water: Acts as the base to dissolve sugar and set the stage for crystal formation.
- ¾ cup light corn syrup: Helps prevent unwanted crystallization and adds smoothness to the candy texture.
- 2 cups granulated sugar: This is the key player that transforms into the sparkling crystals we all love.
- 2 teaspoons flavoring extract: Raspberry, vanilla, or any favorite flavor—this adds a burst of personality to your candy.
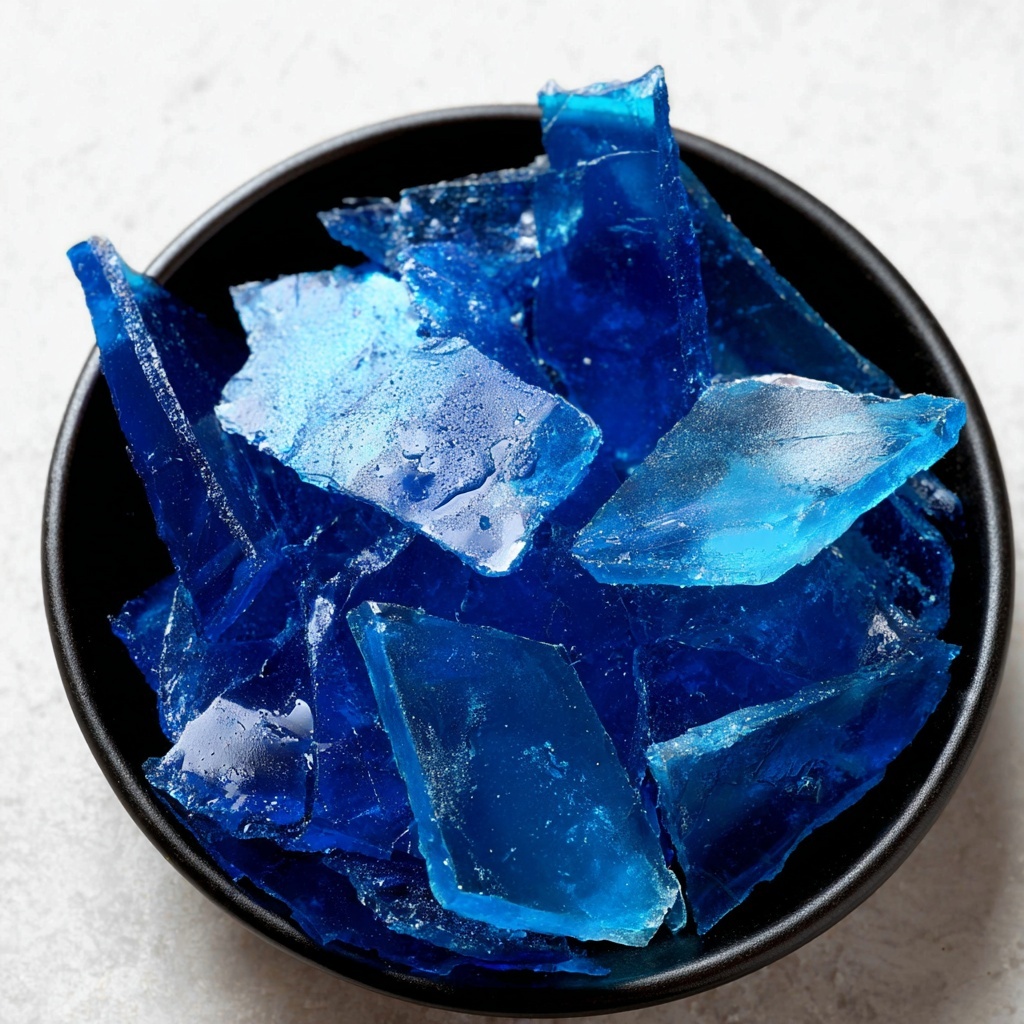
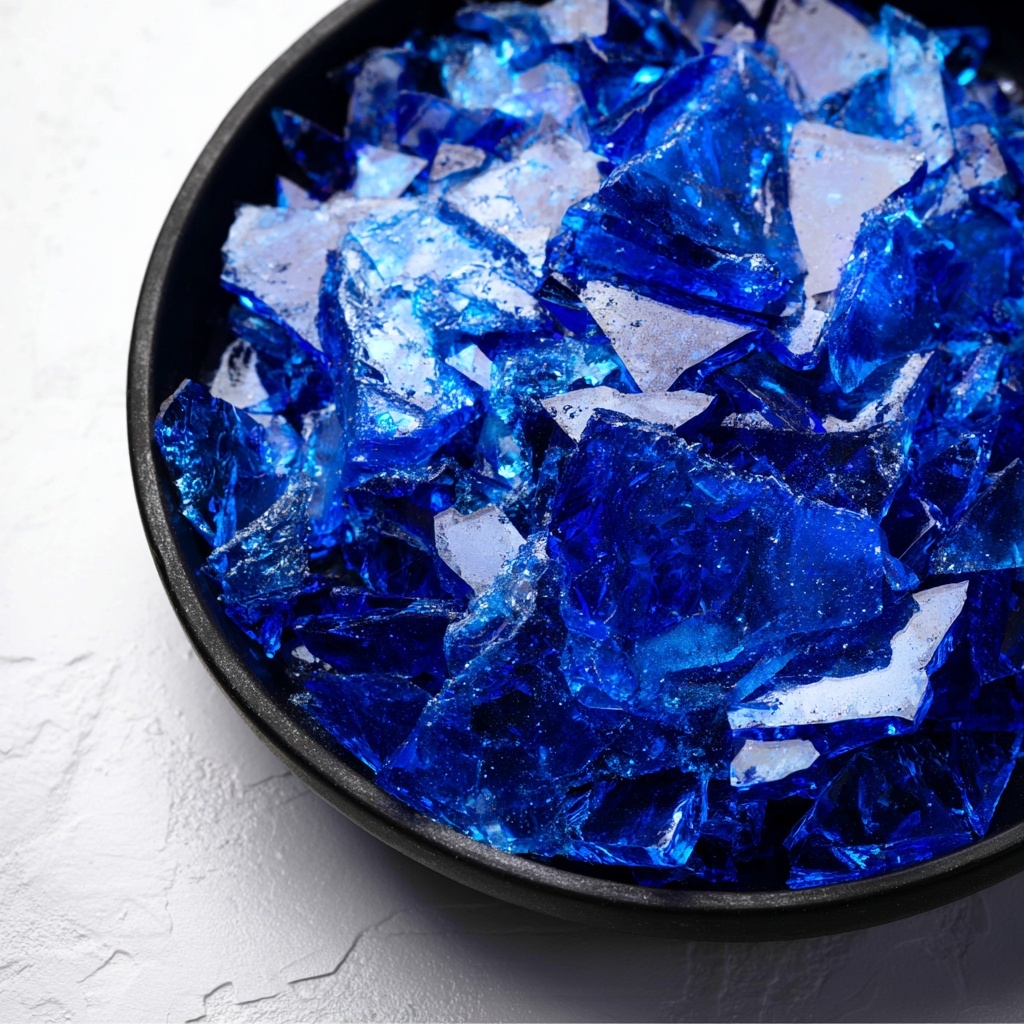
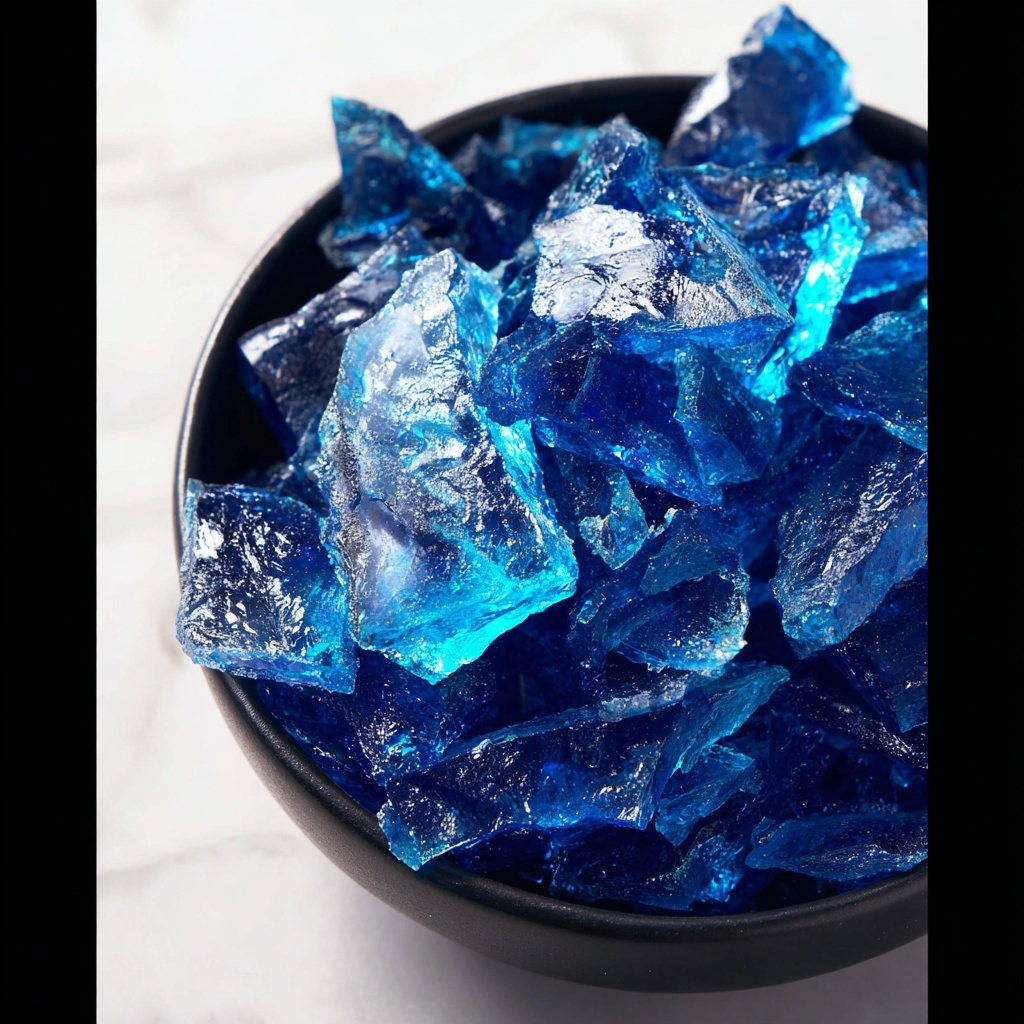
- Food coloring (optional): A fun way to customize your rock candy with vivid hues that catch the eye (blue works beautifully).
How to Make How to Make Rock Candy Recipe
Step 1: Combine Your Ingredients
Begin by gathering your water, light corn syrup, granulated sugar, flavor extract, and optional food coloring. Place them all in a medium saucepan over medium heat. Stir gently at this stage to begin dissolving the sugar and blending the flavors together.
Step 2: Bring to a Boil Without Stirring
As the mixture heats up, you’ll see it start to bubble. This is crucial—the sugar dissolves completely and the solution becomes supersaturated, which is what forms the candy crystals. Once boiling, resist the urge to stir, as this can cause uneven crystallization or cloudy sugar.
Step 3: Prepare Your Baking Sheet
While the liquid is coming to a boil, line a baking sheet with aluminum foil and lightly spray it with a nonstick spray. This step ensures your candy doesn’t stick when it sets later, making clean-up a breeze.
Step 4: Monitor the Temperature Closely
Place a candy thermometer in the boiling mixture and carefully watch as it climbs. When the temperature hits 300°F, it’s time to remove the pan from heat. This exact temperature is key to creating the right hard crack stage perfect for rock candy.
Step 5: Let Bubbles Subside Before Pouring
Patience now makes all the difference. Allow the bubbling at the surface to slow and stop—it signals your mixture is stabilizing and ready to set beautifully without air pockets.
Step 6: Pour onto the Prepared Sheet
Gently pour the hot liquid over the prepared foil-lined baking sheet. Take care to spread it evenly—it will harden quickly so a smooth layer helps you break your candy down into ideal pieces later.
Step 7: Cool and Break Into Chunks
Let your rock candy cool completely until it hardens into a glossy sheet. Once solid, break it into chunks or shards, whatever size makes you happiest. This is the moment where your homemade rock candy truly comes to life!
How to Serve How to Make Rock Candy Recipe
Garnishes
Rock candy stands beautifully on its own, but you can elevate the experience by serving pieces atop iced drinks or crumbled over creamy desserts to add a crunchy sweetness and vibrant color pop.
Side Dishes
Pair your rock candy with a cup of refreshing iced tea or hot herbal tea for a nostalgic, comforting treat. The candy’s fruity notes shine against subtle-flavored beverages.
Creative Ways to Present
Use your rock candy as edible stirrers, string it for festive garlands, or package chunks in clear bags tied with ribbons for charming homemade gifts. It’s such a fun conversation starter and a feast for the eyes.
Make Ahead and Storage
Storing Leftovers
Keep any leftover rock candy in an airtight container at room temperature to maintain its crisp texture and flavor. Avoid humid areas, as moisture can cause the candy to become sticky or dissolve.
Freezing
Rock candy doesn’t freeze well because the texture can be compromised by moisture condensation. It’s best enjoyed fresh or stored in a dry place as mentioned.
Reheating
Since rock candy is a hard, stable confection, reheating is not recommended. It’s best served as-is to preserve its delightful crunch and crystal appearance.
FAQs
Can I use different flavors and colors when making rock candy?
Absolutely! One of the joys of learning how to make rock candy recipe is personalizing it. You can use any extract flavor like vanilla, lemon, or peppermint, and add food coloring to match your mood or occasion.
What happens if I stir the mixture after it starts boiling?
Stirring after boiling begins can cause sugar crystals to form prematurely on the sides of the pan, resulting in grainy, uneven rock candy. It’s important to only stir before boiling to ensure smooth crystallization.
How long does it typically take for rock candy to harden?
Usually, the poured mixture will fully harden within a few hours at room temperature. For faster results, you can put it in a cooler area but avoid the refrigerator to prevent moisture absorption.
Can I use other sweeteners instead of granulated sugar?
Granulated sugar is essential for proper crystal formation. Alternatives like honey or brown sugar have different chemical properties and will not crystallize the same way, so stick with regular sugar for rock candy success.
Is rock candy safe for children to make?
While the steps are simple, it involves boiling hot sugar syrup, which can cause burns. Adult supervision is essential if children are involved in the process to keep it safe and fun.
Final Thoughts
There is something truly enchanting about watching simple ingredients transform into shimmering crystals you can enjoy by the handful. I hope this guide on how to make rock candy recipe inspires you to give it a try, whether for a festive gift or a fun kitchen experiment. With just a bit of care and patience, you’ll have gorgeous, tasty rock candy that’s sure to impress and delight everyone lucky enough to try it!