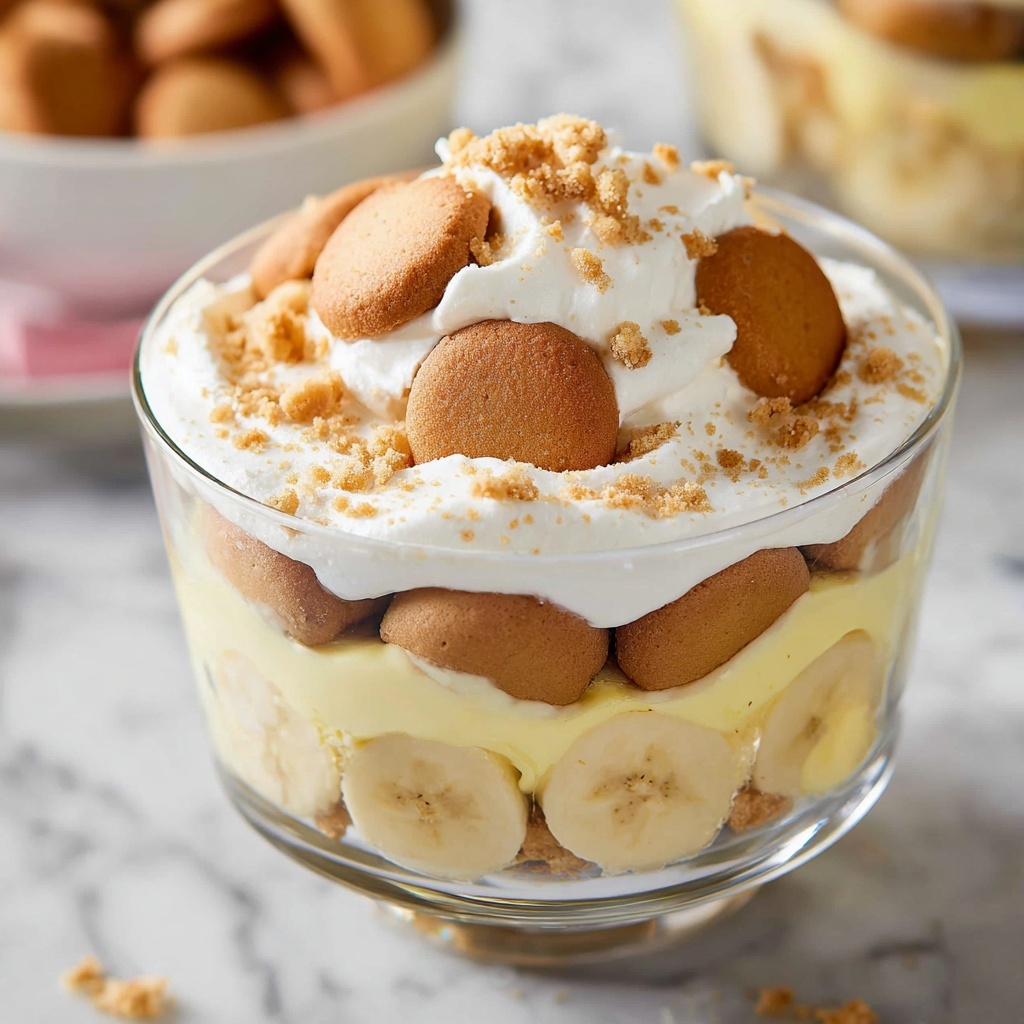
If there is one dessert that feels like a warm embrace from the South, it has to be this Creamy Banana Pudding with Vanilla Wafers Recipe. It brings together the velvety smoothness of homemade pudding, the natural sweetness of ripe bananas, and the nostalgic crunch of classic vanilla wafers. Every bite is a perfect harmony of flavors and textures that feels both comforting and celebratory. Whether for a family gathering or a simple weeknight treat, this banana pudding is the kind of dessert you’ll want to make again and again.
Ingredients You’ll Need
This recipe is brilliantly simple, relying on common pantry staples and fresh bananas to create incredible flavor and texture. Each ingredient plays a crucial role—whether adding creaminess, sweetness, or that iconic vanilla aroma that makes the dessert truly sing.
- Granulated sugar (½ cup): Balances the tartness of bananas and helps sweeten the pudding evenly.
- Cornstarch (⅓ cup): The secret behind that luscious, thick pudding texture that holds its shape.
- Whole milk (2½ cups): Provides a rich, creamy base that makes the pudding silky smooth.
- Kosher salt (½ teaspoon): Enhances all the flavors subtly without overpowering.
- Egg yolks (3): Give the pudding body and a beautiful golden color when cooked gently.
- Pure vanilla extract (2 teaspoons): Adds that classic, warm vanilla aroma and depth of flavor.
- Salted butter (3 tablespoons, cold): Adds richness and a glossy finish when whisked in.
- Yellow food coloring (4 drops, optional): Makes the pudding look irresistibly bright and inviting.
- Vanilla wafers (11 ounces): Offer the perfect crisp texture that softens deliciously after layering.
- Bananas (2 large, thinly sliced): Bring fresh natural sweetness and enhance the creamy layers beautifully.
- Whipped topping (8 ounces): A light, airy finish that adds a touch of indulgence on top.
How to Make Creamy Banana Pudding with Vanilla Wafers Recipe
Step 1: Preparing the Pudding Base
Start by combining sugar, cornstarch, whole milk, and kosher salt in a double boiler, or a heatproof bowl set over simmering water. This gentle heat method ensures your pudding won’t scorch or curdle. Stir frequently and patiently as the mixture slowly thickens, which usually takes about 10 to 15 minutes. This step builds the creamy foundation of your dessert.
Step 2: Tempering the Eggs
While the pudding base thickens, separate your egg yolks into a separate bowl. To avoid scrambled eggs, slowly add about half a cup of the hot pudding mixture to the yolks while whisking constantly. This process, called tempering, warms the eggs gradually.
Step 3: Combining Eggs and Pudding
Slowly pour the tempered eggs back into the pudding base and keep whisking over gentle heat until the mixture thickens again. It may look slightly thinner than final pudding here but don’t worry—it will continue to firm up as it cools in the refrigerator. This step brings the pudding to the perfect silky consistency we all hope for.
Step 4: Flavor Enhancements
Remove the pudding from the heat and whisk in the vanilla extract, cold salted butter, and the optional yellow food coloring for that classic banana pudding glow. The butter enriches the texture and adds a beautiful sheen, while vanilla makes everything taste cozy and familiar.
Step 5: Layering the Dessert
Now the fun begins! Start by arranging a layer of vanilla wafers on the bottom of an 8×8-inch baking dish. Next, add thin slices of banana over the wafers, then pour half of your pudding over everything and smooth it out evenly. Repeat the layering with more wafers, bananas, and the remaining pudding. This layering creates the iconic texture contrast fans love.
Step 6: Chilling and Final Touches
Allow the pudding to cool for about 15 minutes before covering the dish with plastic wrap and refrigerating for at least 4 to 6 hours. The chilling helps the pudding set perfectly, melding the flavors and softening the wafers just right. When ready to serve, top it off with a generous layer of whipped topping and sprinkle crushed wafers and extra banana slices on top for extra flair.
How to Serve Creamy Banana Pudding with Vanilla Wafers Recipe
Garnishes
A simple garnish can turn your Creamy Banana Pudding with Vanilla Wafers Recipe into a showstopper. Fresh banana slices on top bring brightness and freshness, while crushed vanilla wafers add delightful crunch. For an extra special touch, a light dusting of cinnamon or a few mint leaves can elevate the presentation and aroma beautifully.
Side Dishes
This pudding shines as a standalone dessert, but if you’re looking to complement it, consider pairing it with a hot cup of coffee or a scoop of rich vanilla ice cream. Light fruit salads or tangy citrus sorbets can also play off the pudding’s sweetness wonderfully, refreshing the palate.
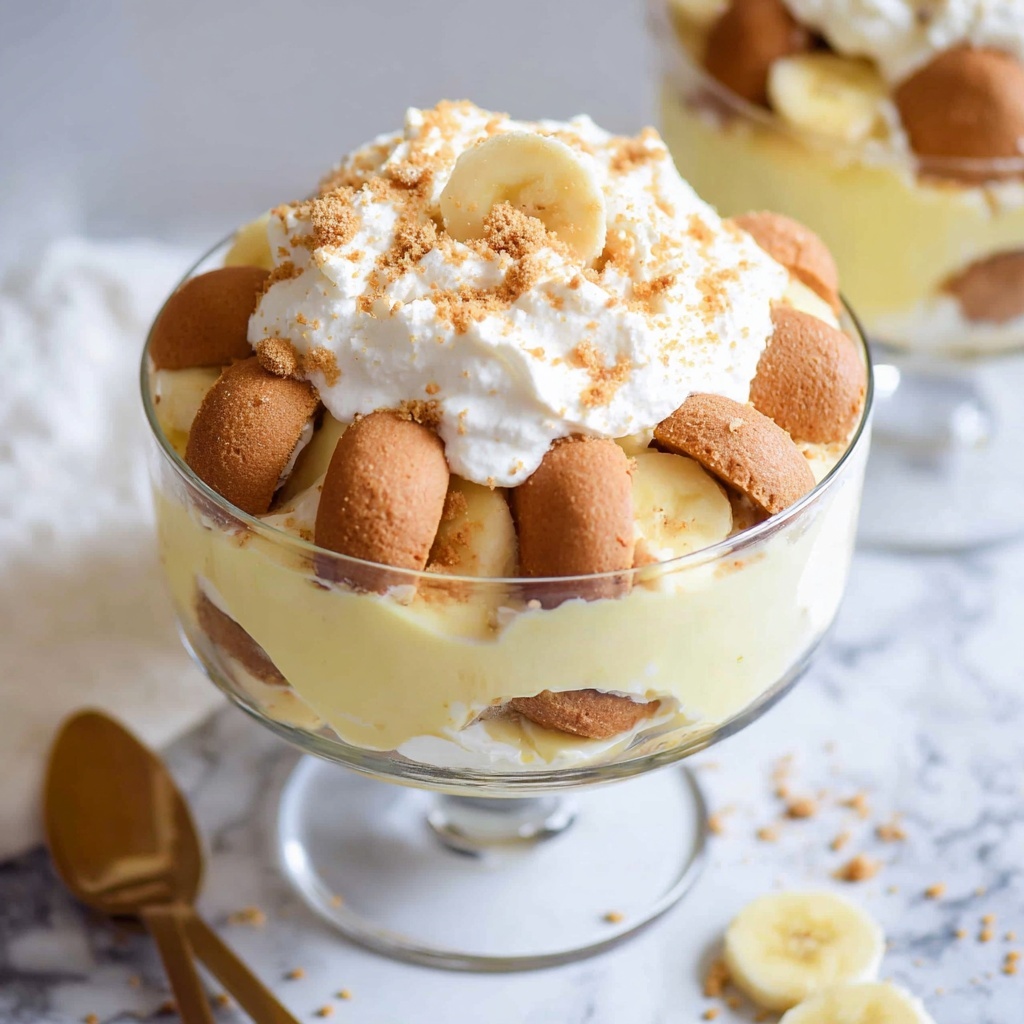
Creative Ways to Present
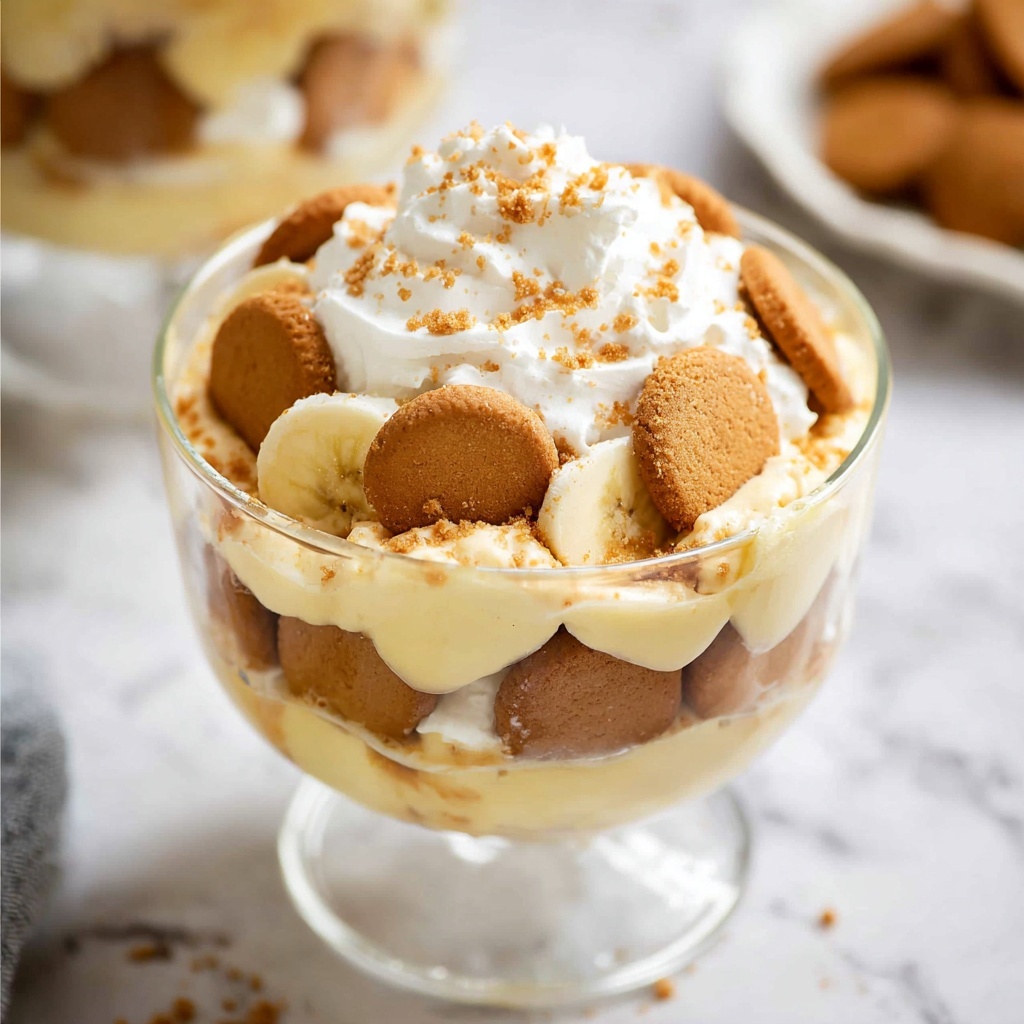
Instead of one large dish, try assembling individual servings in pretty glass jars or clear parfait cups. This creative presentation makes the dessert feel more personalized and festive—great for parties or gifting. You can even add layers of toasted coconut or chopped nuts for extra texture and flavor variations while keeping the heart of this Creamy Banana Pudding with Vanilla Wafers Recipe intact.
Make Ahead and Storage
Storing Leftovers
Once assembled, store your banana pudding covered tightly with plastic wrap in the refrigerator. It stays fresh for up to 3 days, retaining its creamy texture and fresh banana flavor. Be mindful that bananas may continue to soften, so enjoy within that timeframe for the best experience.
Freezing
Freezing banana pudding is not recommended because the bananas tend to become mushy and the texture of the pudding can suffer after thawing. It’s best to enjoy this dessert fresh or refrigerated.
Reheating
This dessert is meant to be served chilled, so reheating is not necessary or recommended. If your pudding feels too firm after refrigeration, simply let it sit at room temperature for 10 to 15 minutes before serving to soften slightly.
FAQs
Can I use instant vanilla pudding mix instead of making pudding from scratch?
While instant pudding mixes are convenient, they don’t provide the same rich, homemade texture and fresh flavor as this Creamy Banana Pudding with Vanilla Wafers Recipe. Making your pudding from scratch really elevates the dessert’s taste and creaminess.
How ripe should the bananas be for this recipe?
Choose bananas that are ripe but still firm, with yellow skins and a few brown spots. Overripe bananas can become too mushy when sliced, which may impact the pudding’s texture.
Can I substitute whipped topping with fresh whipped cream?
Absolutely! Fresh whipped cream is an excellent alternative and adds a delicate, airy finish. Just be sure to whip it to soft peaks and use it immediately or keep chilled until serving.
Is there a way to make this pudding vegan?
This classic recipe relies on dairy and eggs, but you could experiment by substituting plant-based milk and a vegan egg replacer. Keep in mind that achieving the exact creamy texture and flavor may require some trial and error.
Why do some people add yellow food coloring?
The food coloring is purely optional and used to give the pudding a bright, sunny color that mimics the natural look of ripe bananas. It does not affect the flavor but can make the dessert more visually appealing.
Final Thoughts
Now that you know exactly how to create this delightful Creamy Banana Pudding with Vanilla Wafers Recipe, it’s time to bring it to your kitchen and share it with loved ones. This dessert is a timeless favorite for a reason—it’s easy to make, bursting with wonderful flavors, and offers a perfect balance of creamy and crunchy textures. Once you try it, I promise it will become your go-to dessert for any occasion. You really can’t go wrong with a dish this comforting and delicious.