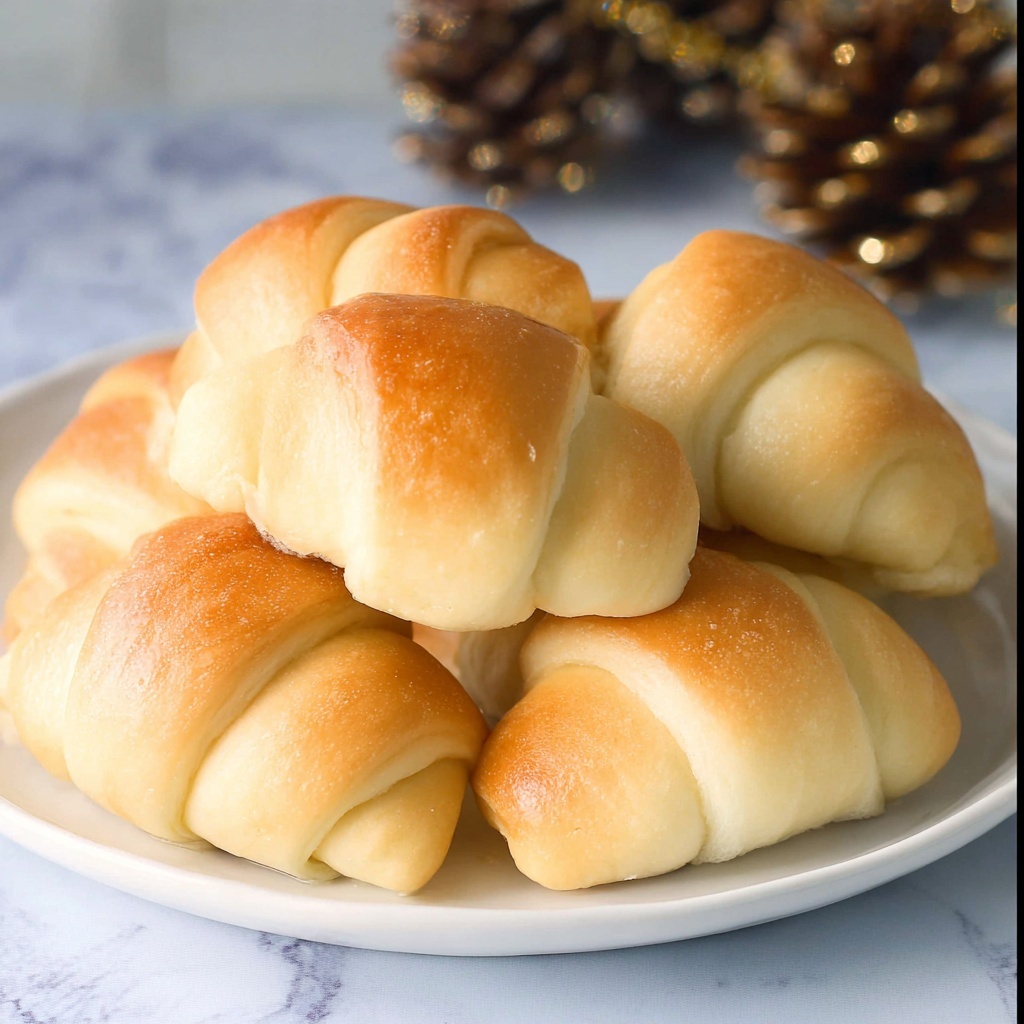
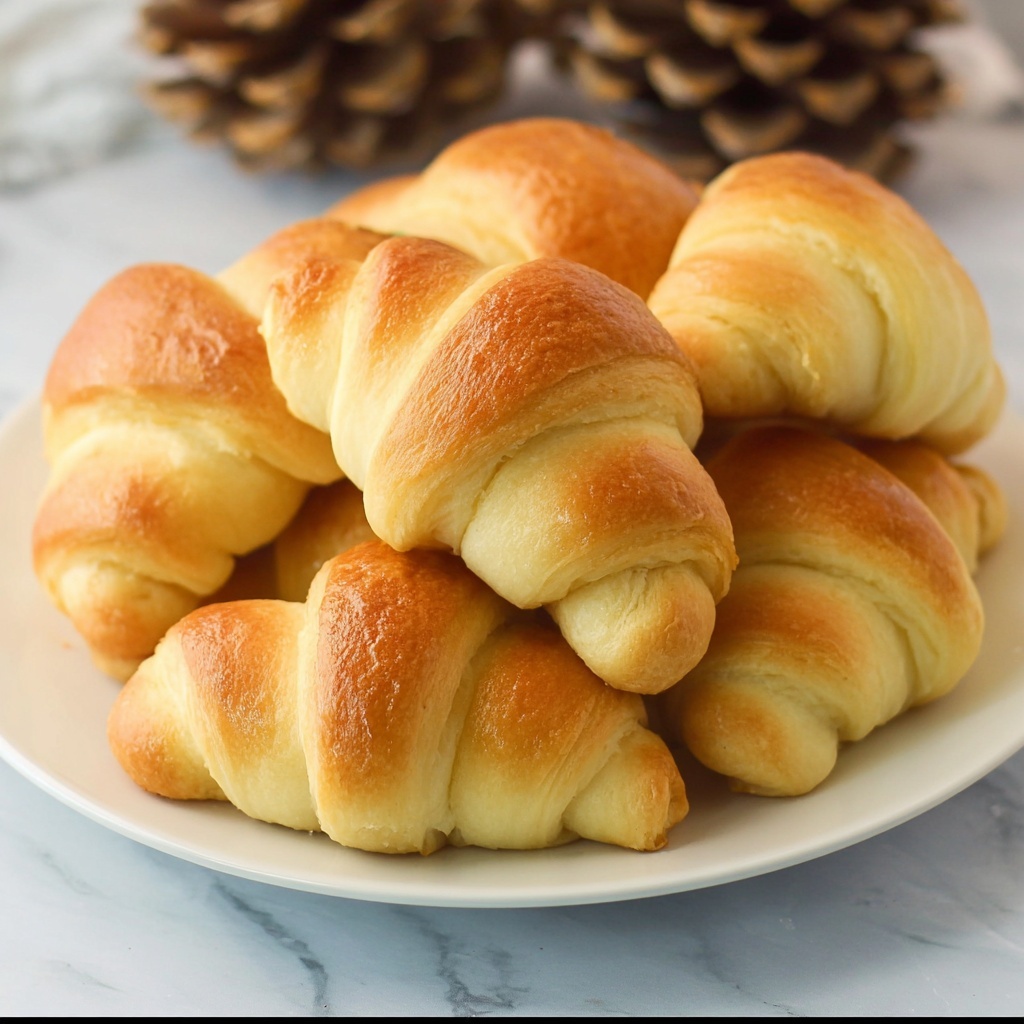
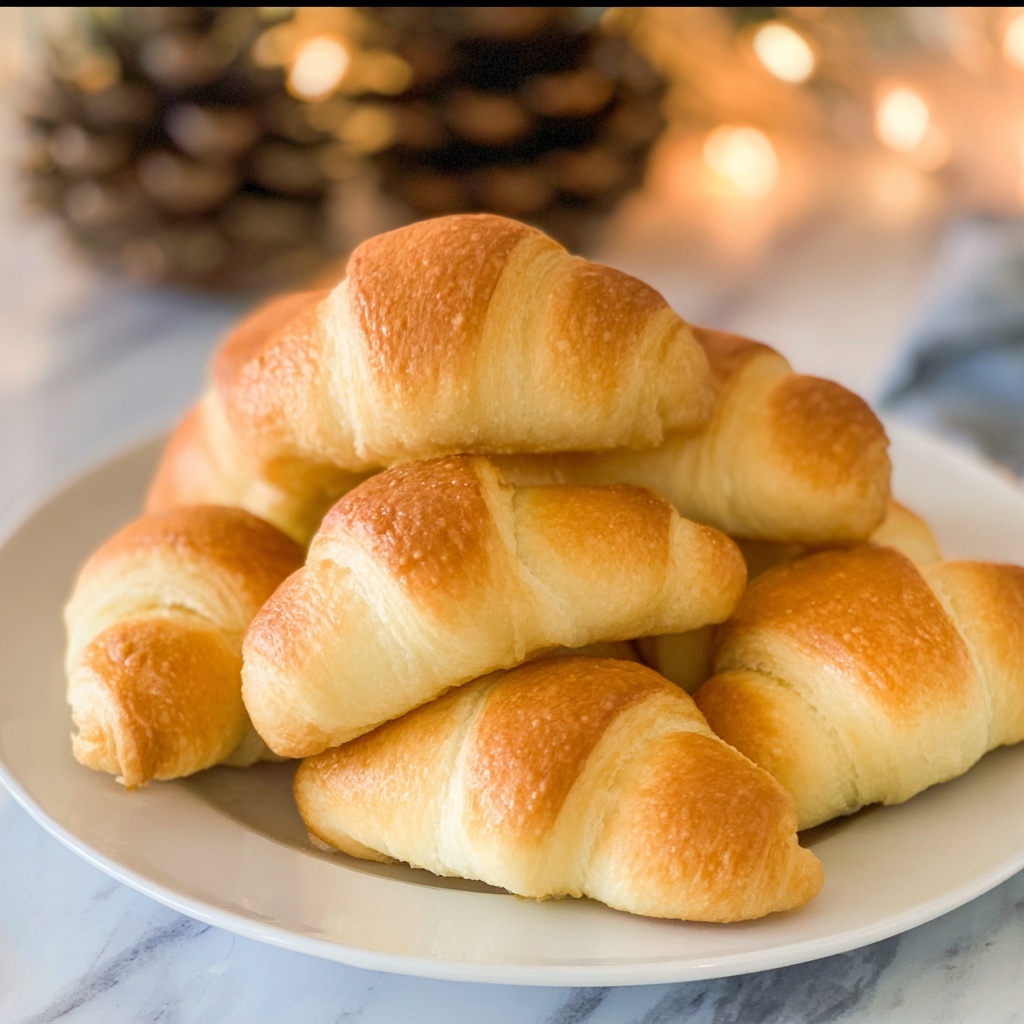
If you have ever wished for buttery, flaky, and delightfully soft rolls fresh from your own oven, then this Homemade Crescent Rolls Recipe is going to become your new best friend in the kitchen. Every bite melts in your mouth with the perfect balance of rich butter and a subtly sweet, tender crumb that feels like a warm hug. Whether for breakfast, dinner, or snacking, these crescent rolls bring a comforting sense of homemade goodness that is simply irresistible. Plus, making them yourself is easier than you think, and the result is orders of magnitude better than anything store-bought.
Ingredients You’ll Need
These ingredients might look simple, but each one plays a crucial role in crafting the perfect texture, flavor, and golden color of your crescent rolls. From the warm water that activates the yeast to the butter that provides tenderness and richness—every element is essential.
- Warm water (1 ¼ cup, divided): The warm temperature helps activate the yeast for that beautiful rise.
- Active dry yeast (1 tablespoon): Your magic leavening agent that makes the dough fluffy and light.
- Butter (½ cup melted + additional for topping): Adds incredible richness and a golden crust on baking.
- Sugar (½ cup): Balances the savoriness with a touch of sweetness and helps browning.
- Eggs (3, well beaten): Provide structure, moisture, and a lovely tender crumb.
- Salt (1 teaspoon): Enhances all the flavors without being overpowering.
- Flour (4 ½ cups): The foundation of your dough that creates that soft but structured roll.
How to Make Homemade Crescent Rolls Recipe
Step 1: Activate the Yeast
Begin by stirring the active dry yeast into ¼ cup of warm water and letting it sit for about 5 minutes until it dissolves and becomes bubbly. This step ensures your yeast is alive and ready to make your dough beautifully rise, delivering that soft and airy texture we all crave.
Step 2: Combine Wet Ingredients
Next, in a large bowl or your stand mixer fitted with a dough hook, mix the melted butter, remaining warm water, sugar, beaten eggs, salt, and the yeast mixture. This flavorful mix will become the base of your dough, combining richness, sweetness, and moisture perfectly.
Step 3: Add the Flour Gradually
Now comes the important part—slowly adding the flour into your wet ingredients. Mix until the flour is fully absorbed and the dough becomes smooth. It will still be quite sticky, so resist the urge to add extra flour. The stickiness is part of what makes these crescent rolls tender and soft once baked.
Step 4: Let the Dough Rest and Chill
Allow your dough to sit at room temperature for 30 minutes, then gently fold it down to release air bubbles. Cover the bowl with plastic wrap (sprayed with cooking spray to prevent sticking) and pop it into the fridge for 2 to 3 hours. This chilling step makes the dough easier to handle and enhances the final texture.
Step 5: Prepare Your Baking Surface
While the dough is chilling, get your baking sheet ready by greasing it or lining it with parchment paper for an easy release once baked.
Step 6: Shape the Crescent Rolls
Divide your dough into two equal parts. On a lightly floured surface, roll each half into a circle approximately ⅛ to ¼ inch thick—think pizza dough! Use a rolling pin dusted with flour to prevent sticking. Then cut each circle into 12 equal triangles, the perfect shape for rolling into crescents.
Step 7: Roll and Rise
Starting at the wide edge, roll each triangle tightly toward the tip to form that classic crescent shape. Place them on your prepared sheet, point side down, spacing about 2 inches apart for room to spread. Cover with a towel and let them rise in a warm spot for 2 to 3 hours until doubled—this slow rise ensures the fluffiest results.
Step 8: Bake to Golden Perfection
Preheat your oven to 375°F. Bake the rolls for 7 to 10 minutes, keeping a close eye so they develop a delicate golden brown crust without overbaking. The smell alone will have you racing to the kitchen!
Step 9: Butter Them Up and Serve
As soon as your crescent rolls come out of the oven, brush them generously with melted butter for an extra luscious finish. This step adds shine, flavor, and that signature soft crust everyone loves.
How to Serve Homemade Crescent Rolls Recipe
Garnishes
These rolls shine on their own, but you can elevate them with a sprinkle of flaky sea salt or a dusting of garlic powder mixed with herbs before baking for a savory touch. A light spread of herb butter right after baking is decadent and truly next-level.
Side Dishes
Crescent rolls pair beautifully with a variety of meals. Serve them alongside a hearty stew, creamy soup, or a fresh salad for a comforting and balanced plate. They also make excellent accompaniments to holiday dinners or casual family meals.
Creative Ways to Present
You can transform these into delightful snack bites by stuffing the triangles with cheese or ham before rolling, then proceeding with the recipe. They also look fantastic arranged in a circular wreath shape on a platter, perfect for sharing at parties or festive gatherings.
Make Ahead and Storage
Storing Leftovers
If you happen to have leftovers (which might be tough!), store them at room temperature in an airtight container for up to two days to maintain their softness. Avoid refrigeration as it can dry out the rolls.
Freezing
This Homemade Crescent Rolls Recipe freezes wonderfully. Freeze the shaped but unbaked rolls on a baking sheet, then transfer to a freezer-safe bag. When ready, thaw and let them rise before baking. You can also freeze fully baked rolls wrapped tightly in foil or plastic wrap.
Reheating
To bring back that fresh-baked flavor, warm leftovers in a preheated oven at 300°F for about 5-7 minutes. For frozen rolls, thaw completely and warm them the same way. A quick brush of melted butter after reheating is a lovely touch.
FAQs
Can I use instant yeast instead of active dry yeast?
Absolutely! If using instant yeast, you can mix it directly with the flour. Adjust rising times as it acts faster than active dry yeast, but the rolls will still turn out wonderfully fluffy.
Why is my dough sticky? Should I add more flour?
The dough is meant to be sticky—that’s what keeps the interior soft and tender after baking. Resist adding more flour, as it can make the rolls tough. Instead, use lightly floured surfaces and tools to handle the dough.
Can I make smaller or larger rolls with this recipe?
Yes! Just divide the dough into more or fewer pieces depending on your preferred roll size. Keep in mind that smaller rolls will bake faster, and larger ones might need a few extra minutes in the oven.
How do I know when the dough has risen enough?
The dough should roughly double in size during the rising steps. It will look puffier and feel soft to the touch. If it springs back slowly when poked, it’s ready to bake.
Can I add flavors or fillings to the crescent rolls?
Definitely! Try adding cinnamon sugar for sweet rolls or stuffing with cheese, ham, or herbs for savory variations. Just be sure not to overfill, as that can affect the rolling and baking process.
Final Thoughts
There is something truly special about pulling warm, golden crescent rolls fresh from the oven—especially when they come from your very own efforts in the kitchen. This Homemade Crescent Rolls Recipe is sure to earn a permanent place in your recipe collection, whether for everyday meals or special occasions. Once you taste that buttery, tender perfection, you won’t want to go back to store-bought again. So grab your ingredients, get rolling, and enjoy every comforting bite!