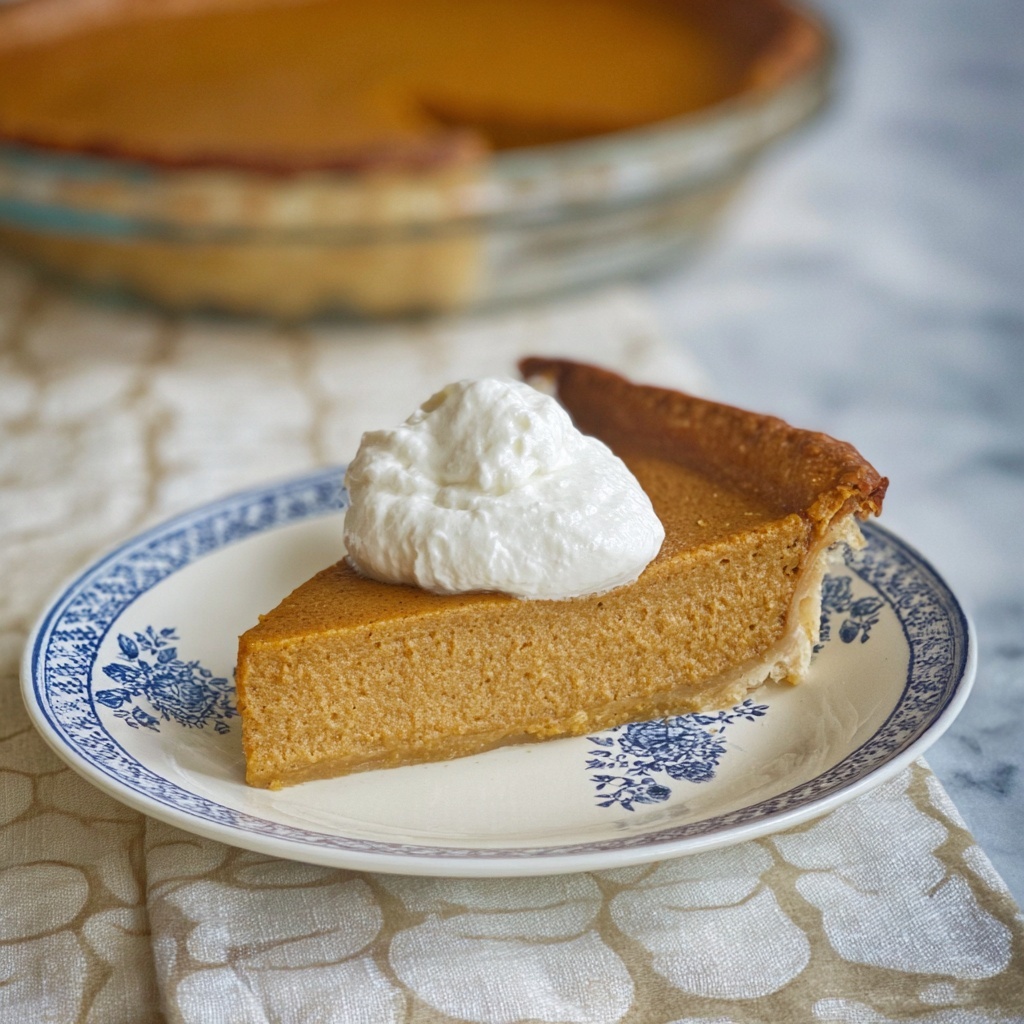
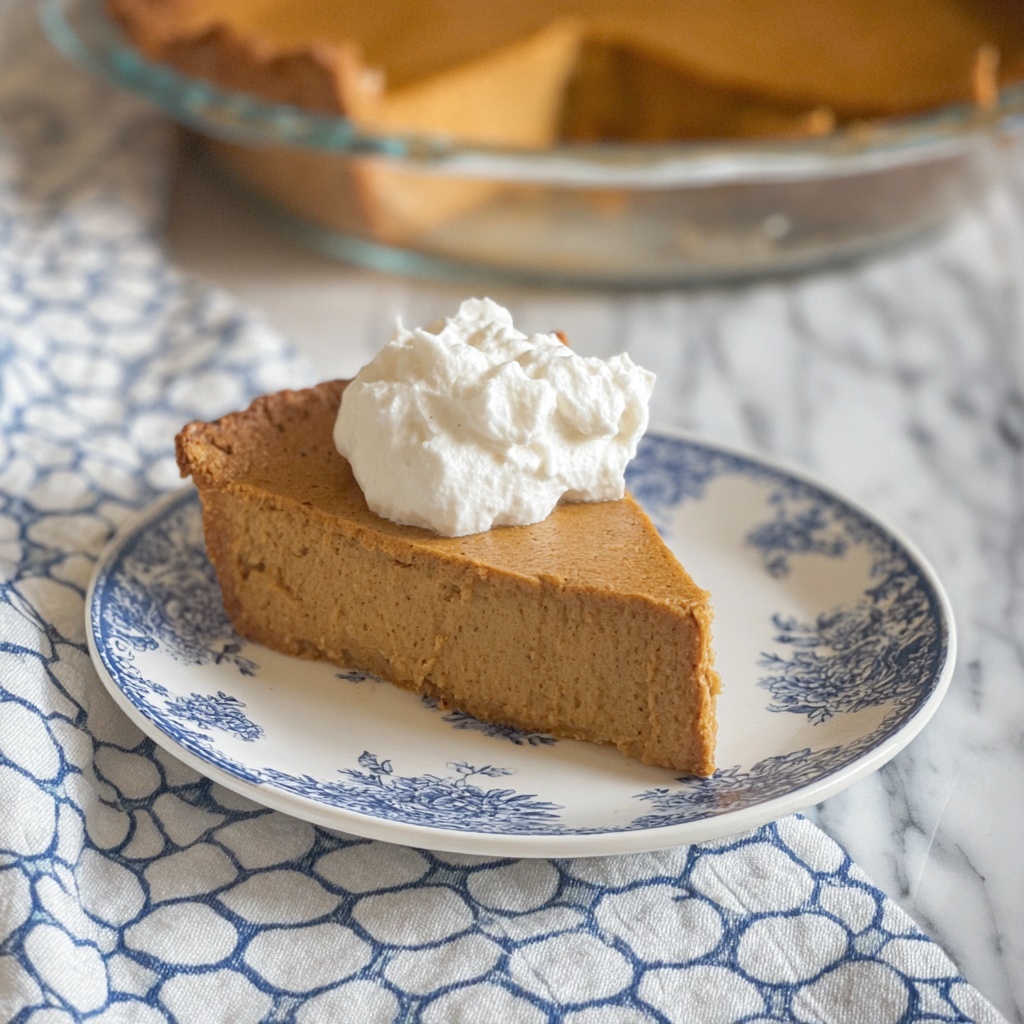
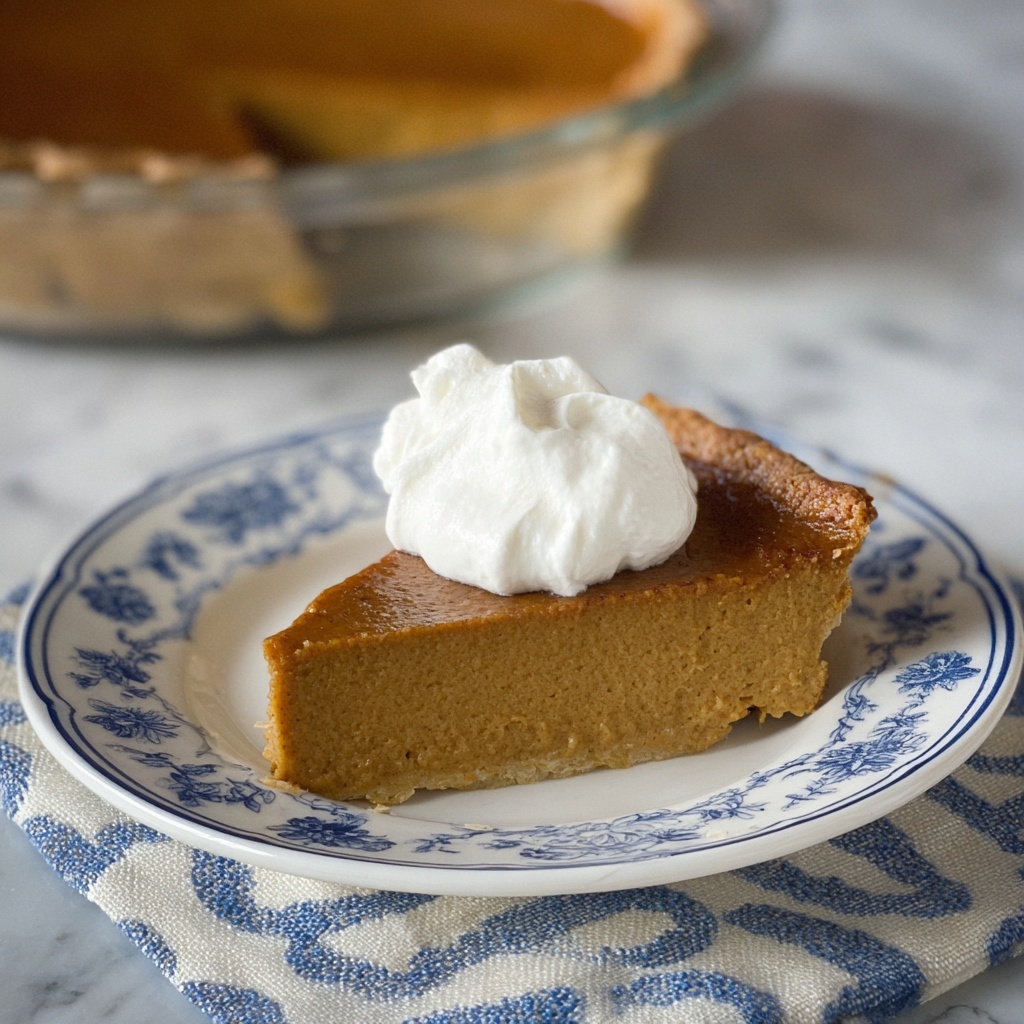
If you’re craving all the cozy flavors of fall but want to skip the extra fuss of a crust, this Crustless Pumpkin Pie Recipe is going to become your new go-to dessert. Imagine a smooth, creamy pumpkin filling richly spiced and perfectly sweetened, baked until just set, with none of the crust getting in the way. It’s a delightful, fuss-free way to savor pumpkin pie that’s both comforting and incredibly easy to make. Whether you’re serving it for a holiday feast or a simple weeknight treat, this recipe hits all the marks for a luscious, crowd-pleasing dessert.
Ingredients You’ll Need
Gathering simple, straightforward ingredients is key to achieving that classic pumpkin pie flavor and silky texture. Each component plays its role in bringing together this crustless delight — from the rich pumpkin and creamy evaporated milk to the warm cinnamon spice and binding eggs.
- 1 1/4 cups sugar: Provides just the right amount of sweetness without overpowering the pumpkin’s natural flavor.
- 3 Tbsp all-purpose flour: Helps thicken the filling for a perfect slice that holds together beautifully.
- 3 eggs: The essential binder that sets the pie’s custard-like texture.
- 2 cups pumpkin puree (canned): This is the star ingredient, offering that iconic pumpkin flavor and lovely orange hue.
- 3/4 cup evaporated milk: Adds richness and creaminess to the pie, elevating the texture beyond just pumpkin puree.
- 1 1/2 tsp vanilla extract: Adds depth and warm aromatic notes, rounding out the flavor profile.
- 1/4 tsp ground cinnamon: A subtle spice that brings out the best in pumpkin without overwhelming the palate.
How to Make Crustless Pumpkin Pie Recipe
Step 1: Combine Sugar and Flour
Start by mixing the sugar and flour together in a large bowl. This simple blend will ensure the sugar is evenly distributed and the flour provides that gentle thickening effect throughout the filling.
Step 2: Add the Eggs
Crack in the eggs and give it a good mix. The eggs are crucial for setting the pie as it bakes, so make sure they are well incorporated into the sugar and flour mixture for a smooth custard base.
Step 3: Stir in Pumpkin and Dairy
Next, stir in the pumpkin puree, evaporated milk, vanilla, and ground cinnamon. Mix everything until fully combined – the filling should be silky and uniform in color, signaling you’re ready for the next step.
Step 4: Pour into Prepared Pie Plate
Grease a 9-inch pie plate to prevent sticking, then pour your luscious pumpkin mixture right in. This will be the base of your crustless treat, so a well-greased dish helps with easy serving later on.
Step 5: Set up a Water Bath
Place the pie plate inside a larger baking pan (about 15 by 10 inches) and carefully pour half an inch of hot water around it. This water bath gently bakes the pie, avoiding cracks and ensuring a creamy texture.
Step 6: Bake Until Just Set
Bake your Crustless Pumpkin Pie Recipe at 350 degrees Fahrenheit for 50 to 55 minutes. The pie is done when a knife inserted near the center comes out clean or with just a few moist crumbs, not liquid batter.
How to Serve Crustless Pumpkin Pie Recipe
Garnishes
While the pie shines on its own, a dollop of freshly whipped cream or a sprinkle of cinnamon powder on top will add a lovely finishing touch. Toasted pecans or a drizzle of maple syrup also complement the flavors beautifully without overpowering them.
Side Dishes
This crustless pumpkin pie pairs wonderfully with a warm cup of spiced tea or freshly brewed coffee. For a holiday spread, serve alongside roasted sweet potatoes or caramelized apples for a harmonious autumnal spread.
Creative Ways to Present
Try serving your pie in individual ramekins for a charming personal touch or dust the top with crushed gingersnap cookies for a crunchy contrast. Using edible flowers or a light sprinkling of nutmeg can also elevate the presentation to something truly special.
Make Ahead and Storage
Storing Leftovers
Leftover Crustless Pumpkin Pie Recipe keeps well when refrigerated. Cover the pie tightly with plastic wrap or foil and consume within 3 to 4 days for the best taste and texture.
Freezing
You can freeze baked pie slices wrapped securely in plastic wrap and placed in an airtight container. This preserves freshness for up to 1 month, making it perfect for ahead-of-time dessert planning.
Reheating
To enjoy leftovers warm, reheat individual slices in a microwave for 20 to 30 seconds or place the whole pie in a low oven (around 300 degrees) until heated through. This helps restore that comforting, freshly-baked feel.
FAQs
Can I use fresh pumpkin instead of canned puree?
Absolutely! Just make sure to cook and puree the pumpkin well to achieve the smooth texture needed for the filling. The flavor will be slightly fresher and just as delicious.
Is there any substitute for evaporated milk?
You can use half-and-half or whole milk, but evaporated milk gives the richest, creamiest texture. If using milk, the pie might be a bit lighter but still tasty.
Why is my crustless pumpkin pie watery?
This can happen if the pie is underbaked or if too much water seeps in from the water bath. Check for doneness with a knife test and make sure the water doesn’t overflow into the pie dish.
Can I add more spices to this recipe?
Definitely! Nutmeg, ginger, and cloves all work great with pumpkin. Just adjust to your taste, but keep them moderate to keep the pumpkin flavor front and center.
How do I ensure my crustless pumpkin pie doesn’t crack?
Baking it in a water bath as described helps regulate the temperature and moisture, preventing cracks. Also, avoid overbaking and allow it to cool slowly at room temperature.
Final Thoughts
There’s something so comforting and satisfying about a Crustless Pumpkin Pie Recipe that’s simple to make yet full of classic flavor. It’s perfect for anyone who loves pumpkin pie but prefers a fuss-free dessert without the crust. Give this recipe a try—you’ll find it’s not only delicious but also a lovely way to celebrate the season with minimal effort. Happy baking!