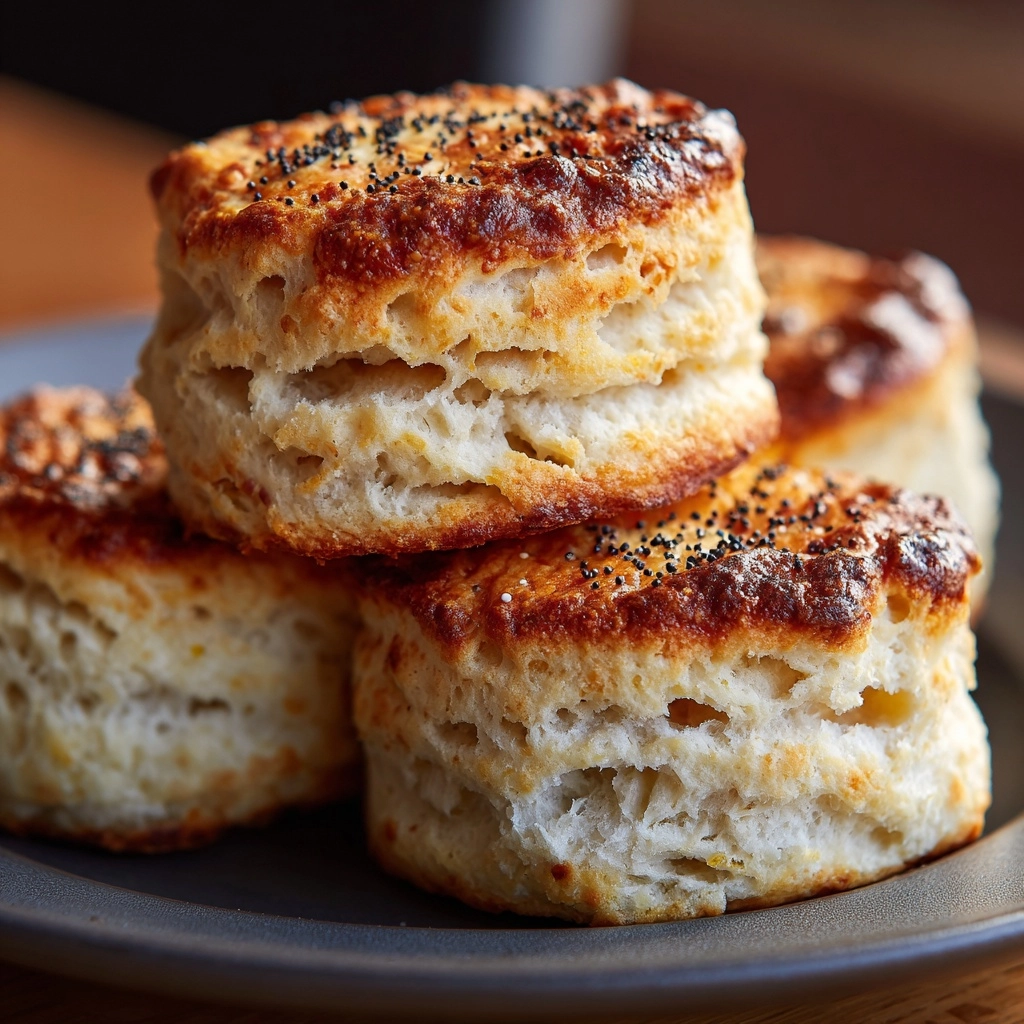
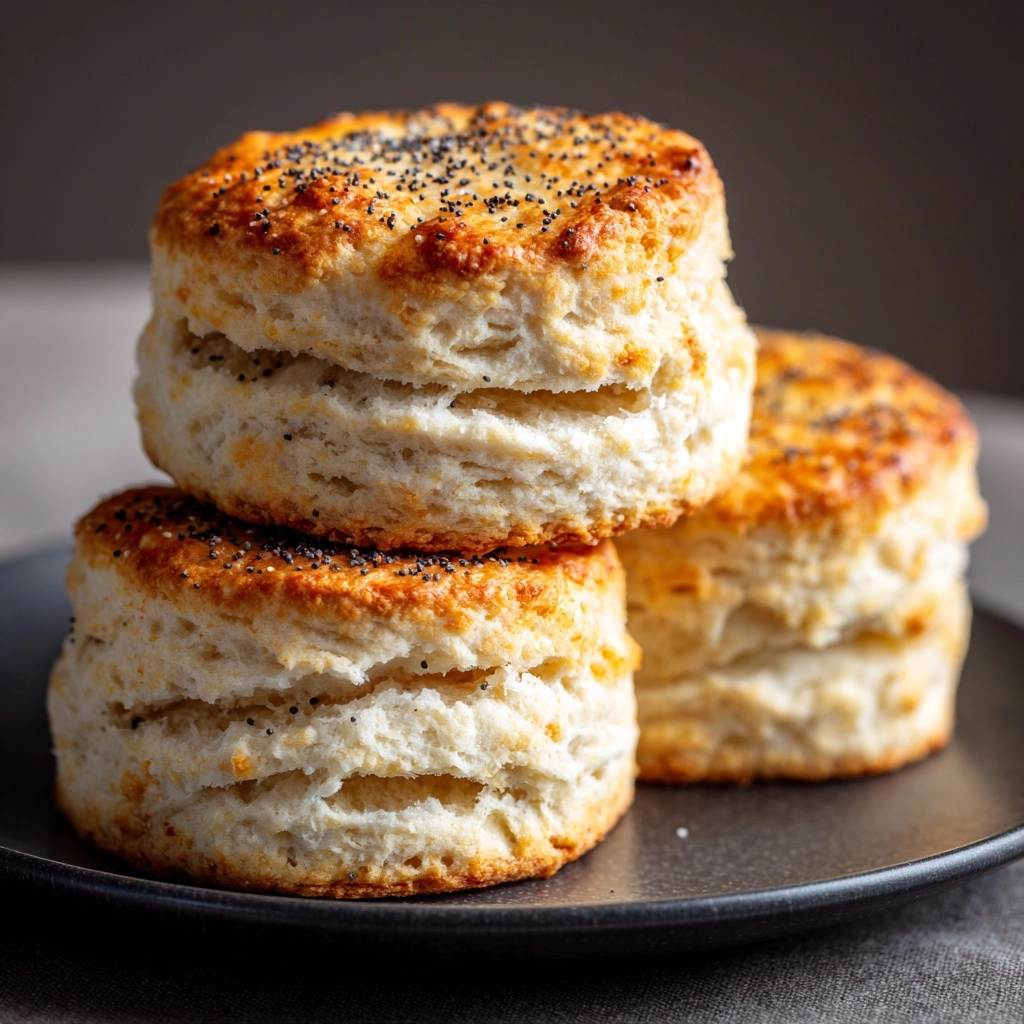
There’s something irresistibly comforting about a tray of homemade Sour Cream Biscuits, fresh from the oven. The tender, flaky layers are the kind that practically melt in your mouth, while the tang from the sour cream adds a little extra magic you don’t get with ordinary biscuits. Whether you’re craving a quick bread for breakfast or looking to impress at brunch, these Sour Cream Biscuits are a foolproof, crowd-pleasing treat you’ll love making again and again.
Ingredients You’ll Need
Ingredients You’ll Need
You’ll be amazed by how such humble, simple ingredients can work together to create biscuits with rich flavor and a heavenly, soft texture. Each one plays a distinct role: from the cold, creamy butter to the tangy sour cream, these essentials combine perfectly for show-stopping results.
- All-purpose flour: The foundation of the biscuits, providing structure while letting the other flavors shine.
- Baking powder: Your secret weapon for tall, sky-high layers and reliable lift each time.
- Baking soda: Just a touch balances the acidity of sour cream, making these biscuits light and tender.
- Salt: Don’t skip it! Salt enhances all the other flavors in the dough.
- Unsalted butter (cold and cubed): Cold butter is your ticket to flaky layers; those chilly cubes steam up in the oven for perfect texture.
- Sour cream: The star ingredient that gives Sour Cream Biscuits their signature tang and super-soft crumb.
- Milk (optional, for brushing tops): Adds a shiny, golden finish to the biscuit tops—totally optional but always lovely.
How to Make Sour Cream Biscuits
Step 1: Prep Your Oven and Pan
Start strong by preheating your oven to 425°F. Line a baking sheet with parchment paper to prevent sticking and help your Sour Cream Biscuits bake up with golden bottoms. Having your workspace ready from the start keeps everything smooth and stress-free.
Step 2: Mix Dry Ingredients
Grab a big mixing bowl and whisk together the all-purpose flour, baking powder, baking soda, and salt. Whisking isn’t just for show—it evenly disperses the leavening agents and salt, ensuring every biscuit puffs up just right and tastes delicious.
Step 3: Cut in the Butter
Next, drop in those lovely cold cubes of unsalted butter. Use a pastry cutter or your fingertips to work the butter into the flour mixture until it looks like coarse crumbs with some pea-sized bits. This step is where the flaky magic begins—little chunks of butter create layers as they melt!
Step 4: Add the Sour Cream
It’s time for the secret ingredient—sour cream! Gently stir it into the flour-butter mix until just combined. Don’t overmix; a little floury here and there is fine. Overworking the dough means tough biscuits, and we want our Sour Cream Biscuits to stay impossibly tender.
Step 5: Shape and Fold the Dough
Turn the shaggy dough out onto a floured surface, and gently pat it into a 1-inch thick round. For extra layers (and extra wow factor), fold the dough over on itself two or three times before patting it out again. Those folds will become the flaky layers you dream of.
Step 6: Cut Out the Biscuits
Use a 2.5-inch biscuit cutter, pressing straight down (don’t twist!) to cut out your biscuits. Twisting seals the edges and can mess with the rise. As you cut, gather the scraps, pat them together, and keep cutting until you’ve used all the dough. The goal: 8 beautiful rounds.
Step 7: Arrange and Brush
Place your biscuits onto the baking sheet so they’re just touching—this helps them rise even higher. If you want pretty golden tops, brush them lightly with milk. It’s a tiny finishing touch that makes a big visual impact.
Step 8: Bake Until Golden
Slide the sheet into the preheated oven and bake for 12–15 minutes, or until your Sour Cream Biscuits are puffed and beautifully golden brown. Serve them warm for biscuit perfection!
How to Serve Sour Cream Biscuits
Garnishes
When it comes to dressing up your Sour Cream Biscuits, a little flourish can go a long way. Try brushing the warm tops with melted butter and a sprinkle of flaky salt for extra flavor, or a handful of chopped chives or parsley if you want a pop of color and freshness.
Side Dishes
These biscuits are a match made in heaven with classic breakfast fare: scrambled eggs, crispy bacon, or creamy grits. For a cozy dinner, serve them alongside stews, soups, or roasted chicken so they can happily soak up sauces and gravy.
Creative Ways to Present
Sour Cream Biscuits shine as sliders for pulled pork or fried chicken, or split and filled with sweet berry jam and whipped cream for a shortcut strawberry shortcake. They’re perfect for fancy brunch spreads or to add a rustic-chic touch to your holiday table.
Make Ahead and Storage
Storing Leftovers
If you happen to have any Sour Cream Biscuits left, let them cool fully before transferring to an airtight container. They’ll stay fresh and tender at room temperature for up to two days, or pop them in the fridge for up to a week.
Freezing
For make-ahead convenience, these biscuits freeze beautifully! Once baked and cooled, wrap them tightly in plastic and store in a zip-top bag in the freezer for up to three months. You can also freeze unbaked biscuits and bake straight from frozen—just add a minute or two to the baking time.
Reheating
Reheat cold or thawed biscuits in a 300°F oven for about 8-10 minutes. This brings back their soft centers and crisp, golden tops. A quick warm-up in the toaster oven works wonders, too. Avoid the microwave if you can—your biscuits will thank you!
FAQs
Why should I use sour cream instead of buttermilk?
Sour cream’s rich, creamy texture and slight tang give Sour Cream Biscuits an incredibly tender crumb and depth of flavor that you just don’t get with buttermilk. Plus, it adds moisture without thinning the dough too much, making your biscuits fluffier and more decadent.
Can I make these biscuits ahead of time?
Absolutely! You can prepare the biscuits, cut them out, and freeze the unbaked rounds on a tray. Store frozen in a bag, and bake straight from the freezer when you’re ready. They’re a fantastic make-ahead option for holiday mornings or busy weekdays.
What’s the secret to extra-flaky Sour Cream Biscuits?
Keeping your butter and sour cream as cold as possible is rule number one. Also, folding the dough a few times (like a mini lamination) creates those irresistible layers. Resist the urge to overwork the dough—gentle hands yield tender, flaky results every time.
Can I customize these biscuits with add-ins?
Yes! Try mixing in shredded sharp cheddar, chopped herbs like rosemary or thyme, or even cooked, crumbled bacon before adding the sour cream. Each variation brings a new twist while maintaining that classic Sour Cream Biscuit vibe.
How do I get tall, bakery-style biscuits?
Use a sharp biscuit cutter and press straight down without twisting, arrange biscuits so they’re just touching on the baking tray, and don’t hesitate to re-pat scraps together gently. Fresh leavening (check those expiration dates) helps, too!
Final Thoughts
Few things feel as homey and rewarding as a fresh batch of Sour Cream Biscuits. Whether you’re sharing them at a big family breakfast or sneaking one warm from the oven, these biscuits invite joy into any kitchen. Roll up your sleeves and give them a try—you’re just 30 minutes from biscuit bliss!