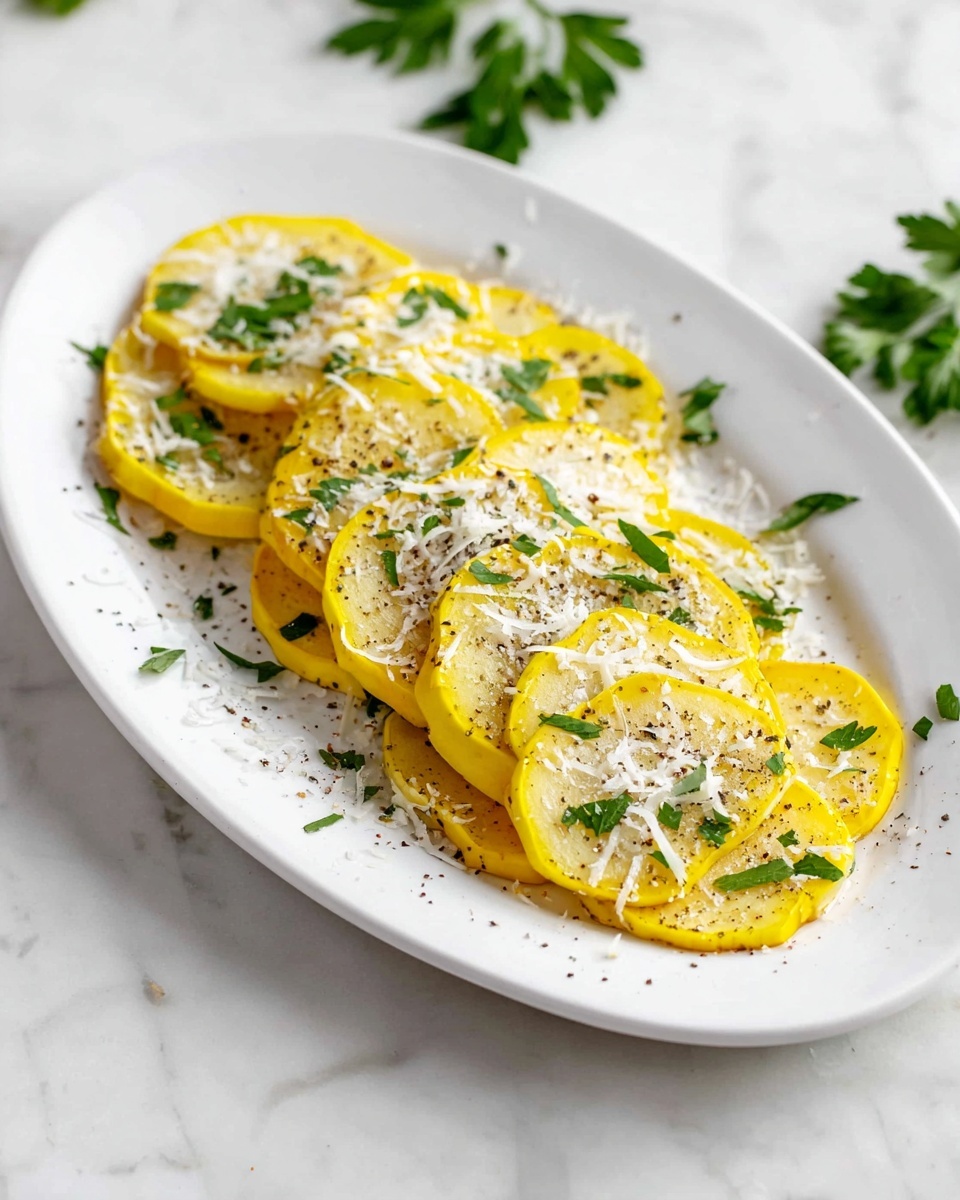
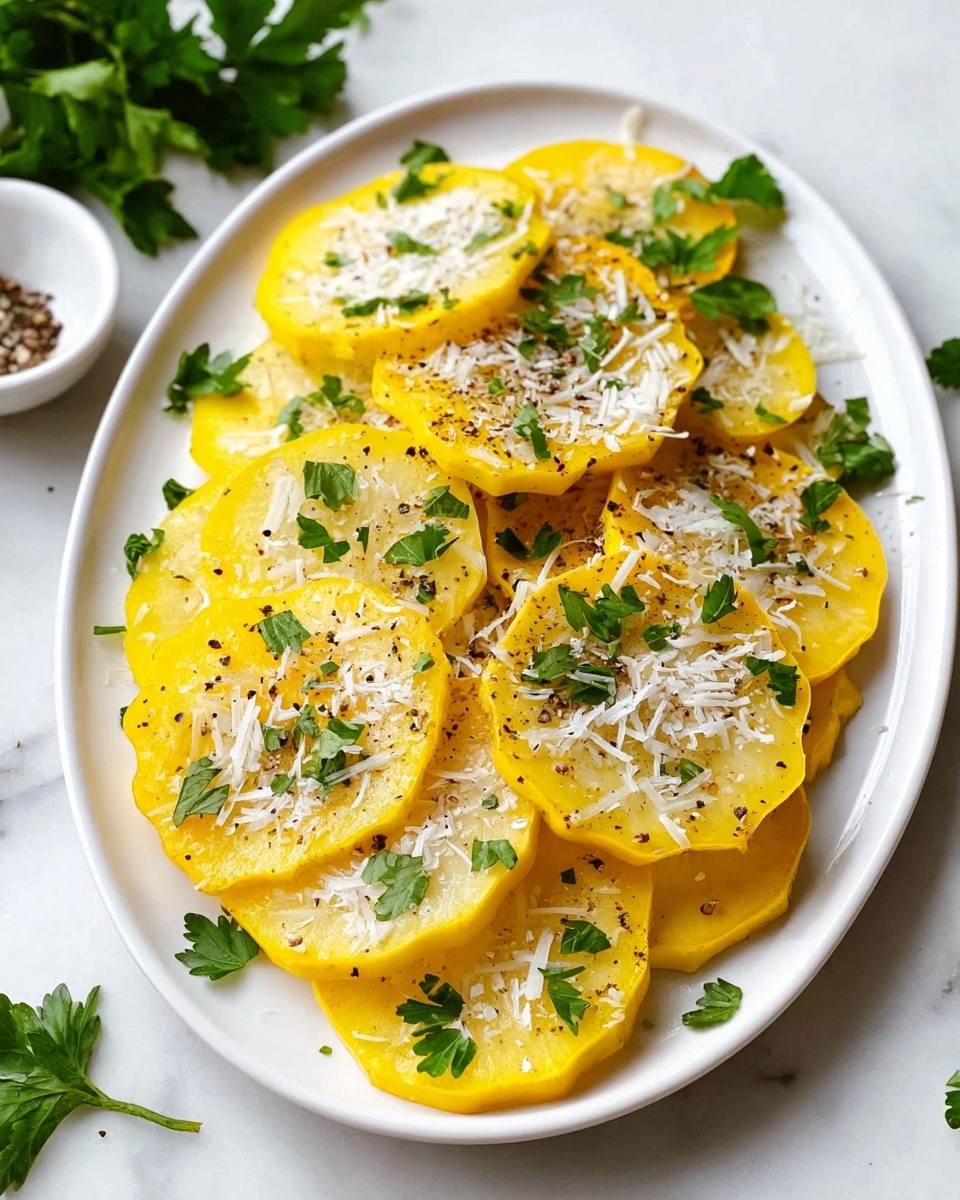
If you are craving a simple yet irresistibly flavorful way to enjoy your summer veggies, this Roasted Yellow Squash Recipe is just what you need. It highlights the natural sweetness and tender texture of yellow squash, enhanced by a subtle blend of garlic and onion powders. Roasting brings out golden caramelized edges and a lovely aroma that fills your kitchen, making this dish a crowd-pleaser whether served as a side or a light snack. Trust me, once you try this recipe, it might just become your go-to method for cooking yellow squash!
Ingredients You’ll Need
This recipe relies on a handful of straightforward, pantry-friendly ingredients that come together to create a dish full of flavor and color. Each ingredient is carefully chosen to complement the mild sweetness of the squash while giving the final roast a beautiful texture and aroma.
- Yellow squash, 1 pound: The star of the show, sliced into 1/2-inch rounds for perfect roasting.
- Garlic powder, 1/2 teaspoon: Adds a gentle garlicky warmth without overpowering the squash.
- Onion powder, 1/2 teaspoon: Provides a subtle depth that enhances the overall savory profile.
- Salt and ground black pepper, to taste: Essential for balancing and intensifying flavors.
- Olive oil, 4 teaspoons: Helps the squash roast beautifully with a crisp edge and keeps it moist.
- Fresh parsley, chopped: Used as a garnish to introduce freshness and a hint of bright color.
How to Make Roasted Yellow Squash Recipe
Step 1: Preheat Your Oven
Start by preheating your oven to 400°F (200°C). This is the perfect temperature to roast yellow squash to tender perfection while getting those gorgeous golden browned edges that add so much flavor and texture.
Step 2: Season the Squash
Take your sliced yellow squash and toss it in a large bowl with olive oil, garlic powder, onion powder, salt, and black pepper. Be sure every slice is evenly coated because this not only seasons each piece but also helps in caramelizing the edges beautifully during roasting.
Step 3: Arrange on Baking Sheet
Lay your seasoned squash rounds on a baking sheet in a single layer, making sure none are overlapping. This is key to even roasting, allowing heat to circulate freely around each piece so every bite is perfectly cooked and crisp on the edges.
Step 4: Roast Until Tender and Golden
Pop the baking sheet into your preheated oven and roast the squash for about 12 to 15 minutes. You’ll know it’s done when the squash is tender to the fork and the edges start turning a lovely golden brown, indicating delicious caramelization.
Step 5: Garnish and Serve
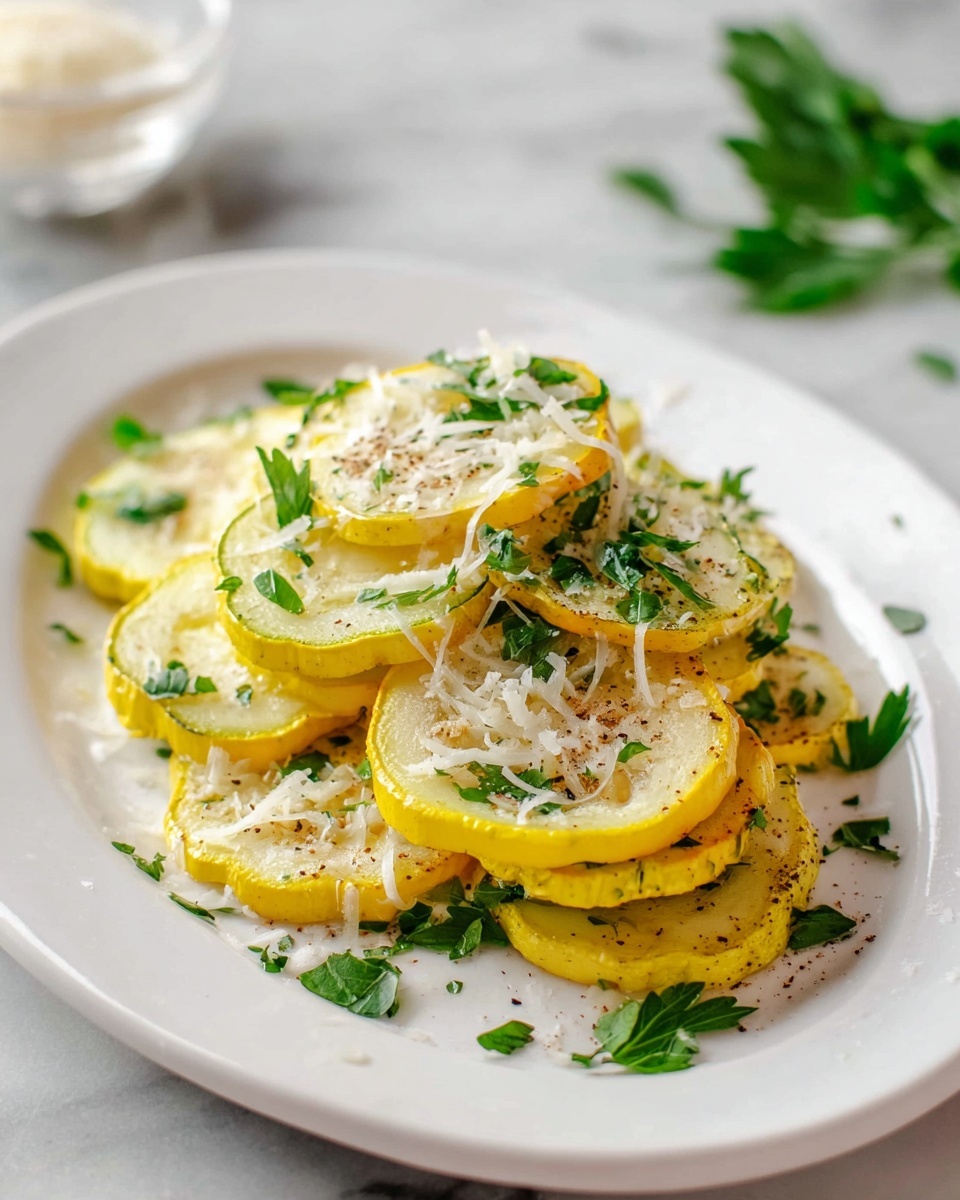
Once out of the oven, transfer the squash to a serving dish and sprinkle generously with chopped fresh parsley. This final touch adds a burst of color and a fresh, herbaceous note that brightens the whole dish. Serve immediately for best flavor and texture.
How to Serve Roasted Yellow Squash Recipe
Garnishes
Fresh parsley is a timeless option that adds freshness, but you can also experiment with chopped basil, a squeeze of lemon juice, or a sprinkle of Parmesan cheese for extra complexity. Each garnish brings a unique twist that can complement your meal beautifully.
Side Dishes
This Roasted Yellow Squash Recipe pairs wonderfully with grilled chicken, roasted meats, or a hearty grain bowl. It also makes a superb addition to a vegetarian spread alongside quinoa, roasted potatoes, or a crisp salad, making your meal feel complete and satisfying.
Creative Ways to Present
Try stacking the squash slices in a colorful layered casserole dish or arrange them artistically on a platter for dinner guests. You can also mix roasted yellow squash into pasta dishes, grain salads, or even use it as a topping for homemade pizzas to add both flavor and nutrition.
Make Ahead and Storage
Storing Leftovers
Store any leftover roasted yellow squash in an airtight container in the refrigerator. It will keep fresh for up to 3 days, making it easy to enjoy quick meals or snacks throughout the week without extra cooking hassle.
Freezing
While roasting is best enjoyed fresh, you can freeze roasted squash if needed. Lay the cooled squash slices in a single layer on a baking sheet to freeze, then transfer them to a freezer bag or container. Frozen squash is best used within 2 months and works well in cooked dishes after thawing.
Reheating
When it’s time to enjoy your leftovers, reheat the roasted yellow squash in a preheated oven at 350°F for about 10 minutes to revive some crispness. Alternatively, a quick stovetop sauté can warm the squash while keeping it tender and flavorful.
FAQs
Can I use other types of squash for this recipe?
Absolutely! While this recipe shines with yellow squash, you can easily substitute zucchini or pattypan squash. Just adjust the cooking time slightly if the slices are thicker or thinner.
Do I need to peel the yellow squash?
No peeling is necessary. The skin is tender when roasted and adds a lovely texture and color contrast, plus it holds in nutrients.
How do I prevent the squash from becoming soggy?
Tossing the squash in olive oil and roasting at a high temperature helps reduce sogginess. Also, arranging them in a single layer ensures they roast instead of steam.
Can I add other seasonings or herbs?
Yes! Feel free to experiment with thyme, rosemary, smoked paprika, or even a dash of chili flakes for a bit of kick. The beauty of this Roasted Yellow Squash Recipe is its versatility.
Is this recipe suitable for a vegan diet?
Definitely. This Roasted Yellow Squash Recipe uses only plant-based ingredients, making it perfect for vegans and vegetarians alike.
Final Thoughts
Making this Roasted Yellow Squash Recipe is not only a quick and straightforward way to transform simple ingredients into something delicious, it’s also a wonderful opportunity to celebrate the natural beauty of seasonal produce. Whether you’re a seasoned cook or just starting out, this recipe is bound to brighten your mealtime with its comforting flavors and vibrant colors. Give it a try and watch how effortlessly it becomes a beloved staple in your kitchen!