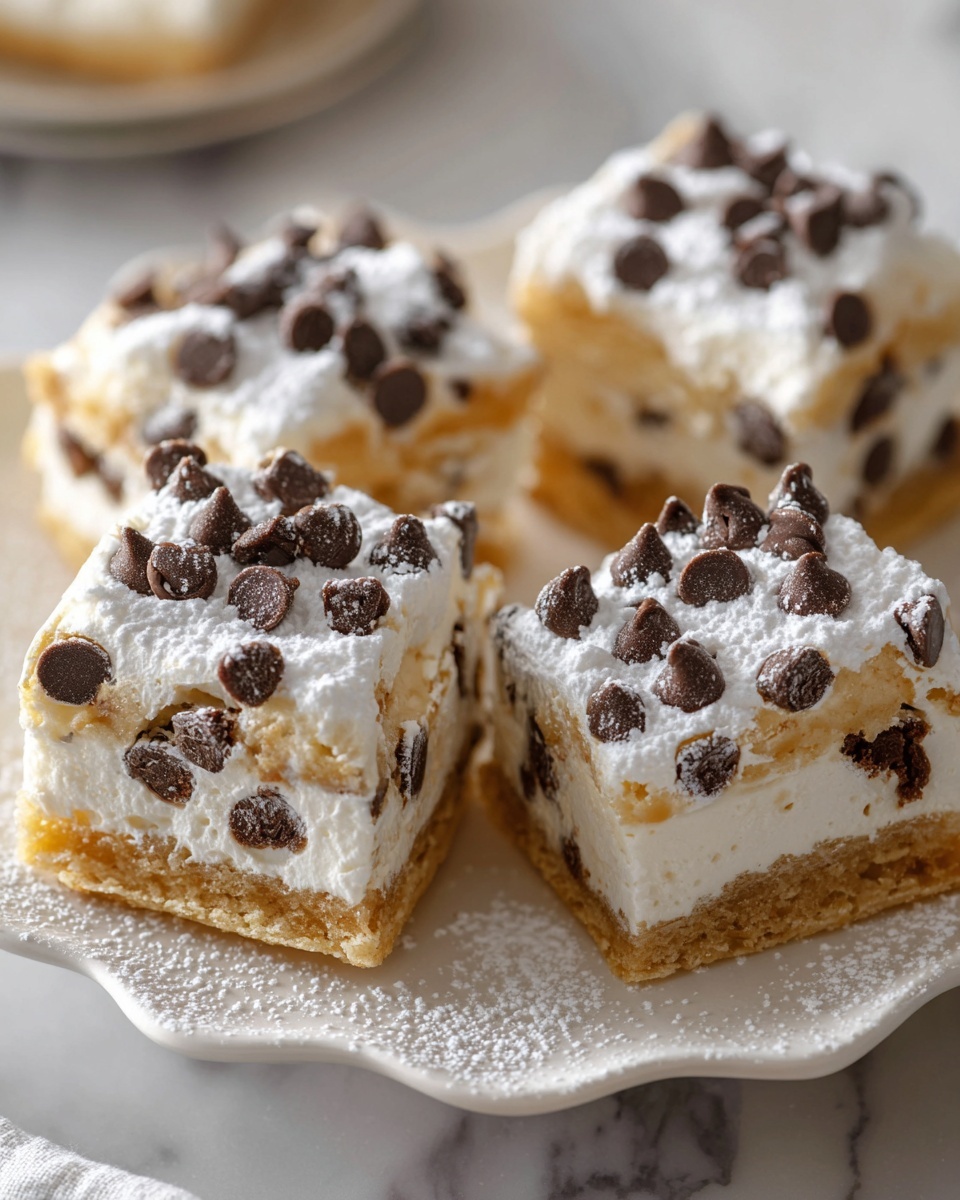
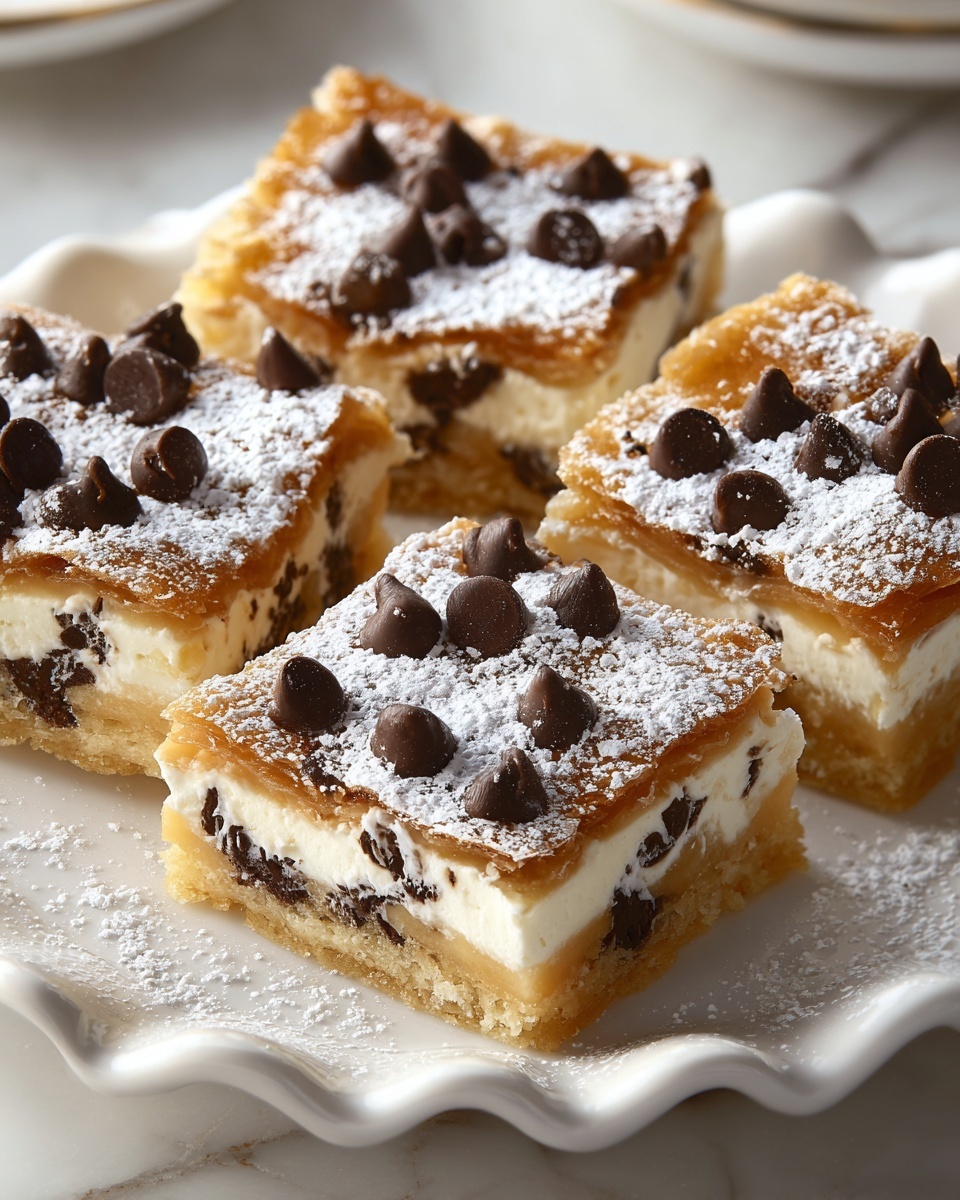
If you love the rich, creamy delight of traditional Italian cannoli but want an easier, crowd-pleasing twist, you have to try this Classic Cannoli Squares Recipe! It takes all the wonderful flavors of the beloved dessert—smooth ricotta, a hint of cinnamon, chocolate chips—and transforms them into a luscious, easy-to-cut square that’s perfect for sharing. Imagine buttery pie crust hugging a velvety, sweet ricotta filling with a little crunch and a sprinkle of sugar on top. It’s a fantastic, fuss-free way to enjoy cannoli flavors that’ll have everyone asking for seconds.
Ingredients You’ll Need
Gathering these simple ingredients is all you need to make a spectacularly delicious dessert that balances creaminess, sweetness, and a delightful crunch. Each component plays a special role from flavor to texture, creating an unforgettable treat.
- 2 cups whole-milk ricotta cheese: The star ingredient, providing that creamy, slightly tangy base typical of cannoli filling; be sure to drain any excess liquid.
- 1 cup powdered sugar: Sweetens the filling smoothly without graininess, ensuring a soft texture.
- 1 teaspoon vanilla extract: Adds warmth and depth to the ricotta mixture, enhancing all the flavors.
- ½ teaspoon ground cinnamon: Brings a subtle spiced note that complements the sweet filling beautifully.
- ½ cup mini chocolate chips: Offers little bursts of rich chocolate that melt slightly inside the creamy filling.
- 2 pre-made pie crusts (for a 9×9-inch baking dish): These provide the golden, flaky frame that holds everything together.
- 1 large egg: Used for the egg wash to give the top crust a shiny, golden finish.
- Sugar (for sprinkling on top): Creates a delicate, sweet crunch as it bakes.
- Optional garnishes: Chopped pistachios, maraschino cherries, or extra chocolate chips elevate the presentation and offer additional flavors and textures.
How to Make Classic Cannoli Squares Recipe
Step 1: Prepare Your Oven and Baking Dish
Start by preheating your oven to 375°F (190°C). This ensures the oven is hot and ready to create that perfect golden crust. Meanwhile, select a 9×9-inch baking dish that will comfortably hold your pie crusts and filling.
Step 2: Mix the Ricotta Filling
In a large bowl, whisk together the drained ricotta cheese, powdered sugar, vanilla extract, ground cinnamon, and mini chocolate chips until everything is smooth and evenly combined. This luscious mixture is the heart of your Classic Cannoli Squares Recipe, blending creamy sweetness with chocolatey bursts.
Step 3: Line the Baking Dish
Press one of your pre-made pie crusts firmly into the bottom and sides of the 9×9-inch baking dish. Making sure there’s a snug fit into every corner will prevent the filling from leaking out during baking.
Step 4: Add the Ricotta Filling
Evenly spread your ricotta mixture over the bottom crust, taking care to leave a little border around the edges. This makes it easier to seal with the top crust and keeps everything tidy.
Step 5: Seal with the Top Crust
Lay the second pie crust gently over the ricotta filling. Seal the edges by crimping the dough with your fingers or using a fork for a pretty, classic look. This sealing step ensures your dessert bakes beautifully without any filling escape.
Step 6: Brush with Egg Wash and Sugar
Beat the egg lightly, then brush it across the entire top crust to create a shiny, golden finish when baked. Sprinkle sugar generously on top—this adds a lovely crunch and a final touch of sweetness.
Step 7: Bake Until Perfect
Place your dessert in the oven and bake for 30 to 35 minutes, or until the crust is a gorgeous golden brown and the ricotta filling is softly bubbling beneath the top crust. Your kitchen will fill with an irresistible aroma!
Step 8: Cool Before Slicing
Remove the baking dish from the oven and let the squares cool for at least 30 minutes. This helps the filling set firmly, so your slices come out clean and beautiful.
Step 9: Serve and Enjoy
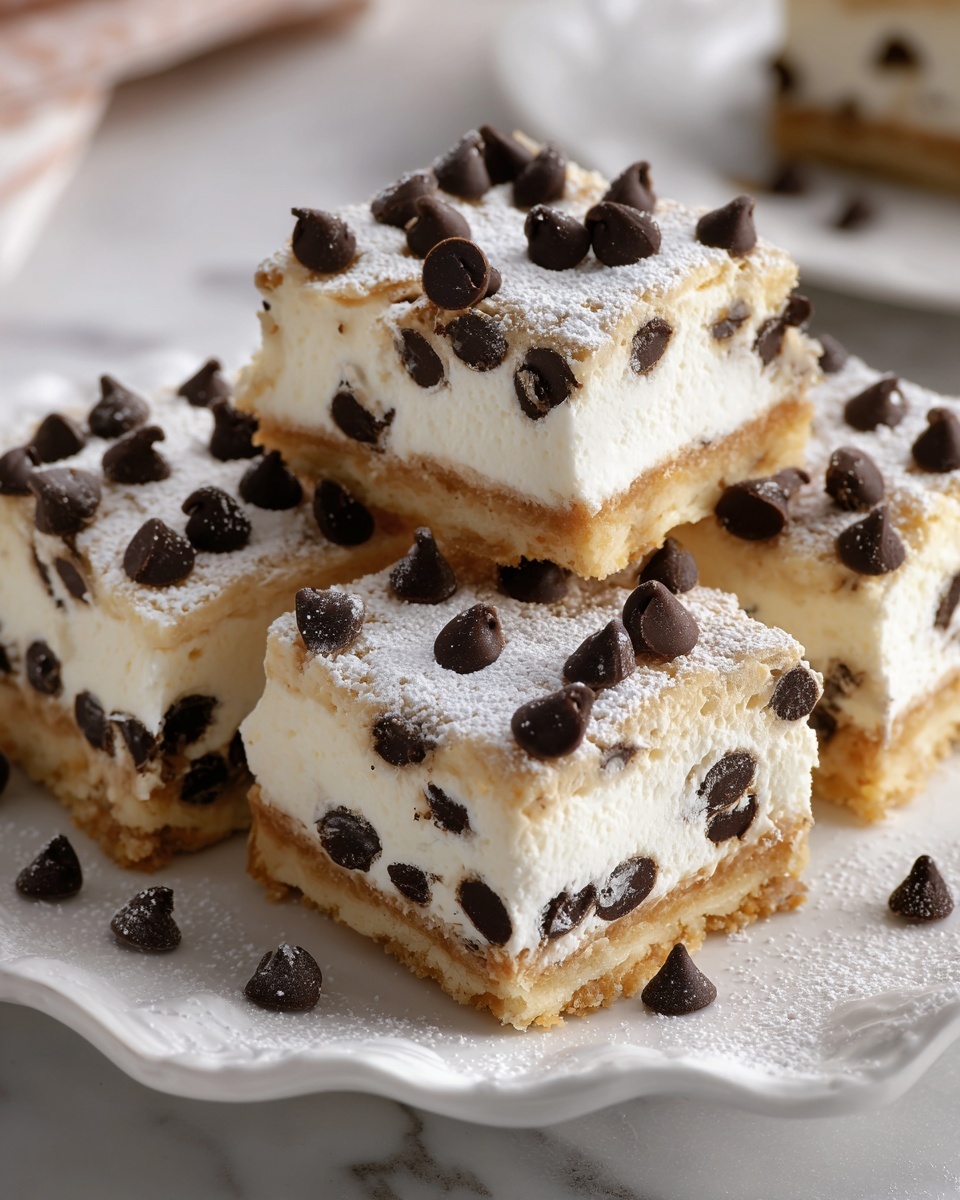
Cut your Classic Cannoli Squares Recipe into 9 equal portions, serve warm or chilled, and don’t forget to add optional garnishes for that extra wow factor.
How to Serve Classic Cannoli Squares Recipe
Garnishes
Sprinkle chopped pistachios on top for a nutty crunch that complements the creamy filling perfectly. A few maraschino cherries add a pop of color and sweetness, while extra mini chocolate chips bring even more chocolatey delight. These simple touches make each square feel special and festive.
Side Dishes
This dessert pairs wonderfully with a light, refreshing side like fresh berries or a small scoop of vanilla gelato. A cup of strong espresso or hot coffee is also ideal to balance the sweetness and bring out the rich flavors of the classic filling.
Creative Ways to Present
Consider serving your squares on a rustic wooden board with colorful napkins for an inviting display. You can also dust them lightly with powdered sugar or drizzle a bit of melted chocolate or caramel sauce on top for some extra flair. These presentation ideas make this Classic Cannoli Squares Recipe perfect for holidays, parties, or casual get-togethers.
Make Ahead and Storage
Storing Leftovers
Once cooled, place any leftover Classic Cannoli Squares Recipe in an airtight container and store them in the refrigerator. They will stay fresh and delicious for up to 3 days, making them a great make-ahead treat to enjoy later.
Freezing
If you want to keep these squares longer, they freeze beautifully. Wrap individual squares tightly in plastic wrap and then place them in a freezer-safe bag. Freeze for up to 1 month. When you’re ready to eat, thaw in the refrigerator overnight.
Reheating
To warm your cannoli squares, pop them in a preheated oven at 325°F (160°C) for about 10-15 minutes. This restores their flaky crust and creamy filling without drying them out.
FAQs
Can I use part-skim ricotta for this recipe?
Yes, part-skim ricotta will work, but the texture might be slightly less creamy and the flavor a bit lighter compared to whole-milk ricotta. For the richest taste, whole-milk ricotta is recommended.
Do I have to use pre-made pie crust?
Using pre-made pie crust is a convenient shortcut that saves time and effort, but you can absolutely make your own crust if you prefer. Just ensure it’s enough to line a 9×9-inch baking dish and seal the top properly.
Can I add other mix-ins to the ricotta filling?
Definitely! While mini chocolate chips are traditional and delicious, feel free to experiment with chopped candied fruit, crushed nuts, or even a bit of orange zest to customize the flavor.
How long should I let the squares cool before slicing?
Cooling for at least 30 minutes is important so the ricotta filling firms up and the slices hold their shape. If you slice too soon, the filling may be too soft and spill out.
Can this recipe be made gluten-free?
Yes! Substitute the pie crusts with your favorite gluten-free pie crust to keep the classic combination of creamy filling and flaky crust intact.
Final Thoughts
There’s something so comforting and joyful about this Classic Cannoli Squares Recipe—rich without fuss, creamy with a little crunch, and endlessly shareable. Whether you’re making it for a family gathering, a casual dessert, or a special occasion, it’s sure to become a favorite. Grab those simple ingredients, get baking, and enjoy every delicious, cozy bite!