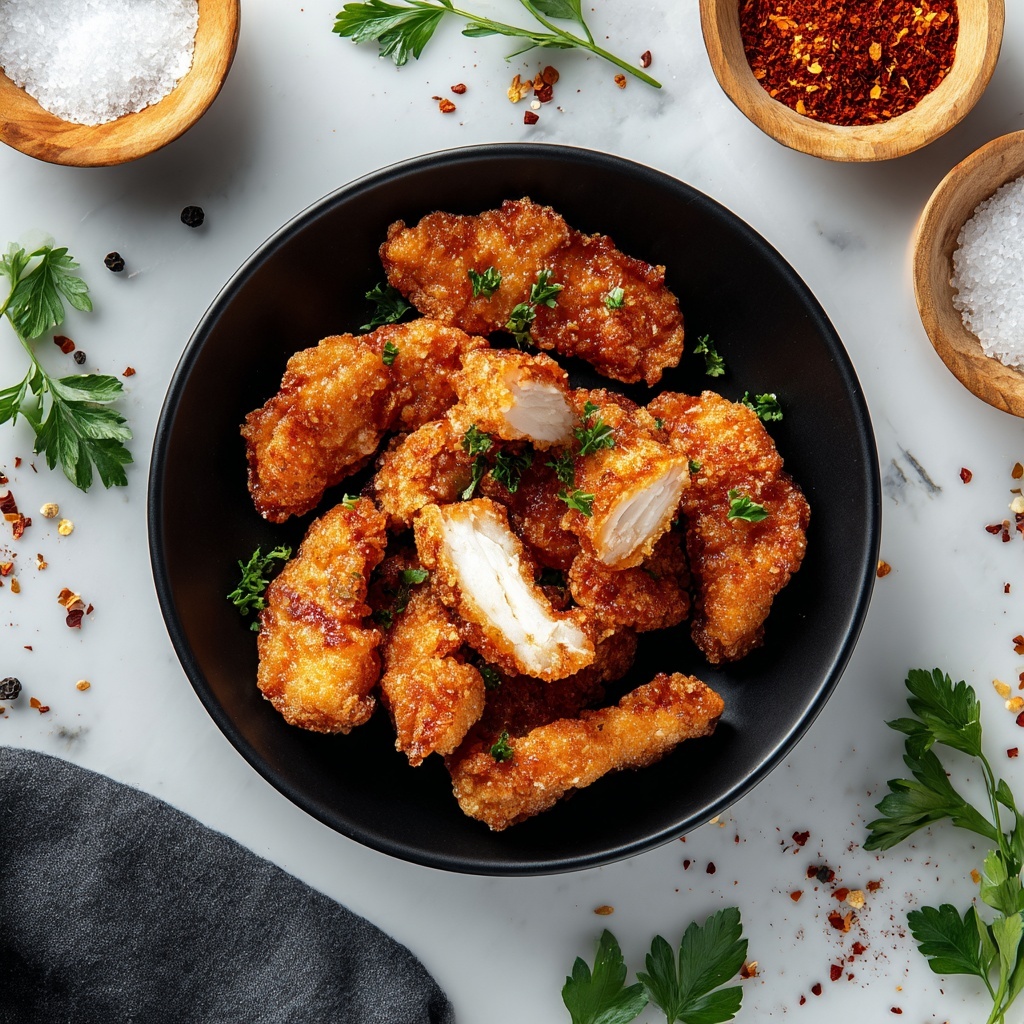
If you are craving a crispy, juicy delight that makes every bite a moment to savor, look no further than this Homemade Chicken Tenders Recipe. These golden tenders boast a perfectly seasoned, crunchy coating with tender chicken inside, making them irresistible for both kids and adults alike. Whether it’s a quick weeknight dinner or a weekend treat, this recipe transforms simple ingredients into an unforgettable comfort food experience that feels lovingly made from scratch.
Ingredients You’ll Need
Gathering straightforward, pantry-friendly ingredients is all it takes for this dish. Each component plays a crucial role: from the spices that create a flavorful crust to the Parmesan cheese adding a savory punch and that perfect golden hue.
- 2 lbs boneless, skinless chicken breasts: The star protein, cut into tender strips for perfect cooking.
- 1 cup all-purpose flour: The first coating layer that helps seasoning stick and builds crunch.
- 1 teaspoon salt: Enhances overall flavor and balances the spices.
- 1/2 teaspoon black pepper: Adds subtle heat and depth.
- 1/2 teaspoon garlic powder: Brings aromatic warmth to the coating.
- 1/2 teaspoon paprika: Offers a mild smoky note and beautiful color.
- 2 eggs: Acts as the glue that holds the breadcrumb coating in place.
- 1/4 cup milk: Thins out the eggs for an even dip.
- 1 1/2 cups breadcrumbs: The crispy crunchy outer layer that makes every bite delightful.
- 1/2 cup grated Parmesan cheese: Adds richness and an irresistible umami boost.
- Cooking oil for frying: Necessary for that golden crisp finish—choose one with a high smoke point.
How to Make Homemade Chicken Tenders Recipe
Step 1: Prepare the Oil
Start by heating your cooking oil in a deep fryer or a large skillet to 350°F (175°C). The oil temperature is crucial because it ensures the tenders cook evenly with a golden crust without absorbing excess oil. Filling the pan halfway up the chicken tenders means they’ll cook perfectly on all sides with a luscious crunch.
Step 2: Cut the Chicken
Next, slice the chicken breasts into long strips about an inch wide. Cutting them uniformly helps the tenders cook evenly and makes for that perfect bite-sized portion everyone loves. This simple prep sets the stage for a restaurant-quality homemade treat.
Step 3: Mix the Dry Seasoning
Combine the flour, salt, black pepper, garlic powder, and paprika in a shallow dish. This seasoned flour forms the first layer of crispiness and infuses the chicken with a wonderful mix of flavors. Trust me, these spices elevate the crumb coating beyond ordinary.
Step 4: Prepare the Egg Wash
In a separate bowl, whisk together eggs and milk until smooth. This mixture is essential for the breadcrumbs to stick fabulously to each chicken strip, ensuring every bite is fully coated and crunchy.
Step 5: Combine Breadcrumbs and Parmesan
Mix the breadcrumbs with the grated Parmesan cheese in a third bowl. The Parmesan not only imparts a savory, slightly salty layer but also helps the crumb mixture brown beautifully during frying.
Step 6: Coat the Chicken
Dredge each chicken strip first in the flour mixture, then dip it into the egg wash, and finally press it into the breadcrumb blend. Make sure to press firmly, so the coating clings well and won’t fall off during frying. This triple-layered coating develops that enviable crunch when cooked.
Step 7: Fry to Golden Perfection
Carefully lay the coated tenders into the hot oil without overcrowding the pan, as space is essential for crisping. Fry each side for 4-5 minutes until they turn a gorgeous golden brown and the chicken is cooked through. Turning them gently ensures an even cook and crunchy all over.
Step 8: Drain and Rest
Use tongs to transfer cooked tenders onto a paper towel-lined plate. This step lets the excess oil drain off so your tenders stay crisp, not greasy. Repeat frying in batches until all tenders are cooked.
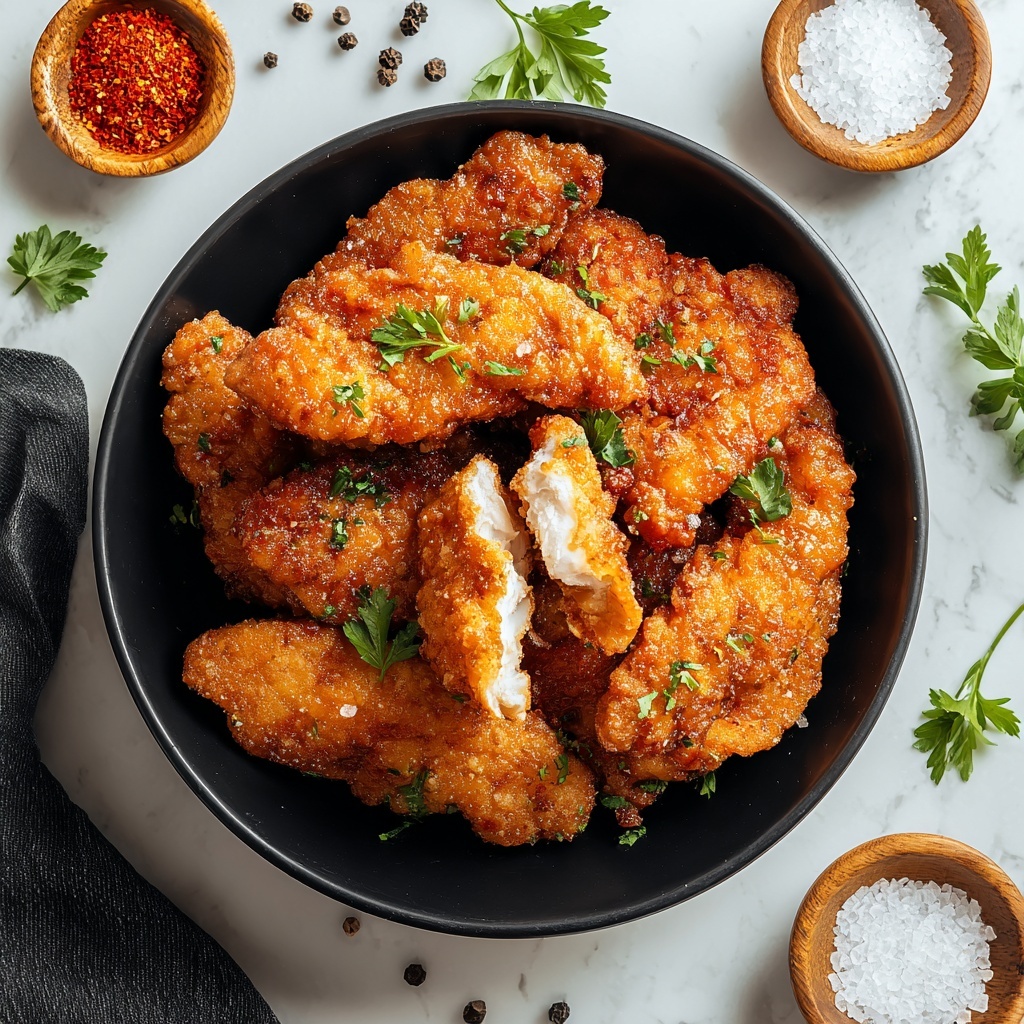
Step 9: Serve and Enjoy
Serve your homemade chicken tenders immediately, paired with your favorite dipping sauces for maximum enjoyment. Every bite is a celebration of crispy, tender goodness that’s hard to resist.
How to Serve Homemade Chicken Tenders Recipe
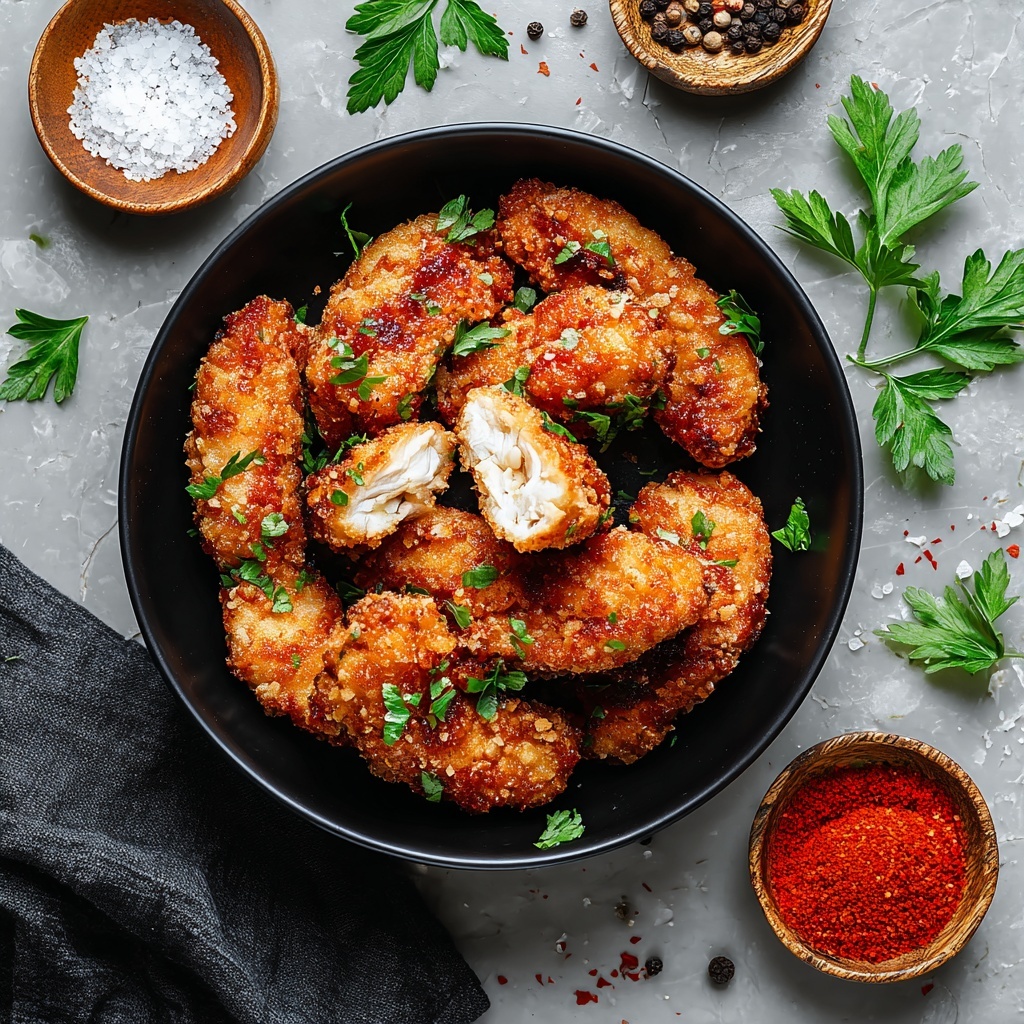
Garnishes
To add a fresh pop of color and flavor, sprinkle some chopped fresh parsley or chives over the tenders. A light drizzle of lemon juice can also brighten up the richness and add a zesty twist that wakes up your palate beautifully.
Side Dishes
Classic sides like crispy fries or a fresh garden salad complement the homemade chicken tenders wonderfully. For a healthier pick, try roasted vegetables or a creamy coleslaw that offers refreshing crunch while balancing the meal.
Creative Ways to Present
Elevate your presentation by stacking the tenders on a wooden board with small bowls of garlic aioli, honey mustard, and classic ranch dressing. Another fun idea is to build sliders with mini buns, lettuce, and pickles, turning this into a party-worthy dish everyone will rave about.
Make Ahead and Storage
Storing Leftovers
If you happen to have any leftover tenders (which is rare!), store them in an airtight container in the refrigerator. They will stay tasty and safe to eat for up to 3 days. Make sure they are completely cooled before refrigerating to preserve texture.
Freezing
To freeze, place the fully cooked tenders in a single layer on a baking sheet and freeze until solid. Then transfer to a freezer-safe bag or container. This method prevents them from sticking together and allows you to enjoy this Homemade Chicken Tenders Recipe anytime you want within 1-2 months.
Reheating
For the best crispy texture when reheating, pop the tenders in the oven at 375°F (190°C) for about 10-15 minutes instead of using the microwave. This way, they regain their crunch and taste almost as good as freshly fried.
FAQs
Can I bake the chicken tenders instead of frying?
Absolutely! Baking is a healthier option. Lay the coated tenders on a parchment-lined baking sheet, spray lightly with cooking spray, and bake at 400°F (205°C) for about 20 minutes, flipping halfway, until golden and cooked through. Though the crispiness might be slightly different, it’s still delicious.
What dipping sauces go best with homemade chicken tenders?
Traditional options like honey mustard, ranch, barbecue, and buffalo sauce all pair beautifully. You can also get creative with garlic aioli, sriracha mayo, or even a sweet chili sauce for dipping. Having variety makes every bite exciting.
Can I use chicken thighs instead of breasts?
Yes! Chicken thighs are juicier and can add extra flavor but may require a slightly longer cooking time. Just make sure to cut them into evenly sized strips for consistent cooking.
How do I ensure the coating sticks well?
The key is the three-step coating process: flour, egg wash, then breadcrumb mixture. Pressing the breadcrumbs firmly onto the chicken strips in the final step also helps everything adhere nicely and stay put during frying.
Is it necessary to use Parmesan cheese in the coating?
While Parmesan adds great flavor and a lovely savory note, you can omit it if needed. The tenders will still be tasty with just breadcrumbs, but the cheese definitely gives a special boost to both taste and texture.
Final Thoughts
This Homemade Chicken Tenders Recipe is comfort food at its finest—simple ingredients, straightforward preparation, and a result that delights every time. From the crispy, flavorful coating to the juicy chicken inside, it’s a dish you’ll want to make again and again. So grab your apron, dive into the fun of cooking, and enjoy sharing this fantastic meal with the people you love most!