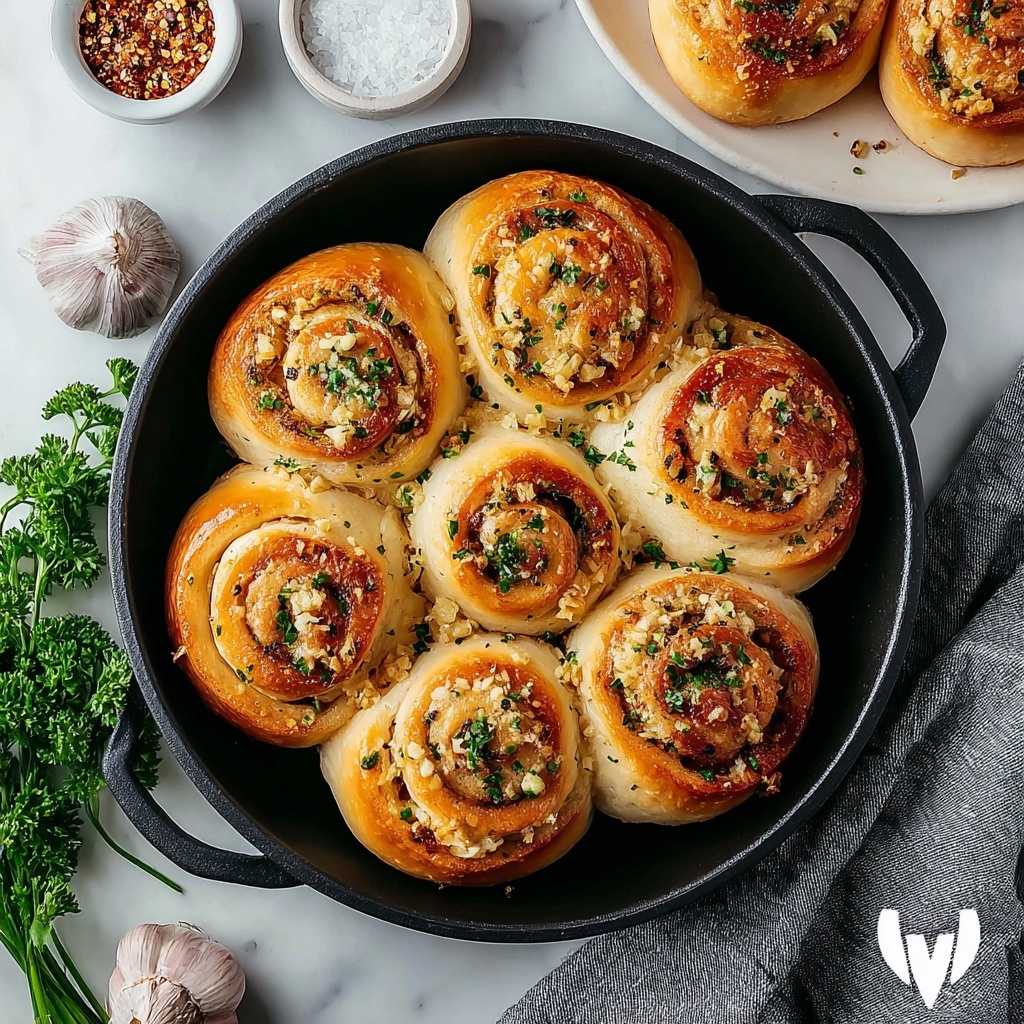
If you have a soft spot for warm, buttery bread with a punch of garlicky goodness, then you are going to absolutely adore this Garlic Swirl Rolls Recipe. These rolls are a perfect blend of fluffy dough and a flavorful garlic butter swirl that makes every bite a comforting delight. Whether you’re serving them alongside dinner or enjoying them fresh from the oven with a dab of butter, these rolls elevate any meal effortlessly. Let me take you on a journey to baking these irresistible rolls that combine simplicity and incredible taste in one fantastic recipe.
Ingredients You’ll Need
The magic behind the Garlic Swirl Rolls Recipe lies in its honest, straightforward ingredients—each one playing a crucial role in achieving that perfect texture and rich flavor. The combination creates soft, beautifully risen dough with that signature garlic swirl that steals the show.
- 3 1/2 cups all-purpose flour: The foundation for a tender, fluffy roll that rises just right.
- 1 tablespoon sugar: Adds just a touch of sweetness to balance savory flavors and feeds the yeast.
- 1 tablespoon instant yeast: The vital leavening agent that makes the dough rise and become airy.
- 1 teaspoon salt: Enhances all the flavors and strengthens the dough’s structure.
- 1 cup warm milk: Provides moisture and a milky richness, activating the yeast perfectly.
- 1/2 cup unsalted butter, melted: Adds a velvety richness that envelops each bite in buttery goodness.
- 1 large egg: Contributes to the structure and imparts a tender crumb.
- 1 tablespoon garlic powder: Brings that comforting, savory garlic taste to the swirl.
- 1/4 cup unsalted butter, softened: The base for the garlic swirl that coats every delicious layer.
- 1 tablespoon fresh parsley, chopped: Offers a pop of color and fresh herb flavor.
- 1/2 teaspoon salt: Balances the garlic butter topping perfectly.
How to Make Garlic Swirl Rolls Recipe
Step 1: Combine Dry Ingredients
Start by mixing your flour, sugar, instant yeast, and salt in a large bowl. This step ensures that your leavening agent and seasonings are evenly distributed, laying the groundwork for a perfectly textured dough.
Step 2: Add Warm Milk
Gently warm the milk—warm, not hot—to activate the yeast without killing it. Pour it into your dry mixture and get ready to bring your dough to life.
Step 3: Incorporate Butter and Egg
Add the melted butter and crack in the egg, then mix until just combined. The butter adds moisture and tenderness while the egg contributes to that slight richness and elasticity in your dough.
Step 4: Knead the Dough
Kneading is where the magic happens! Whether by hand or with a dough hook, knead for about 8 minutes until the dough feels smooth and elastic—this will give you those lovely soft swirls we’re after.
Step 5: First Rise
Cover your dough with a towel or plastic wrap and place it somewhere warm to rise for 1 to 1.5 hours. You’ll know it’s ready when it doubles in size—that’s your yeast working hard for that perfect fluff.
Step 6: Prepare the Garlic Butter Mixture
While the dough rises, gently melt your softened butter in a small pan. Stir in the garlic powder, fresh parsley, and salt, then set it aside to cool. This mixture is the star of the swirl, infusing the rolls with savory, buttery flavor.
Step 7: Shape the Rolls
Punch down your risen dough and transfer it to a floured surface. Roll it out into a 12 by 18 inch rectangle, then spread that luscious garlic butter evenly over the top. Start rolling the dough tightly from the long edge, forming a log.
Step 8: Slice and Arrange
Cut your dough roll into 12 even pieces with a sharp knife or dental floss, which helps keep the shape clean. Arrange the slices in a greased 9×13 baking dish, leaving just a bit of room between each.
Step 9: Second Rise and Bake
Cover the arranged rolls and give them 30 more minutes to rise. Meanwhile, preheat your oven to 375°F (190°C). Then bake the rolls for 18-22 minutes until they’re gloriously golden on top, signaling they are ready to enjoy.
Step 10: Cool and Serve
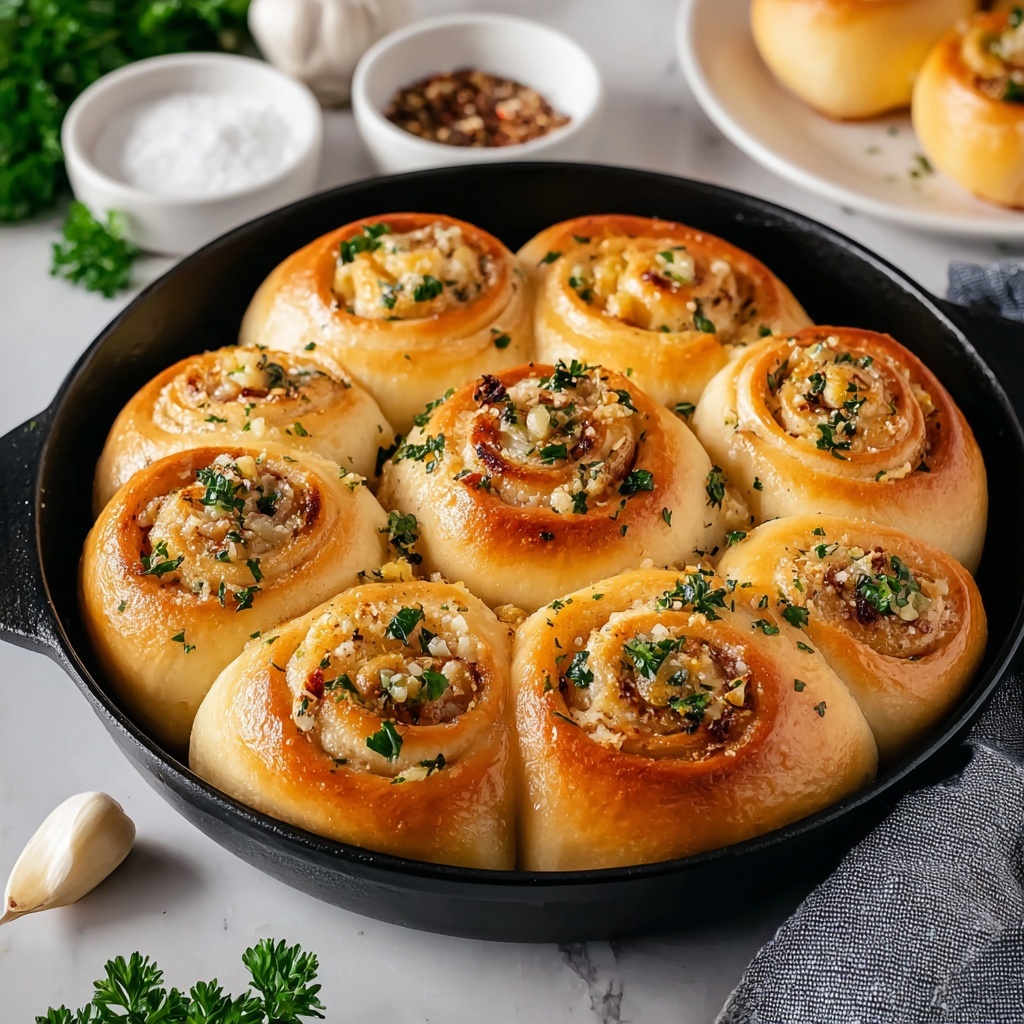
Once baked, let the rolls cool just a bit, then serve warm to experience the soft, buttery, garlicky deliciousness at its absolute best.
How to Serve Garlic Swirl Rolls Recipe
Garnishes
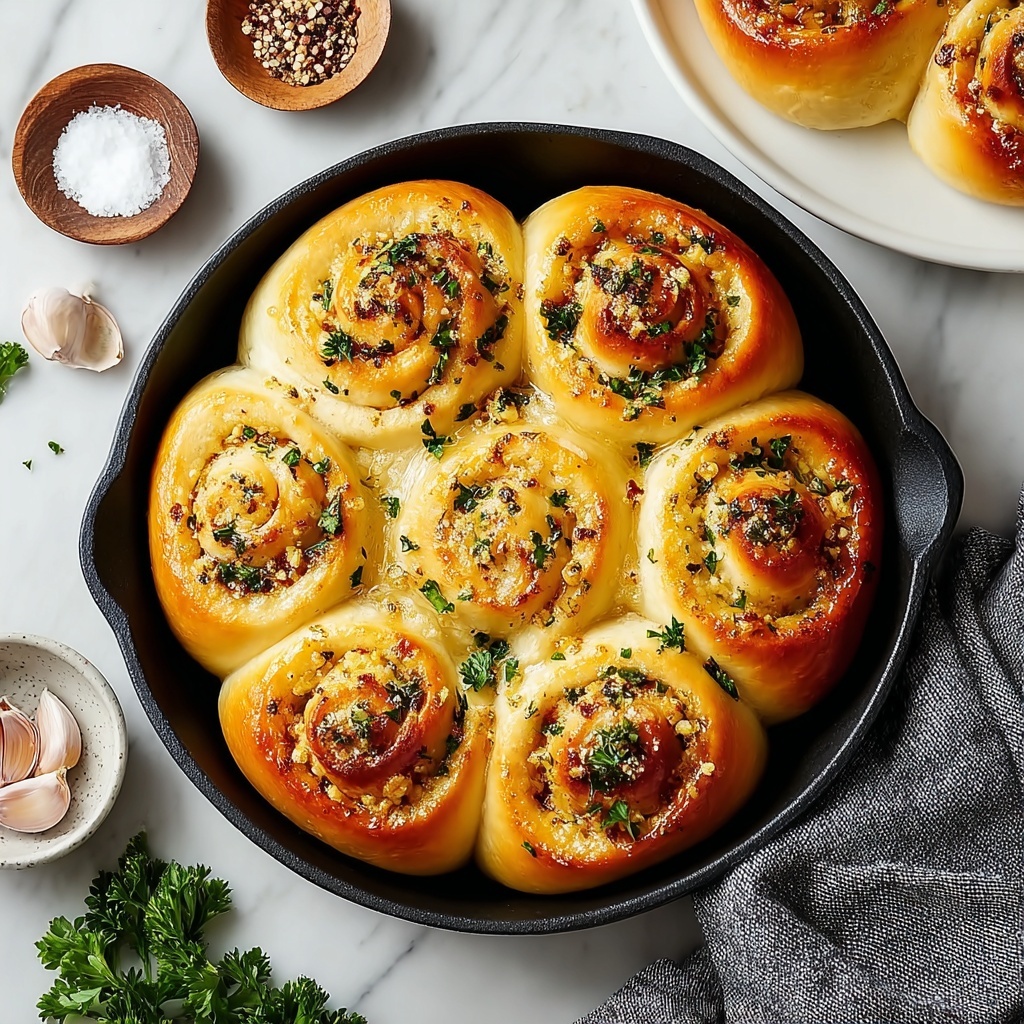
Sprinkling a pinch of freshly chopped parsley or a light dusting of parmesan cheese over warm rolls can add a fresh, slightly sharp contrast to the buttery garlic flavor. For a little extra indulgence, a drizzle of melted butter on top right out of the oven never fails.
Side Dishes
These rolls shine alongside hearty meals like soups, stews, or roasted meats. Imagine dipping warm, fluffy garlic swirl rolls into creamy tomato soup or pairing them with a roasted garlic and rosemary chicken for a meal bursting with complementary flavors.
Creative Ways to Present
Try serving your Garlic Swirl Rolls Recipe in a rustic breadbasket lined with a colorful napkin for a cozy touch. Alternatively, individual rolls can be plated with a small ramekin of herb-infused olive oil or marinara sauce for dipping, turning an everyday dinner into a special occasion.
Make Ahead and Storage
Storing Leftovers
Your leftover Garlic Swirl Rolls Recipe can be stored in an airtight container or wrapped tightly in plastic wrap to keep them soft for up to 3 days at room temperature. For best results, consider reheating gently before serving to revive that fresh-baked warmth.
Freezing
You can freeze the rolls either before baking or after cooling. Wrap each roll or the whole batch tightly in plastic and then foil, placing them in a freezer-safe bag. They’ll keep well for up to 2 months. When ready, thaw overnight in the fridge before reheating or baking.
Reheating
To bring back the softness and warmth, reheat the rolls in a 350°F oven for about 10 minutes, wrapped loosely in foil to prevent drying. A quick zap in the microwave wrapped in a damp paper towel also works in a pinch, though oven reheating preserves that fluffy texture best.
FAQs
Can I use fresh garlic instead of garlic powder for this Garlic Swirl Rolls Recipe?
Absolutely! Fresh garlic will create a more intense flavor, but you’ll want to finely mince it and lightly sauté it in the butter before spreading on the dough to keep from overpowering the rolls or creating raw garlic bites.
What type of yeast is best for this recipe?
Instant yeast is perfect here because it can be mixed directly with the dry ingredients without proofing. However, active dry yeast will also work if you proof it in warm milk first.
Can I make these rolls vegan?
You can try substituting the milk with a plant-based alternative and using a flax or chia egg in place of the large egg, along with a vegan butter for the swirl, but note that texture and flavor may slightly differ.
How do I know when the dough has risen enough?
The dough should roughly double in size and feel light and airy when you gently poke it. If the indentation remains, it’s ready to proceed to the next step.
Can these rolls be made gluten-free?
While this recipe relies on the gluten in all-purpose flour for structure, you could experiment with a gluten-free flour blend designed for yeast breads, but the dough will behave differently and may require additional binders like xanthan gum.
Final Thoughts
This Garlic Swirl Rolls Recipe is a true keeper—easy enough for weekday baking but impressive enough for special occasions. The combination of soft dough and rich, savory garlic butter swirl creates a mouthwatering treat that’s impossible to resist. Once you try these rolls, they’re sure to become a beloved staple in your baking repertoire. So, roll up those sleeves, gather your ingredients, and enjoy the warm comfort that only fresh-baked garlic swirl rolls can deliver.