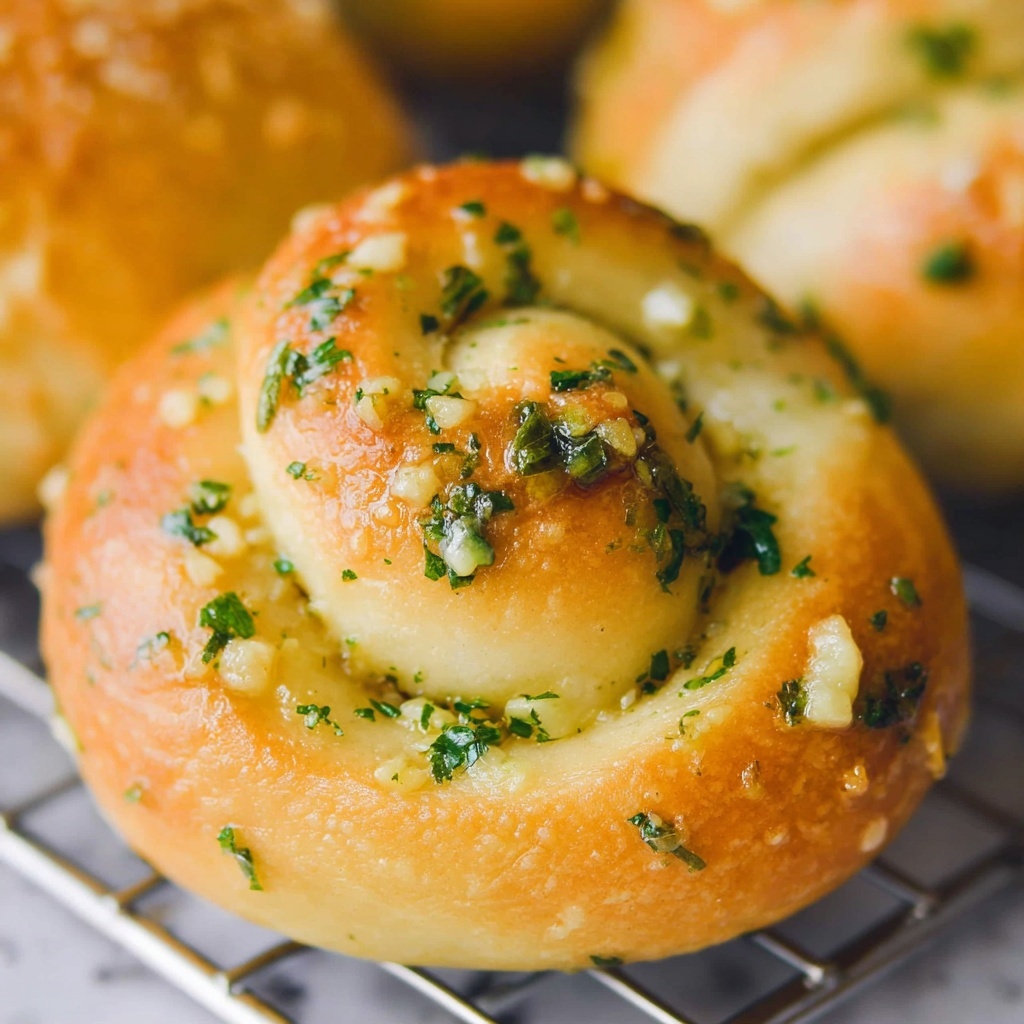
There is something truly magical about homemade garlic knots that no store-bought version can match. This Best Garlic Knots Recipe offers soft, pillowy, perfectly golden knots infused with rich garlic butter that will have you reaching for just one more. Whether you’re serving them alongside pasta, dipping into marinara, or simply indulging on their own, these garlic knots bring comfort and flavor with every bite. Trust me, once you try this recipe, these will become your go-to garlic knots for every occasion.
Ingredients You’ll Need
Ingredients You’ll Need
This recipe calls for simple yet essential ingredients that come together beautifully to create an irresistible dough and a luscious garlic butter finish. Each component, from the yeast to the fresh parsley, plays a vital role in flavor, texture, and aroma that make these knots unforgettable.
- 2 teaspoons active dry yeast: This little powerhouse helps the dough rise light and fluffy.
- 1 cup warm water: Perfect temperature activates the yeast without killing it.
- 1 teaspoon sugar: Feeds the yeast for a nice, fluffy texture.
- 1 & 1/4 teaspoons kosher salt: Enhances flavor balance throughout the dough.
- 2 tablespoons olive oil: Adds subtle richness and helps tenderize the dough.
- 2 & 1/2 cups bread flour: Provides the structure needed for that perfect chewy knot.
- 1/4 cup butter (half stick): Infuses the knots with buttery goodness in the finishing sauce.
- 1/4 cup olive oil: Combined with butter for the garlic sauce, ensuring smooth coating.
- 6 cloves garlic (smashed and minced): The star ingredient that delivers bold, fresh garlic flavor.
- 1/2 teaspoon kosher salt: Seasons the garlic butter sauce just right.
- 1/8 teaspoon black pepper: Adds a hint of subtle heat to complement the garlic.
- 1 tablespoon fresh parsley (minced, optional): Brightens the flavor and adds a lovely green pop.
How to Make Best Garlic Knots Recipe
Step 1: Proof the Yeast
Start by combining active dry yeast, warm water, and sugar in a large bowl or stand mixer. The water temperature should feel like a warm bath—not scalding hot—to awaken the yeast gently. Let it sit for 5 minutes. When bubbles and puffiness appear, the yeast is alive and kicking, ready for the next step. If not, don’t hesitate to toss and try again. This little check guarantees your dough will rise wonderfully.
Step 2: Begin the Dough
Stir in the kosher salt, olive oil, and one cup of flour into the yeast mixture. The salt not only enhances the flavor but also controls yeast activity to prevent over-rising. Olive oil adds a tender richness you’ll notice in every bite.
Step 3: Add Remaining Flour
Switch to a dough hook if you have a mixer, or prepare to knead by hand. Gradually mix in the remaining 1 1/2 cups of bread flour. This step builds the dough’s strength and elasticity, essential for shaping the knots.
Step 4: Knead the Dough
Knead for about 7-8 minutes. If it feels sticky, sprinkle in a few tablespoons of flour at a time, but don’t overdo it—you want the dough smooth and elastic without being too dry. The perfect dough is tacky but not sticky, ready to spring back at a gentle poke.
Step 5: Let the Dough Rise
Lightly grease a large bowl with nonstick spray or olive oil. Form your dough into a ball, placing it seam side down in the bowl. Turn it over so every side gets lightly oiled. Cover with a tea towel and place in a warm spot to rise for about 1 1/2 hours or until doubled in size. For a cozy rising environment, placing the dough in a pre-warmed (then turned off) oven works like a charm.
Step 6: Shape the Knots
After the first rise, punch down the dough gently to release air bubbles, then let it rest uncovered for 10 minutes. Prepare two baking sheets with parchment paper or nonstick spray. Divide the dough into 12 equal pieces. Roll each piece into roughly 8-inch ropes about 1/2 to 1 inch thick. Carefully tie each rope into a classic knot shape—this is where your knots start to look like the delightful treasures they are.
Step 7: Let Knots Rise Again
Lay the knots on your prepared baking sheets, cover with tea towels, and let rise for another 45 minutes to an hour. During this time, they’ll puff up gloriously, getting ready for baking into golden perfection.
Step 8: Bake Your Garlic Knots
Preheat your oven to 425°F (220°C). Bake the knots for 20-25 minutes, switching baking sheets halfway if using multiple racks, until tops are golden and bottoms browned. Remove from oven and transfer to a wire rack to cool for 10 minutes before their luxurious butter bath.
Step 9: Make the Garlic Butter Sauce and Finish
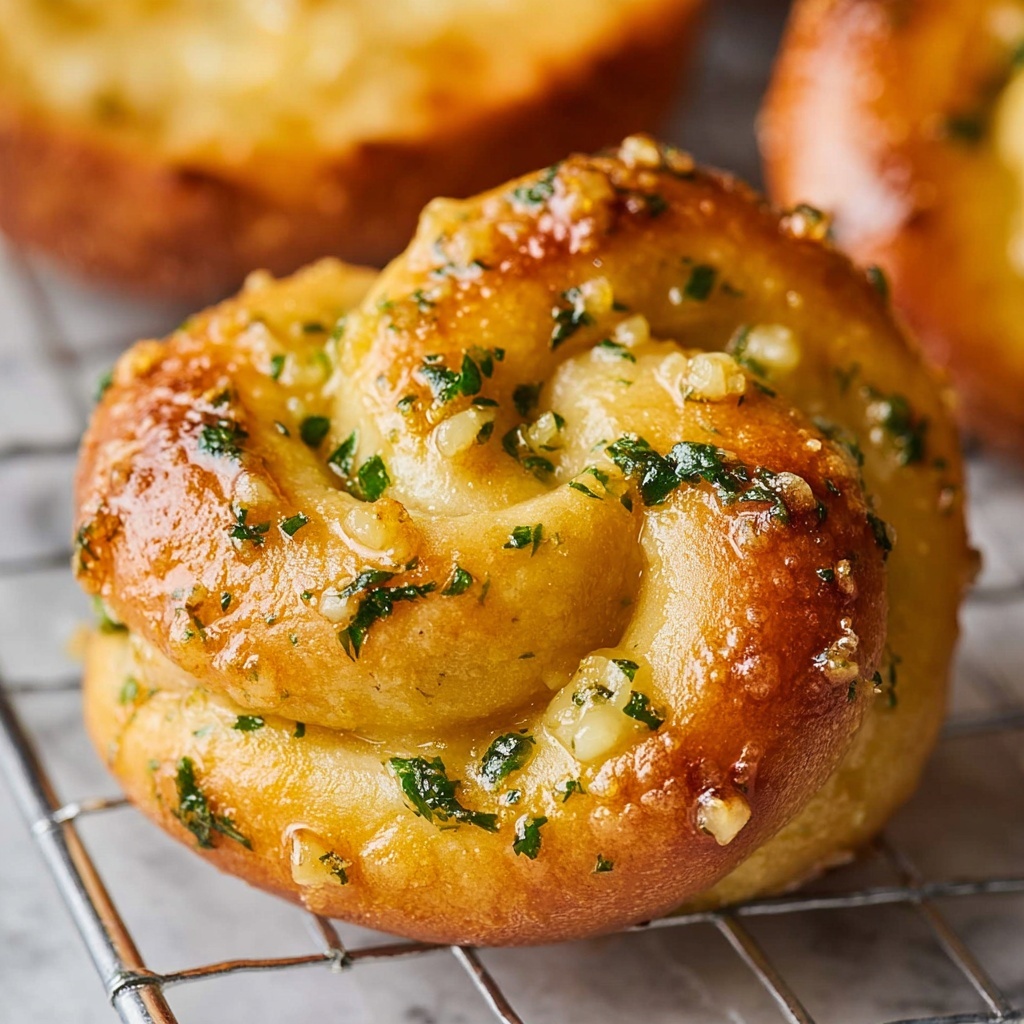
While the knots bake, prepare the garlic butter sauce by gently warming butter, olive oil, smashed and minced garlic, salt, and black pepper over low heat. Cook just until the garlic starts to turn golden—don’t let it brown too dark or it will taste bitter. Stir in fresh minced parsley off the heat and allow the sauce to cool slightly. Dunk each warm knot into this sauce, spooning extra garlic buttery goodness on top to fill those knot crevices. Let them rest briefly on a wire rack for the perfect finishing touch and serve warm.
How to Serve Best Garlic Knots Recipe
Garnishes
Freshly chopped parsley is a charming way to add some color and brightness right before serving. For a bit of extra flair, sprinkle some grated Parmesan or a light dusting of red pepper flakes to add savory depth and a gentle kick. These additions elevate the garlic knots from simple to stunning, making for an irresistible appetizer or side.
Side Dishes
Garlic knots shine alongside Italian classics like pasta with marinara or Alfredo sauce, a hearty lasagna, or a fresh Caesar salad. Their soft texture and bold garlic flavor complement robust dishes perfectly, and they’re fantastic for dipping. They can also pair beautifully with soups, stews, or antipasto platters for a crowd-pleasing spread.
Creative Ways to Present
Try serving these knots braided into a wreath shape for a festive table centerpiece or stack them in a rustic wooden basket lined with linen for a cozy, inviting look. Another fun idea is to present them alongside little bowls of flavored butters, olive oil dips, or herbed creams so guests can customize their bites. The possibilities are endless and this recipe always keeps guests coming back for more.
Make Ahead and Storage
Storing Leftovers
If you have leftovers, store them in an airtight container at room temperature for up to two days. To keep them from drying out, wrapping the knots in a clean kitchen towel or placing a slice of bread in the container helps maintain softness and moisture. Garlic knots are best enjoyed fresh but these tips keep them tasty afterward.
Freezing
You can freeze any extra garlic knots easily. Place completely cooled knots on a baking sheet in a single layer and freeze until solid. Transfer them to a zip-top freezer bag or airtight container for up to 2 months. When you want a treat, pull out however many you need and reheat straight from the freezer.
Reheating
For reheating, the best approach is warming garlic knots in a preheated oven at 350°F (175°C) for about 10-15 minutes. This keeps the exterior crisp while reviving the soft crumb inside. Alternatively, a quick zap in the microwave with a damp paper towel helps if you’re short on time, but you’ll lose a bit of that fresh-baked texture.
FAQs
Can I use all-purpose flour instead of bread flour?
You can substitute all-purpose flour, but bread flour is preferred here for its higher protein content, which gives garlic knots that desirable chewy texture. Using all-purpose might yield slightly softer, less structured knots.
How do I know if my yeast is still good?
Proofing yeast as described at the start is the best test: it should foam and bubble within 5 minutes when mixed with warm water and sugar. If it remains flat, your yeast is likely expired or dead and won’t help the dough rise properly.
Can I prepare the dough ahead of time?
Absolutely! After the first rise and shaping the knots, you can refrigerate them covered overnight. Just be sure to take them out and let them come to room temperature and rise a bit more before baking.
What if I don’t have fresh parsley for the garlic butter?
Fresh parsley adds brightness but isn’t mandatory. Dried parsley or other fresh herbs like basil or oregano can work too. If you omit herbs entirely, the garlic butter will still be deliciously rich and aromatic.
Are these garlic knots vegetarian?
Yes! This recipe is vegetarian-friendly since it uses only plant-based ingredients, butter, and seasonings. Perfect for sharing at your next meat-free meal or gathering.
Final Thoughts
Making this Best Garlic Knots Recipe is such a gratifying experience, from the fluffy dough to the garlicky buttery finish that lingers long after the last bite. Whether you’re a seasoned baker or just craving something comforting and homey, these garlic knots will quickly become a cherished staple in your kitchen. Give it a try and prepare to fall in love—your friends and family will thank you too!