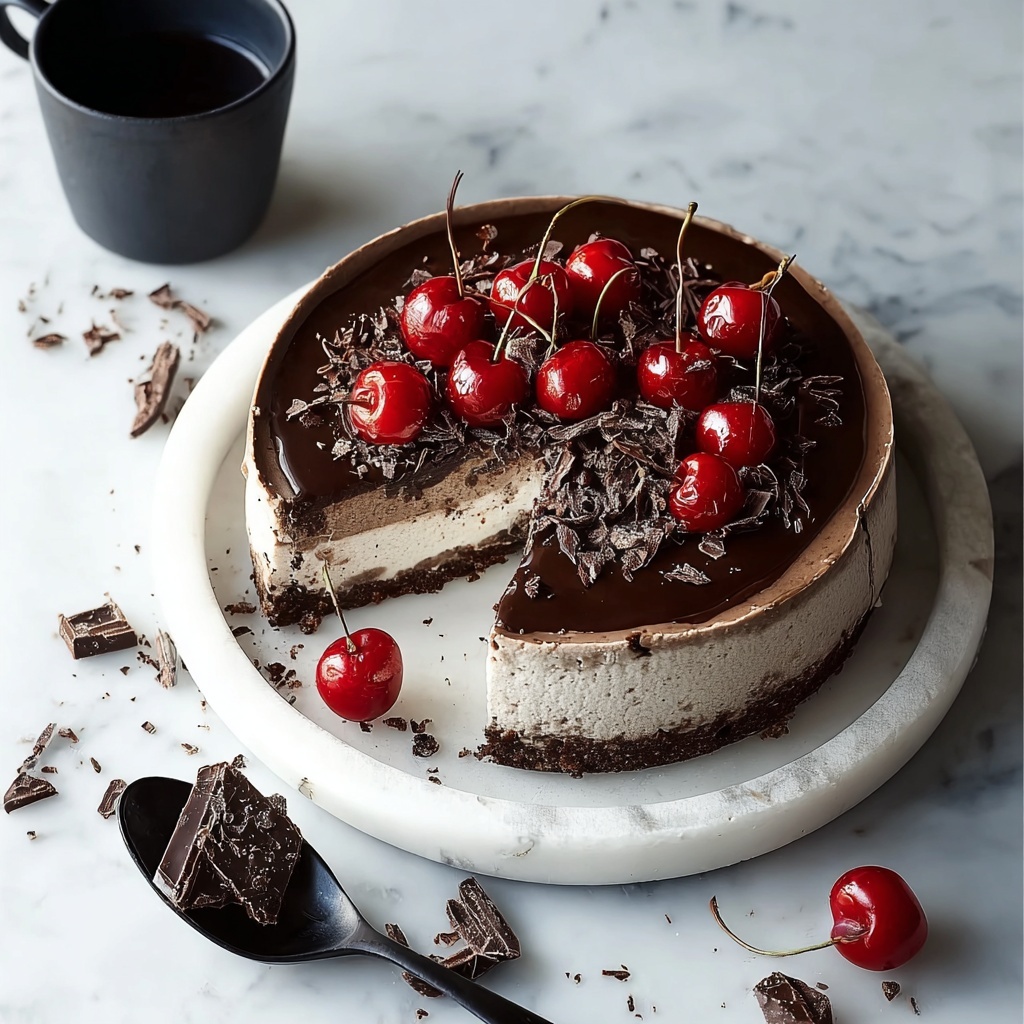
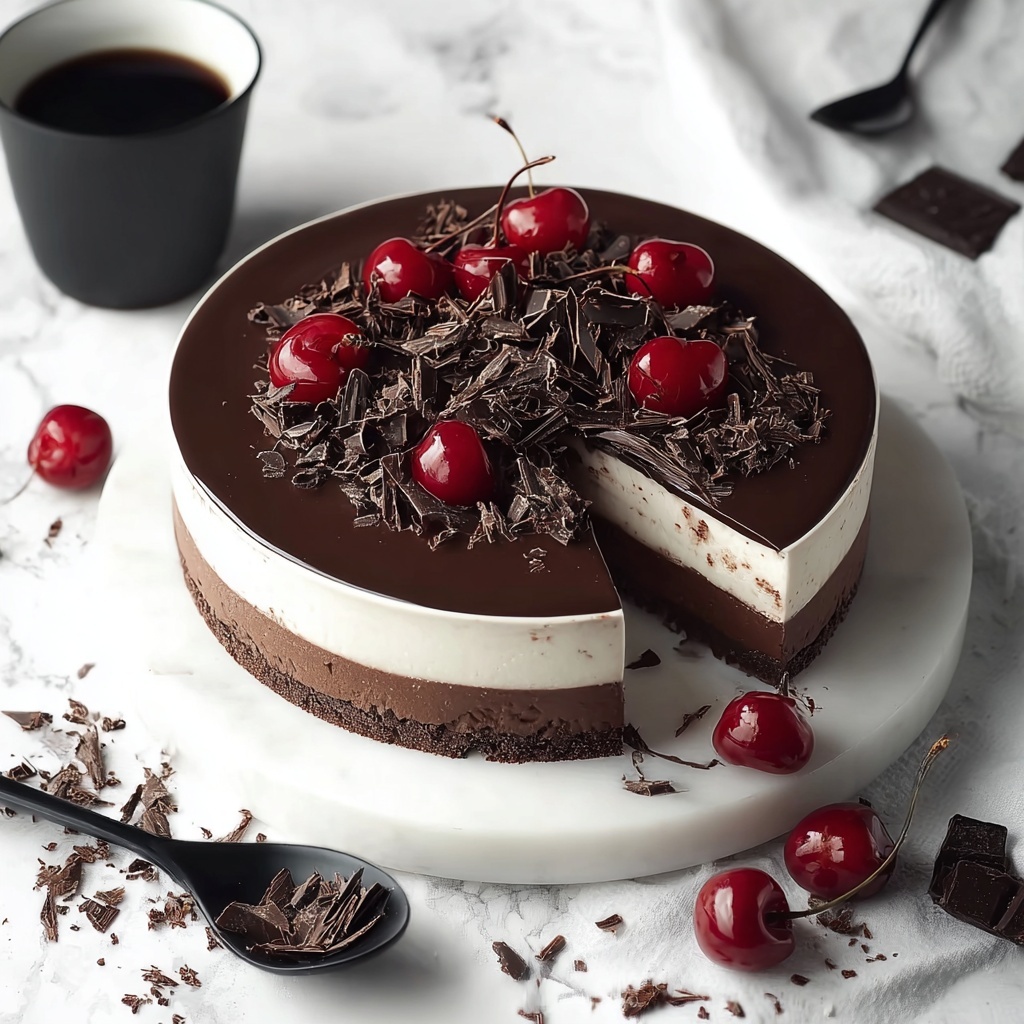
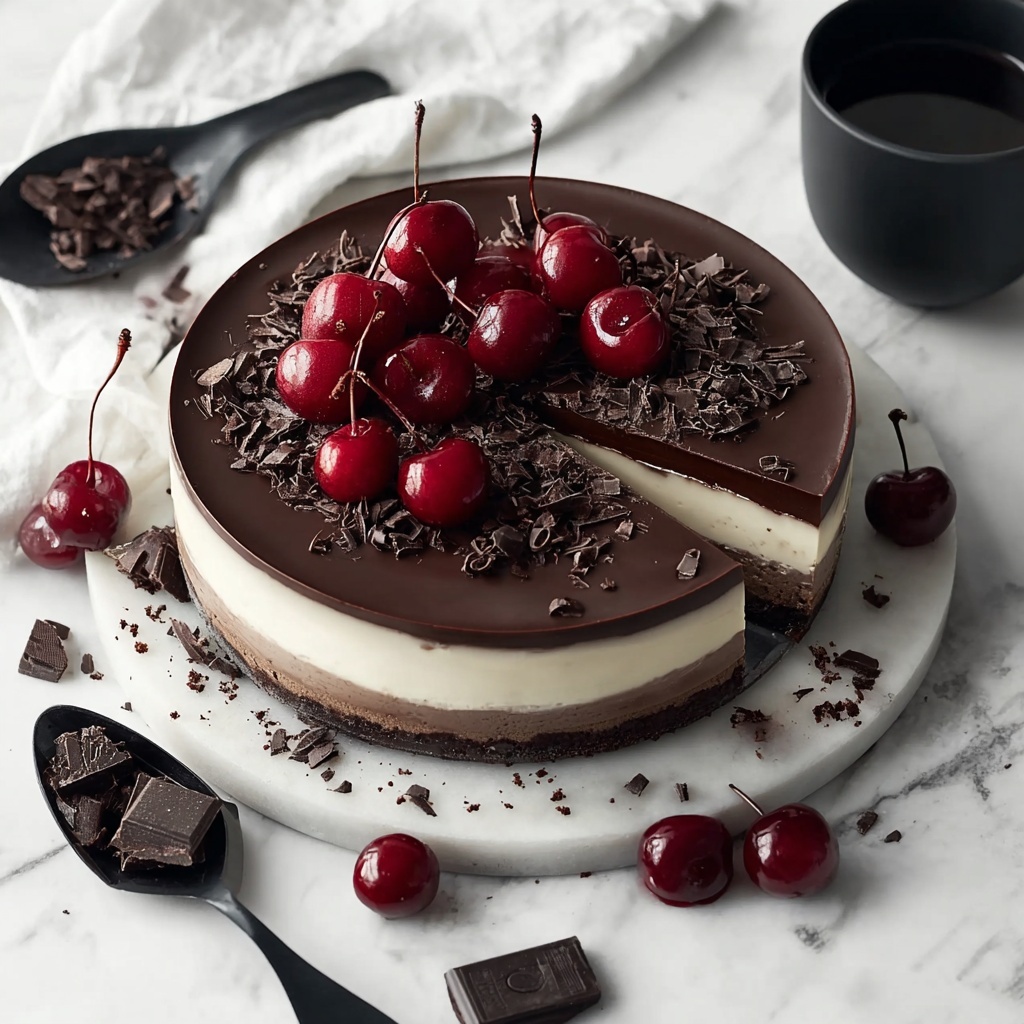
If you’ve ever dreamed of combining rich, creamy cheesecake with the indulgent flavors of chocolate and cherries, then you’re going to love this Black Forest Cheesecake Recipe. It’s a delightful twist on the classic Black Forest cake, transforming it into a luscious, smooth cheesecake bursting with cherry sweetness and a chocolatey crust. This recipe brings together the perfect harmony of textures and flavors, making it an impressive yet surprisingly approachable dessert to share with friends and family.
Ingredients You’ll Need
The beauty of this Black Forest Cheesecake Recipe lies in its simple yet essential ingredients. Each one plays a crucial role—whether it’s the chocolate cookie crumbs that give the crust depth, the cream cheese that creates that velvety smooth texture, or the cherries that add a vibrant pop of color and flavor.
- Chocolate cookie crumbs: Provide a rich, chocolaty base and a perfect crunchy crust.
- Unsalted butter, melted: Binds the cookie crumbs together for that sturdy crust.
- Cream cheese, softened: The heart and soul of any cheesecake, lending creaminess and tang.
- Granulated sugar: Sweetens the cheesecake without overpowering its delicate flavors.
- Vanilla extract: Adds warmth and depth to the creamy filling.
- All-purpose flour: Helps stabilize the cheesecake for a perfect, smooth texture.
- Eggs: Provide structure and richness to the cheesecake batter.
- Sour cream: Adds a lovely tang and keeps the cheesecake moist.
- Heavy cream: Enhances the luxurious texture and richness.
- Canned cherries in syrup, drained: Classic Black Forest flavor captured in sweet, juicy cherries.
- Cherry syrup from the canned cherries: Used to intensify cherry flavor on top.
- Dark chocolate shavings: For garnish that adds a bittersweet contrast and gorgeous look.
- Whipped cream: Light and airy topping to balance the cheesecake’s richness.
- Extra cherries: A fresh burst of color and flavor as a finishing touch.
How to Make Black Forest Cheesecake Recipe
Step 1: Prepare Your Pan and Oven
Start by preheating your oven to 325°F (163°C). Grease a 9-inch springform pan thoroughly, then wrap the outside with aluminum foil to protect the cheesecake from water when baking in a water bath. This step ensures a perfectly moist, crack-free cheesecake.
Step 2: Make the Chocolate Crust
In a medium bowl, mix the chocolate cookie crumbs with melted butter until it resembles wet sand. Press this mixture evenly into the bottom of your prepared pan. This crust gives a rich chocolate foundation that balances the sweet and tangy cheesecake beautifully.
Step 3: Blend the Cream Cheese Mixture
Using an electric mixer, beat the softened cream cheese until smooth and fluffy. Slowly add the granulated sugar and vanilla extract, mixing until everything is combined into a silky smooth batter. This step is crucial for that iconic creamy texture.
Step 4: Add Flour and Eggs
Stir in the all-purpose flour to help stabilize the batter. Then add the eggs one at a time, mixing well after each addition. This method ensures the batter is smooth and lump-free, which is essential for a dense, fudgy cheesecake.
Step 5: Incorporate Sour Cream and Heavy Cream
Gently fold the sour cream and heavy cream into the mixture. These ingredients add tang and richness, keeping the cheesecake moist without being too heavy or dense.
Step 6: Layer the Batter and Cherries
Pour half of the cheesecake batter over the chocolate crust, then spoon half of the drained cherries on top. Carefully spread the remaining batter over the cherries, creating layers of creamy cheesecake and sweet fruit throughout.
Step 7: Prepare the Water Bath
Place the springform pan inside a larger roasting pan. Pour hot water into the roasting pan until it reaches halfway up the sides of the cheesecake pan. Baking in a water bath helps cook the cheesecake evenly and prevents cracking.
Step 8: Bake and Cool Gradually
Bake for 55-60 minutes, until the center is just set but still slightly jiggly. Turn off the oven and leave the cheesecake inside with the door slightly open for 1 hour. This gradual cooling process prevents sudden temperature changes that can cause cracks.
Step 9: Chill Overnight
Remove the cheesecake from the oven and chill it in the refrigerator for at least 4 hours, preferably overnight. This chilling period helps the flavors marry and the cheesecake set firmly for perfect slicing.
Step 10: Add the Cherry Syrup Topping
Just before serving, mix the reserved cherry syrup with the remaining cherries and spread this glossy, flavorful topping over the cheesecake. The syrup enhances the tartness and sweetness, making every bite irresistible.
Step 11: Garnish and Serve
Finish your beautiful Black Forest Cheesecake Recipe with a generous sprinkling of dark chocolate shavings, swirls of whipped cream, and extra cherries. This final touch not only looks stunning but adds layers of flavor and texture.
How to Serve Black Forest Cheesecake Recipe
Garnishes
Whipped cream and dark chocolate shavings are classic garnishes that elevate the appearance and flavor profile of your Black Forest Cheesecake Recipe. Extra cherries add freshness and make the dessert feel festive and inviting.
Side Dishes
Serve alongside a cup of rich espresso or a glass of bold red wine to complement the chocolate and cherry flavors. A small dish of fresh strawberries or a light berry coulis can add a refreshing contrast to the creamy cheesecake.
Creative Ways to Present
Transform this cheesecake into individual servings by cutting it into neat squares and plating each with a drizzle of cherry syrup and a mint leaf. For a stunning centerpiece, use clear plates so the layers shine through or present it on a rustic wooden board for a cozy vibe.
Make Ahead and Storage
Storing Leftovers
Leftover Black Forest Cheesecake Recipe can be tightly covered and stored in the refrigerator for up to 5 days. Keeping it chilled maintains the texture and flavor while allowing the cheesecake to remain fresh and creamy.
Freezing
If you want to save the cheesecake for longer, wrap it well in plastic wrap and aluminum foil before freezing. It can stay frozen for up to 2 months. Thaw it slowly in the refrigerator overnight before serving to preserve its smooth texture.
Reheating
This cheesecake is best enjoyed cold or at room temperature. If you’d like to slightly warm a slice, let it sit at room temperature for 15-20 minutes. Avoid microwaving as this can alter the texture and make it less creamy.
FAQs
Can I use fresh cherries instead of canned?
Absolutely! Fresh cherries can add incredible flavor and texture. Just make sure to pit and lightly cook them with some sugar to mimic the syrupy sweetness of the canned ones for the best results.
Do I need to use a water bath when baking?
While not mandatory, using a water bath is highly recommended. It helps the cheesecake bake evenly and prevents cracks by maintaining a moist baking environment.
Can I substitute sour cream with something else?
You can use Greek yogurt as an alternative to sour cream. Both have a similar tang and moisture content but Greek yogurt will give a slightly different texture.
How can I prevent my cheesecake from cracking?
Make sure not to overmix the batter, use a water bath, and cool the cheesecake gradually with the oven door slightly open. These steps help minimize cracks and keep the cheesecake looking smooth and beautiful.
Is it possible to make this cheesecake gluten-free?
Yes! Simply substitute the chocolate cookie crumbs with a gluten-free chocolate cookie option and ensure all other ingredients are gluten-free certified.
Final Thoughts
There is something truly magical about this Black Forest Cheesecake Recipe that makes it a show-stopping dessert for any occasion. From the rich chocolate crust to the creamy cherry-studded filling and luxurious garnishes, every bite offers pure delight. Don’t hesitate—grab these ingredients and treat yourself and your loved ones to a slice of happiness today!