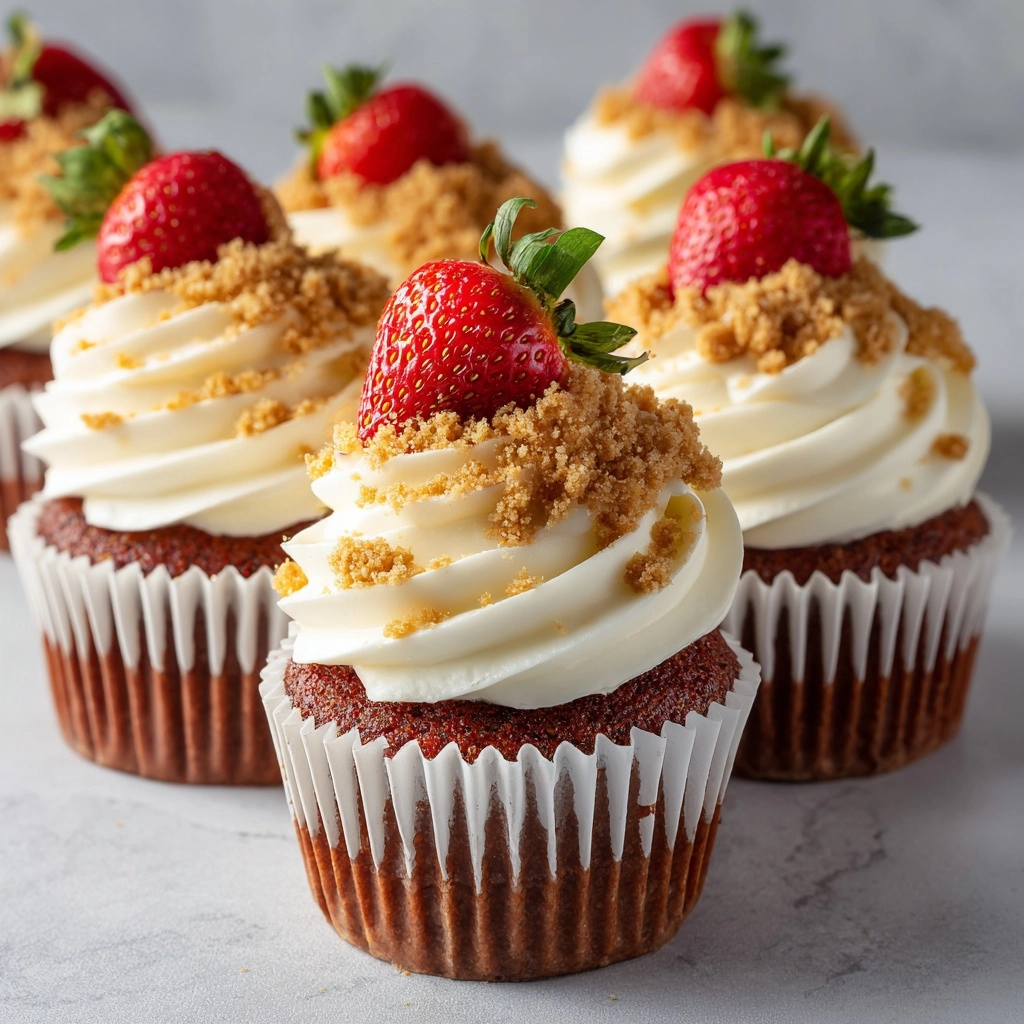
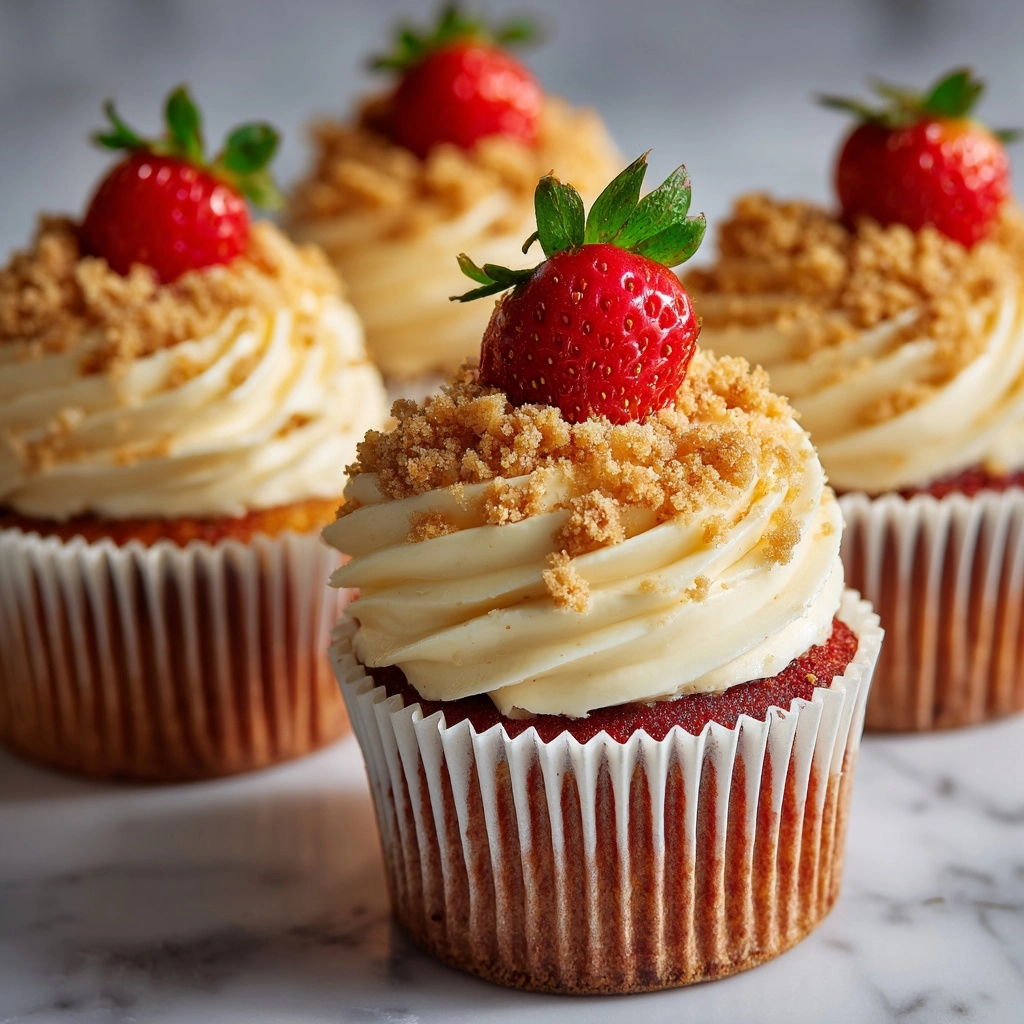
If you’re craving the magic of two classic desserts in one adorable treat, Cheesecake Red Velvet Cupcakes are here to sweep you off your feet! These cupcakes are the stuff of dessert dreams — vibrant scarlet cake swirling gently with a creamy, tangy cheesecake filling, baked into perfectly portioned delights. Every bite delivers that unmistakable red velvet cocoa richness paired with satisfyingly smooth cheesecake, making these cupcakes a showstopper for parties, Valentine’s Day, or whenever you feel like spoiling yourself and those you love.
Ingredients You’ll Need
Ingredients You’ll Need
You’ll be amazed at how a handful of pantry staples work together to create something truly magical. Each ingredient in Cheesecake Red Velvet Cupcakes brings an essential quality — whether it’s color, flavor, or that melt-in-your-mouth crumb.
- All-purpose flour: The base of the cupcakes, providing structure and a soft crumb.
- Unsweetened cocoa powder: Adds a subtle chocolatey background classic to red velvet.
- Baking soda: Ensures your cupcakes rise tall and fluffy.
- Salt: Just a touch to balance out sweetness and intensify flavors.
- Buttermilk (room temperature): The key to super-tender, tangy cupcakes.
- White vinegar: Reacts with the baking soda for perfect lift and authentic red velvet taste.
- Vanilla extract: Infuses warmth into both the cake and cheesecake filling.
- Red food coloring: Gives these cupcakes their signature vivid hue.
- Granulated sugar: Sweetens up both cake batter and the creamy filling.
- Vegetable oil: Creates a moist, soft crumb that stays fresh longer than butter-based cupcakes.
- Large egg: Binds everything together and adds richness to the batter.
- Cream cheese (softened): The star ingredient of the cheesecake filling — tangy, creamy, and luxurious.
- Granulated sugar (for filling): Sweetens the cheesecake swirl so it complements the cake.
- Large egg (for filling): Gives the filling just the right texture.
- Vanilla extract (for filling): Enhances the cheesecake layer’s flavor with a fragrant note.
How to Make Cheesecake Red Velvet Cupcakes
Step 1: Prep Your Oven and Line the Muffin Tin
Start by preheating your oven to 350°F (175°C). Then, line a standard muffin tin with cupcake liners — this ensures easy removal and keeps cleanup a breeze. Having everything ready before mixing helps you move smoothly through the recipe and ensures even baking for your Cheesecake Red Velvet Cupcakes.
Step 2: Mix the Dry Ingredients
In a medium bowl, whisk together your flour, cocoa powder, baking soda, and salt. This step makes sure everything is evenly distributed, so you won’t get lumps of cocoa or spots of baking soda in your cupcakes. The touch of cocoa adds depth without overwhelming the red velvet flavor.
Step 3: Blend the Wet Ingredients
Take a separate bowl and combine the buttermilk, vinegar, vanilla, and red food coloring. This mixture is what creates that iconic red velvet shade and those subtle tangy undertones that make these cupcakes so unique. Give it a good stir so the coloring is uniform throughout.
Step 4: Make the Red Velvet Batter
In a large bowl, whisk together the sugar and oil until smooth — this forms the foundation for a moist and tender crumb. Beat in the egg for richness. Now, alternate adding your dry and wet mixtures to the bowl, starting and ending with the dry. Mix gently, just until combined, to keep the batter tender. Overmixing can make cupcakes tough, so a gentle hand is best.
Step 5: Prepare the Cheesecake Filling
In a separate bowl, beat the softened cream cheese with ¼ cup sugar until it’s super smooth. Then mix in the egg and vanilla until everything is silky and lump-free. This simple cheesecake mixture will transform these red velvet cupcakes into something extraordinary.
Step 6: Fill and Swirl
Spoon your red velvet batter into each cupcake liner until they’re about two-thirds full. Next, drop a heaping tablespoon of the cheesecake filling on top of each. For a marble effect, you can gently swirl the cheesecake layer into the batter with a toothpick or skewer, but it’s lovely either way!
Step 7: Bake and Cool
Bake your Cheesecake Red Velvet Cupcakes in the preheated oven for 18 to 22 minutes. You’ll know they’re ready when a toothpick inserted into the cupcake portion comes out clean (don’t poke the cheesecake center for this test). Let them cool in the pan for 5 minutes, then transfer each cupcake to a wire rack to cool completely. For the dreamiest texture, pop them in the refrigerator and let them chill before serving.
How to Serve Cheesecake Red Velvet Cupcakes
Garnishes
Crowning your cupcakes with the right garnish takes them from great to unforgettable! Once chilled, top your Cheesecake Red Velvet Cupcakes with a swoosh of whipped cream or a swirl of cream cheese frosting. For extra flair, try chocolate shavings, festive sprinkles, or even fresh berries for a pop of color and flavor.
Side Dishes
Since these cupcakes are rich and indulgent, they play nicely with lighter, refreshing sides. Serve them alongside a bowl of fresh strawberries or raspberries, or offer a selection of hot and iced coffees, herbal teas, or a tall glass of cold milk to balance the treat. If you’re celebrating, a flute of bubbly never hurts either!
Creative Ways to Present
For a playful party touch, arrange Cheesecake Red Velvet Cupcakes on a tiered cupcake stand and scatter rose petals around for romance. Or, individually wrap each cupcake in cellophane and tie with a ribbon for a gorgeous edible gift. For a dramatic twist, use a piping bag to add a mini “heart” of frosting on each top — especially charming around Valentine’s Day!
Make Ahead and Storage
Storing Leftovers
If you’re lucky enough to have leftovers, keep your Cheesecake Red Velvet Cupcakes fresh by storing them in an airtight container in the refrigerator. Thanks to the cheesecake swirl, they’re best kept chilled, and they’ll taste dreamy for up to 4 days.
Freezing
Want to bake ahead? Good news — these cupcakes freeze beautifully! Let them cool completely, then wrap each one individually in plastic wrap before placing them in a freezer-safe bag or container. They’ll keep their flavor and texture for up to 2 months. When you’re ready to enjoy, thaw them in the fridge overnight.
Reheating
You don’t need to reheat these cupcakes, as they’re designed to be enjoyed chilled for the ultimate cheesecake experience. However, if you prefer them closer to room temperature, let them sit out for 15-20 minutes before serving. (A blast in the microwave can melt the creamy centers, so patience is key!)
FAQs
Can I use natural cocoa powder instead of Dutch-process?
Yes, you can! Traditional red velvet actually uses natural cocoa for its classic flavor. Just make sure it’s unsweetened for the best results in your Cheesecake Red Velvet Cupcakes.
What’s the best way to get a vibrant red color in the cupcakes?
Liquid or gel red food coloring both work, but gel varieties tend to produce the most vivid color without thinning the batter. Start with the amount listed, and add a bit more if you want them extra-bright.
Can these cupcakes be made gluten-free?
Absolutely! Just swap the all-purpose flour for your favorite 1:1 gluten-free baking blend. The result should be wonderfully similar in taste and texture.
Do I need to use full-fat cream cheese for the filling?
Full-fat cream cheese will give you the creamiest, richest cheesecake filling, but you can opt for reduced-fat if that’s what you have on hand. Just avoid whipped or spreadable cream cheese, which may make the batter too runny.
How do I know when the cupcakes are done baking?
Check for doneness by gently inserting a toothpick into the red velvet cake part (not the cheesecake center). It should come out clean or with a few moist crumbs — that’s your signal that your Cheesecake Red Velvet Cupcakes are perfectly baked!
Final Thoughts
It’s impossible not to fall for the charm and flavor of Cheesecake Red Velvet Cupcakes. They’re as fun and impressive to make as they are to eat! Give these a try next time you’re baking for a crowd — or just want to treat yourself to something truly special. Your kitchen (and your taste testers) will thank you!