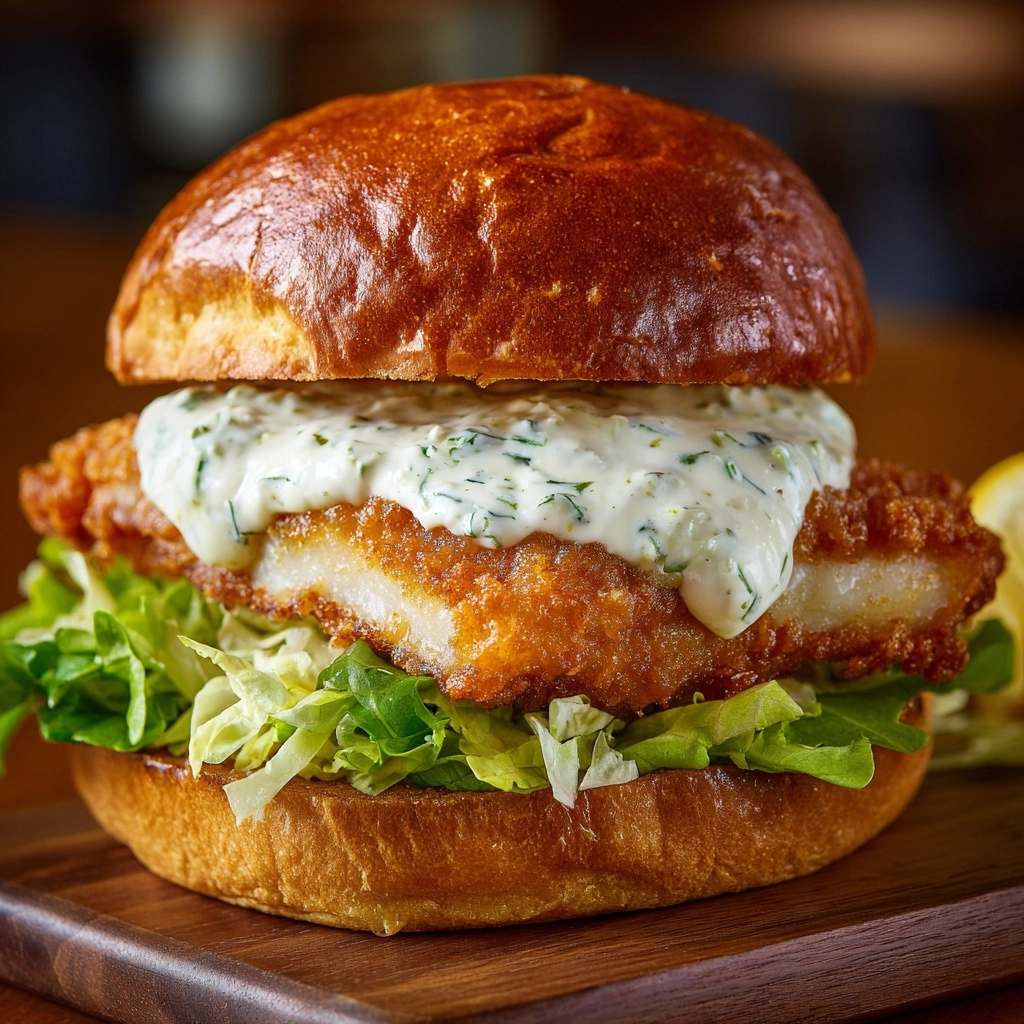
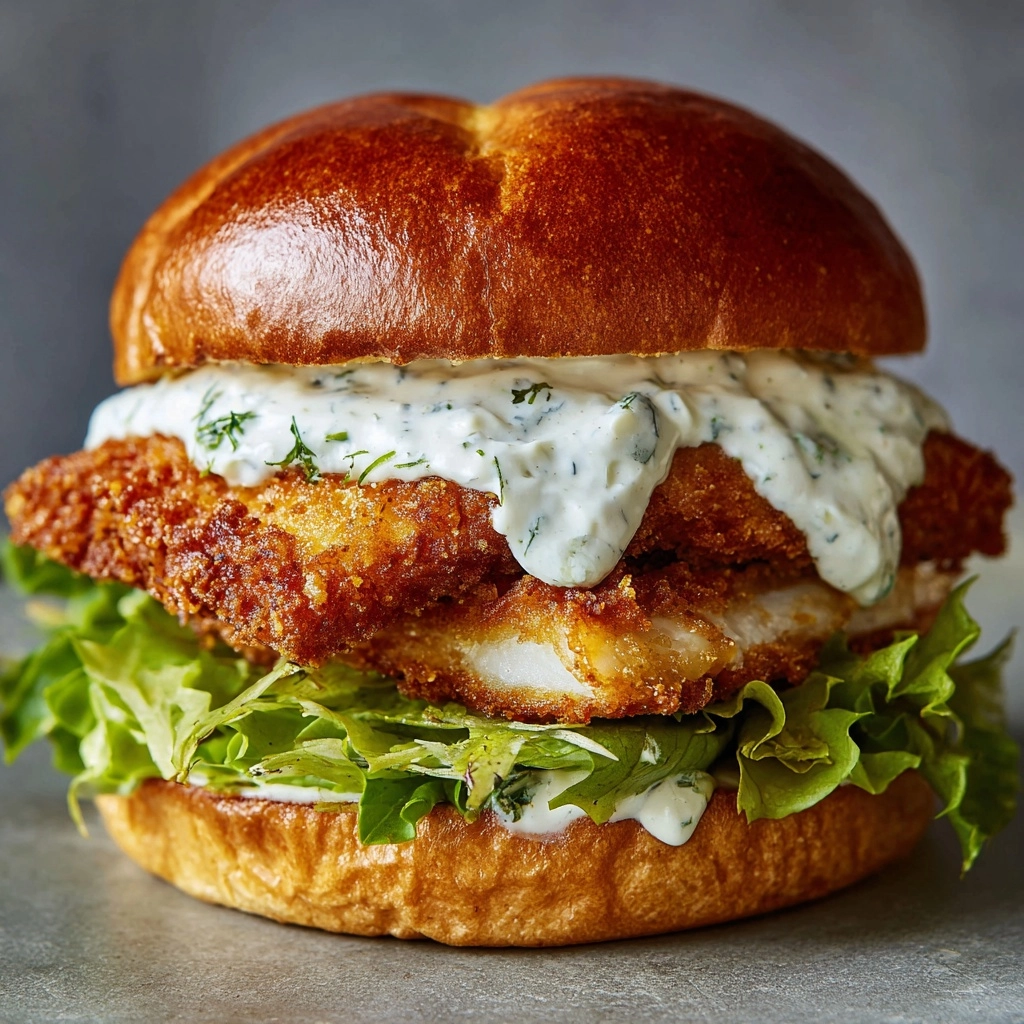
If you love all the flavors of a classic Caesar salad but wish they came wrapped up in something crunchy, warm, and hand-held, the Crispy Chicken Caesar Sandwich just might be your food soulmate. Imagine a golden, crackly fried chicken breast nestled in a soft roll, slathered with creamy Caesar dressing, a handful of crisp romaine, and a shower of Parmesan. Every bite balances juicy meat, tangy dressing, and that irresistible crunch, making this sandwich a true showstopper whether it’s lunch, dinner, or a backyard get-together.
Ingredients You’ll Need
With just a handful of essentials, you can build layers of flavor and crave-worthy crunch. Each ingredient plays an important role, from the juicy chicken to the nutty Parmesan, bringing bold taste and vibrant color to every bite.
- Chicken breasts: Go for boneless, skinless and pound them evenly so they cook uniformly and stay juicy.
- Buttermilk: This overnight marinade keeps the chicken extra tender and adds subtle tanginess.
- All-purpose flour: The classic base for coating—ensures the breading sticks beautifully.
- Panko breadcrumbs: Japanese-style breadcrumbs add incredible crunch to the exterior.
- Garlic powder: Brings savory depth that’s classic in Caesar flavor profiles.
- Onion powder: Layers an extra tinge of sweetness and complexity.
- Paprika: Adds subtle color and gentle smokiness without overpowering.
- Salt and black pepper: Use to season every layer and make the flavors pop.
- Vegetable oil for frying: Neutral oil is perfect for crisping up the chicken without adding heavy flavors.
- Sandwich rolls or brioche buns: Choose soft-yet-sturdy bread to cradle those generous fillings.
- Chopped romaine lettuce: A crunchy, refreshing bite that’s essential to the sandwich’s signature feel.
- Caesar dressing: Take it up a notch with your favorite creamy Caesar—homemade or store-bought work beautifully.
- Grated Parmesan cheese: For salty, umami-packed richness that ties it all together.
- Optional sliced tomatoes: Juicy freshness for a summery touch.
- Optional cooked bacon: Smoky, savory, and always a hit if you want a little extra indulgence.
How to Make Crispy Chicken Caesar Sandwich
Step 1: Marinate the Chicken
Place those pounded chicken breasts in a bowl and pour in the buttermilk. Let them marinate for at least 30 minutes, but if you can plan ahead, an overnight soak means super-tender, flavorful chicken. The buttermilk makes all the difference, breaking down the protein slightly and infusing every bite with moisture and tang.
Step 2: Bread the Chicken
In a shallow bowl, mix the flour, panko, garlic powder, onion powder, paprika, salt, and pepper. Take each chicken breast out of the marinade, letting excess drip off, and press it firmly into the breading mixture. Really pat that coating on so it sticks, creating the foundation for the ultimate crispy chicken exterior.
Step 3: Fry to Golden Perfection
Heat a generous layer of vegetable oil (about 1/2 inch deep) in a skillet over medium-high heat. Once shimmering hot, lay in the breaded chicken breasts and fry for 4 to 5 minutes per side. You’re looking for a deep, golden crust and juicy, fully cooked meat inside. Once finished, transfer the chicken to a paper towel-lined plate to drain off any excess oil.
Step 4: Toast the Buns
Don’t skip this step—it transforms the sandwich! Slice your sandwich rolls or brioche buns and give them a quick toasting in a dry skillet or oven. Warm, lightly crisped bread not only adds texture but holds up beautifully under all those dreamy fillings.
Step 5: Assemble the Crispy Chicken Caesar Sandwich
Spread Caesar dressing generously on the bottom half of each toasted roll. Layer a handful of chopped romaine lettuce, then a crispy chicken breast straight from the skillet. Sprinkle with grated Parmesan and add any extras you like—think sliced tomatoes or smoky bacon. Cap with the other half of the bun and serve warm, savoring that irresistible first bite.
How to Serve Crispy Chicken Caesar Sandwich

Garnishes
The final touches can completely elevate your Crispy Chicken Caesar Sandwich. For a fresh pop, add extra shaved Parmesan, a sprinkle of black pepper, or a squeeze of fresh lemon juice just before serving. Microgreens, snipped fresh herbs like parsley, or even a couple of anchovy fillets (for true Caesar fans) take it to the next level.
Side Dishes
Balance out the richness of your sandwich with some colorful, crisp sides. Try simple baked sweet potato fries, a tangy slaw, or even a cold pasta salad. For classic comfort, kettle chips or oven-roasted veggies are always a hit and round out the meal perfectly.
Creative Ways to Present
Hosting a gathering? Try serving mini Crispy Chicken Caesar Sandwich sliders on toasted dinner rolls for a great appetizer spread. For a fun summer picnic, wrap each sandwich in parchment paper and tie them with kitchen twine for easy transport. Or make an open-faced version on toasted ciabatta for a lighter, knife-and-fork lunch.
Make Ahead and Storage
Storing Leftovers
If you have leftover chicken, cool it completely before wrapping it and storing in an airtight container in the fridge. For best texture, store all the toppings and buns separately. The chicken will stay delicious for up to 3 days, and you can quickly reheat it for a speedy sandwich fix.
Freezing
Fried chicken breasts freeze surprisingly well! Just let the chicken cool completely, wrap each piece tightly in plastic wrap, and stash in a freezer-safe bag or container. They’ll be good for up to 2 months—ideal for stashing away emergency sandwich supplies. Thaw overnight in the fridge before reheating.
Reheating
For best results, reheat your chicken in a 375°F oven, toaster oven, or air fryer until hot and crispy (about 10–15 minutes). Avoid microwaving, as this can make the coating soggy. If you’re using frozen chicken, add a few extra minutes to the bake time. Assemble your sandwich just before serving for maximum crunch and freshness.
FAQs
Can I make this Crispy Chicken Caesar Sandwich gluten free?
Absolutely! Simply swap in your favorite gluten-free flour and panko, and use gluten-free rolls or buns. The rest of the ingredients are naturally gluten free, so you can still enjoy every crispy, cheesy bite.
What’s the secret to super crispy chicken?
Make sure to really press the panko coating onto the chicken, and don’t crowd the skillet when frying. Frying at the right temperature (medium-high) ensures the coating crisps up without soaking in too much oil. A wire rack also helps to keep fried chicken crisp after cooking.
Is there a healthier way to prepare this sandwich?
Yes! You can bake the breaded chicken at 425°F for 20–25 minutes, flipping halfway through. For an even lighter option, try grilled or air-fried chicken—still totally delicious with all those classic Caesar flavors.
What type Main Course
Whether you love ultra-creamy or tangy and bold, this sandwich works with your favorite store-bought Caesar or a homemade version. If you want extra richness, whisk in a bit of Greek yogurt or mayonnaise. Classic or modern, the dressing brings that punchy Caesar kick.
Can I prepare the chicken in advance?
Definitely! Marinate and bread the chicken ahead of time, and store it uncooked in the fridge for up to a day. Or, fry the chicken, cool completely, and gently reheat before assembling. This makes it easy to serve a batch of Crispy Chicken Caesar Sandwiches at your next gathering.
Final Thoughts
If you’ve never tried making a Crispy Chicken Caesar Sandwich at home, this is your moment! It’s crunchy, creamy, and packed with flavor in every bite—sure to make dinnertime feel a little more special. Gather your ingredients, call a friend or two, and let this sandwich steal the show at your table tonight.