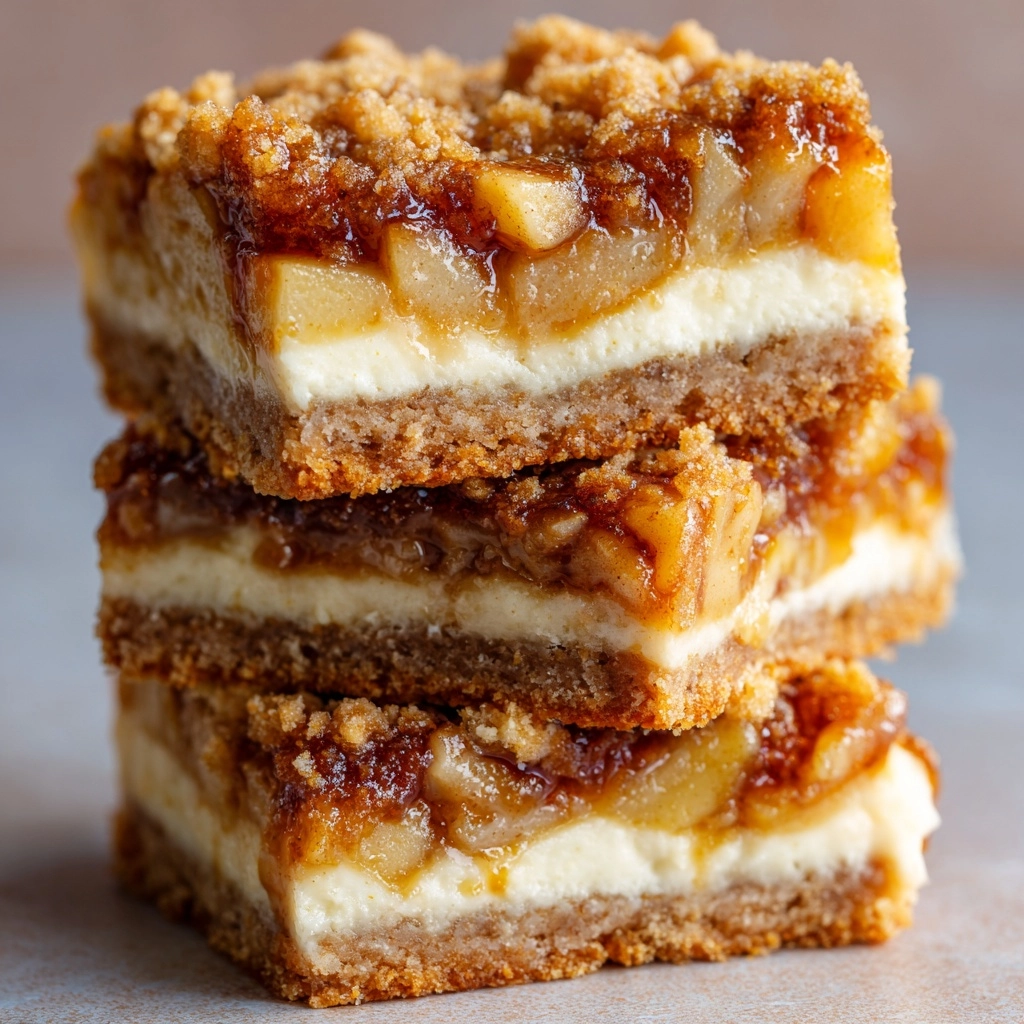
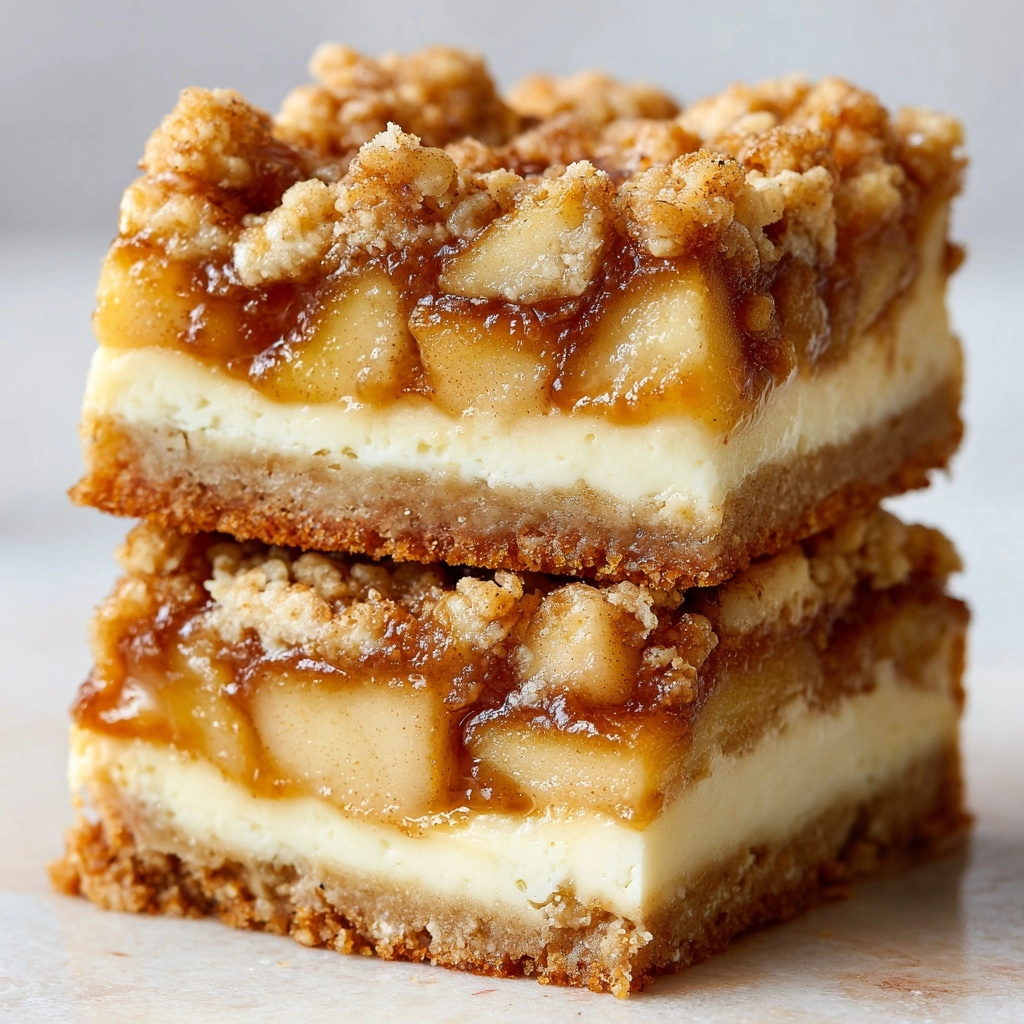
If you’re looking for that cozy, spiced bakery treat that just so happens to be friendly for gluten-free eaters, these Gluten Free Apple Cheesecake Bars are about to become your new obsession. Imagine layers of buttery graham crust, dreamy cheesecake, juicy apples kissed with cinnamon, and a crackly oat streusel—all in one bar. It’s everything you love about apple pie and creamy cheesecake put together, and you don’t need any fancy skills to pull it off. Trust me, this is one autumn-inspired dessert you’ll end up making year-round!
Ingredients You’ll Need
Every component of these bars brings something special to the table, and together they form an irresistible treat. From the sturdy graham base to the silky cheesecake and that nutty, crisp streusel, each ingredient really matters. Let’s look at what you’ll need and how each piece makes these Gluten Free Apple Cheesecake Bars truly shine.
- Gluten-free graham cracker crumbs: This forms the crisp, flavorful base that holds up under those luscious layers—make sure the crumbs are finely ground for best results.
- Granulated sugar: Adds sweetness and binds the crust; you’ll use this in both crust and cheesecake layers for a consistent flavor.
- Unsalted butter: Melted for the crust and cold for the streusel, butter enriches every layer with a pleasant richness that’s hard to replicate.
- Cream cheese: The heart of the cheesecake layer; softened cream cheese gives these bars a velvety, tangy texture.
- Eggs: Essential for holding the cheesecake together and giving it that classic density and moisture.
- Vanilla extract: Rounds out the flavor, bringing a subtle warmth to balance the tanginess of the cheese and the fruitiness of the apples.
- Apples: Tart apples like Granny Smith are perfect for adding brightness and a touch of texture; peel and dice them finely for an even bite.
- Brown sugar: Deepens the sweetness in both the apples and the streusel while adding hints of caramel.
- Ground cinnamon: Infuses the bars with that quintessential apple-pie spice.
- Nutmeg: Just a pinch lifts the apple filling and creates a warming, aromatic note throughout.
- Gluten-free oats: The main crunch in the streusel topping; opt for certified gluten-free oats if required.
- Gluten-free flour blend: Helps bind the streusel just enough so you get those coveted crumbly chunks on top.
How to Make Gluten Free Apple Cheesecake Bars
Step 1: Set Up Your Pan
Preheat your oven to 350°F and line an 8×8-inch baking pan with parchment paper, making sure there’s a little overhang for easy lifting later. This simple step guarantees fuss-free removal and a clean presentation, which is especially helpful when cutting the bars after chilling.
Step 2: Create the Crust
In a mixing bowl, combine the gluten-free graham cracker crumbs, granulated sugar, and melted unsalted butter. Mix until the crumbs are evenly moistened and start to clump together. Press this mixture firmly and evenly into the bottom of your prepared baking pan. Bake for 8 minutes—just long enough to set the crust and get it slightly golden—then set aside to cool while you prepare the luscious fillings.
Step 3: Blend the Cheesecake Layer
In a large bowl, beat the softened cream cheese with granulated sugar until smooth and airy. Add eggs one at a time, mixing in between, then stir in the vanilla extract until everything’s beautifully creamy. Pour this cheesecake batter over your cooled crust, using a spatula to smooth it into every corner for an even layer.
Step 4: Prepare the Apple Topping
Peel and finely dice your apples (Granny Smiths work magic here!). In a separate bowl, toss the apple pieces with brown sugar, cinnamon, and nutmeg so each piece gets coated in those cozy, warming spices. Gently scatter the spiced apples right on top of the cheesecake layer, evenly distributing them so every bar gets a little fruity tang.
Step 5: Make the Streusel Topping
For the perfect finish, assemble your streusel: Combine gluten-free oats, gluten-free flour blend, brown sugar, and a sprinkle of cinnamon in a bowl. Add in the cold, cubed butter and use your fingers or a fork to cut it in until the mixture resembles coarse crumbs. Sprinkle this evenly over the apple layer, making sure some chunks stay intact for that bakery-style crunch.
Step 6: Bake and Chill
Slide the pan into the preheated oven and bake for about 35 to 40 minutes, or until the center is set (it should jiggle just slightly but not look liquid). Once baked, cool the bars completely at room temperature, then refrigerate for at least 2 hours. This chilling step is key for clean slices and melding all those wonderful layers together.
How to Serve Gluten Free Apple Cheesecake Bars

Garnishes
Dress up your Gluten Free Apple Cheesecake Bars with a flourish of fresh whipped cream, a dusting of powdered sugar, or a drizzle of warm caramel sauce. For a little autumn flair, sprinkle on extra cinnamon or add thin apple slices for a truly inviting finish.
Side Dishes
These bars are quite decadent on their own, but they play beautifully alongside a scoop of vanilla ice cream or warm apple cider. If you want to keep things light, serve with a simple bowl of fresh berries or a dairy-free yogurt for extra creaminess without overwhelming the main event.
Creative Ways to Present
For a crowd-pleasing platter, cut the bars into bite-sized squares and arrange them on a tiered cake stand with fresh apple slices tucked around. Or, for casual gatherings, pile them rustic-style on a wooden board with cinnamon sticks and whole apples for a harvest-inspired effect.
Make Ahead and Storage
Storing Leftovers
Your Gluten Free Apple Cheesecake Bars will stay delightfully fresh in the refrigerator for up to four days. Store them in an airtight container or wrap tightly with plastic wrap to prevent them from drying out or absorbing any fridge odors.
Freezing
If you want to make these ahead or save a few for later, they freeze beautifully! Wrap individual bars tightly in plastic wrap and place in a freezer-safe bag or container. They’ll keep well for up to two months—just thaw overnight in the fridge before serving.
Reheating
These bars are delicious chilled, but if you prefer a softer bite, let them sit at room temperature for about 20 minutes. For an extra cozy treat, pop a slice in the microwave for 10 seconds (just enough to take the chill off) and enjoy warm with a drizzle of caramel.
FAQs
Can I use other types of apples in Gluten Free Apple Cheesecake Bars?
Absolutely! While Granny Smith apples are the classic choice for their tart flavor and firm texture, feel free to use Honeycrisp, Braeburn, or Fuji for a sweeter twist. Just be aware that softer apples will break down more during baking.
Are these bars truly gluten-free?
Yes! As long as all your ingredients (especially the graham crumbs and oats) are certified gluten-free, these bars are perfectly safe for gluten-sensitive folks to enjoy. Always double-check your labels for hidden sources of gluten if you’re serving to those with celiac disease.
Can I make Gluten Free Apple Cheesecake Bars dairy-free too?
Definitely. Swap in your favorite plant-based cream cheese and non-dairy butter alternatives. The texture will be slightly different, but the bars will still be rich, creamy, and delightful for anyone dairy-free.
What’s the best way to get clean cuts when slicing the bars?
For those picture-perfect bars, make sure the dessert is fully chilled before slicing. Use a sharp knife, and wipe it clean between slices. The parchment paper overhang also makes it easy to lift the whole slab out of the pan before cutting.
Can I double the recipe for a larger crowd?
Yes! Double all ingredients and bake in a 9×13 inch pan, adding about 5–10 extra minutes of bake time. It’s a fantastic way to serve a crowd at potlucks, parties, or holiday gatherings.
Final Thoughts
There’s something downright magical about these Gluten Free Apple Cheesecake Bars—the way each layer melds together just makes you want to savor every bite. Give this recipe a try, share it with those you love, and watch how quickly everyone comes back for seconds. Happy baking!