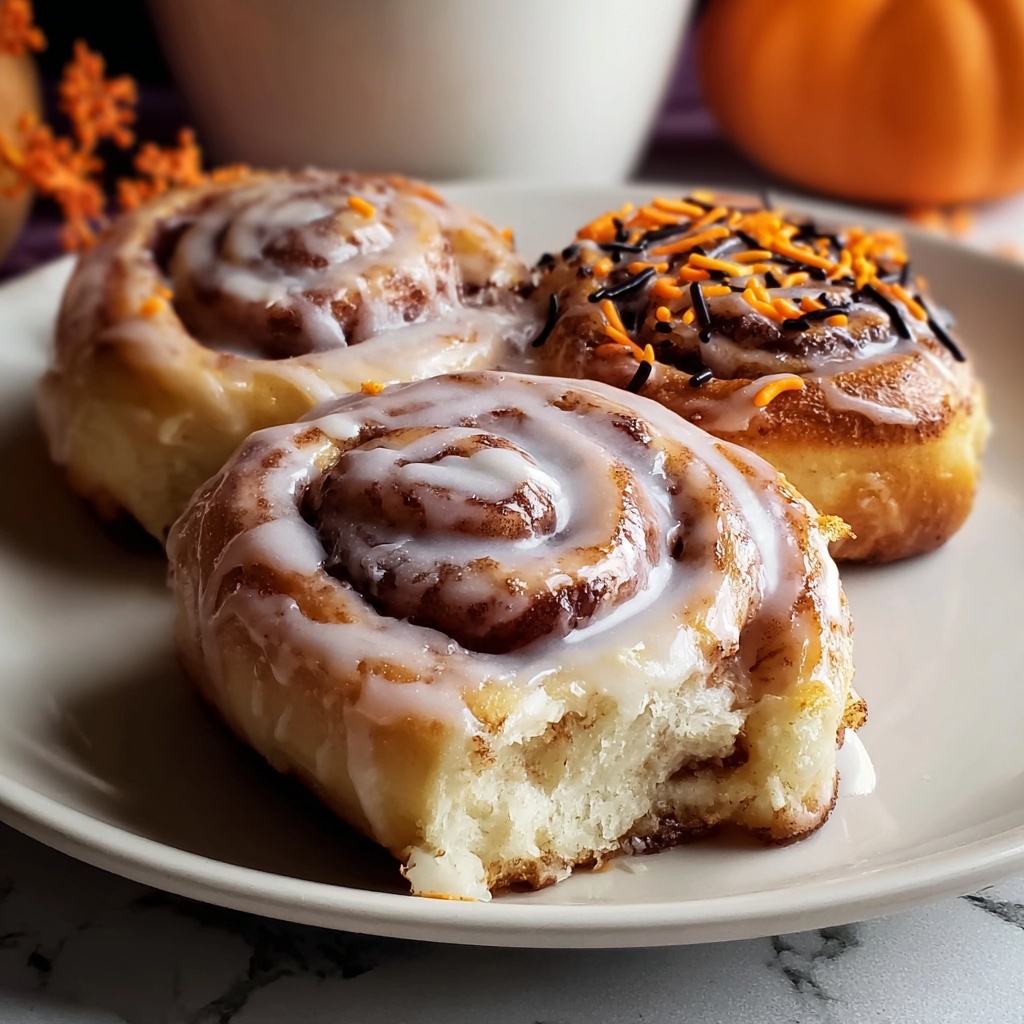
Nothing says cozy and festive quite like waking up to a batch of freshly baked Halloween Cinnamon Rolls Recipe that fill the house with warm, spicy aromas and vibrant autumnal colors. These rolls combine the soft, pillowy texture you love with a perfect swirl of cinnamon-sugar goodness, topped off with playful orange and black icing that truly captures the spirit of Halloween. Whether you’re hosting a breakfast gathering or just craving a special seasonal treat, this recipe promises to bring smiles and a touch of spooky fun to your day.
Ingredients You’ll Need
This Halloween Cinnamon Rolls Recipe calls for simple pantry staples that come together to create the ultimate comfort pastry. Each ingredient plays a crucial role, from the warm milk activating the yeast for that perfect rise to the cinnamon and sugars providing that classic sweet-spice filling making every bite heavenly.
- 1 cup warm milk (110°F/45°C): Activates the yeast gently without killing it, essential for light, fluffy rolls.
- 2 1/4 teaspoons active dry yeast: The magic that makes the dough rise and become tender.
- 1/2 cup granulated sugar: Adds sweetness to the dough and helps with browning.
- 1/3 cup unsalted butter, melted: Brings richness and moistness to the bread base.
- 1 teaspoon salt: Balances sweetness and enhances flavor depth.
- 2 large eggs: Provide structure and richness to the dough.
- 4 cups all-purpose flour: The foundation of the dough, giving it body and chew.
- 3/4 cup packed brown sugar: For that deep caramel flavor in the filling.
- 2 tablespoons ground cinnamon: The signature spice that makes cinnamon rolls irresistible.
- 1/3 cup unsalted butter, softened: Used in the filling to keep the cinnamon sugar moist and sticky.
- 1 cup powdered sugar: Forms the smooth, sweet base of the icing.
- 1 teaspoon vanilla extract: Adds warmth and complexity to the icing.
- 2 tablespoons milk: Helps thin the icing to drizzle-perfect consistency.
- Orange and black food coloring: Essential for that eye-catching Halloween look.
- Halloween-themed sprinkles or decorations: Adds fun, festive flair to the finished rolls.
How to Make Halloween Cinnamon Rolls Recipe
Step 1: Activate the Yeast
Start by stirring together the warm milk and active dry yeast in a large bowl until the yeast is completely dissolved. Then, set it aside for 5-10 minutes to let the mixture become frothy and alive—that’s how you know your yeast is ready to do its magic.
Step 2: Combine Dough Ingredients
To the frothy yeast mixture, add granulated sugar, melted butter, salt, and eggs. Mix everything together thoroughly until you have a smooth base to start building your dough.
Step 3: Add Flour Gradually
Slowly incorporate the flour, one cup at a time, stirring between additions. This careful approach prevents lumps and ensures you get a soft but not sticky dough that holds its shape well.
Step 4: Knead the Dough
Turn the dough onto a lightly floured surface and knead for about 5-7 minutes until it becomes elastic and smooth. This step develops the gluten, which is key for those delightfully chewy rolls.
Step 5: First Rise
Place your dough in a greased bowl, cover it with a damp cloth to keep moisture in, and let it rise somewhere warm for 1-2 hours until it has doubled in size. This breathes life into the dough and builds a tender crumb.
Step 6: Prepare the Filling
Mix together the brown sugar and ground cinnamon in a small bowl. This sweet-spice combo is the heart of your filling and will make every bite heavenly.
Step 7: Roll Out the Dough
Once risen, punch the dough down gently, then roll it out on a floured surface into a 16 by 12-inch rectangle. This gives you enough space to spread your butter and cinnamon sugar evenly.
Step 8: Add the Filling
Spread the softened butter over the entire surface of the dough, being careful to cover every corner. Then sprinkle the cinnamon sugar mixture evenly on top for a golden, gooey center.
Step 9: Form the Rolls
Starting from the long edge, roll the dough into a tight log. Using a sharp knife, slice the log into 12 to 15 even pieces—each a perfect little cinnamon roll waiting to bake.
Step 10: Second Rise
Place the rolls cut side up in a greased baking dish, allowing a little space between them to grow. Cover with plastic wrap and let them rise again for about 30 minutes—this ensures that pillowy softness we crave.
Step 11: Bake to Golden Perfection
Preheat your oven to 350°F (175°C). Bake the rolls for 20-25 minutes until they are beautifully golden brown and filling bubbles out slightly—that’s how you know they’re done.
Step 12: Prepare the Colored Icing
While the rolls bake, mix powdered sugar, vanilla extract, and milk to a smooth glaze. Divide the icing into two bowls, coloring one orange and the other black, perfect for some playful Halloween designs.
Step 13: Decorate the Warm Rolls
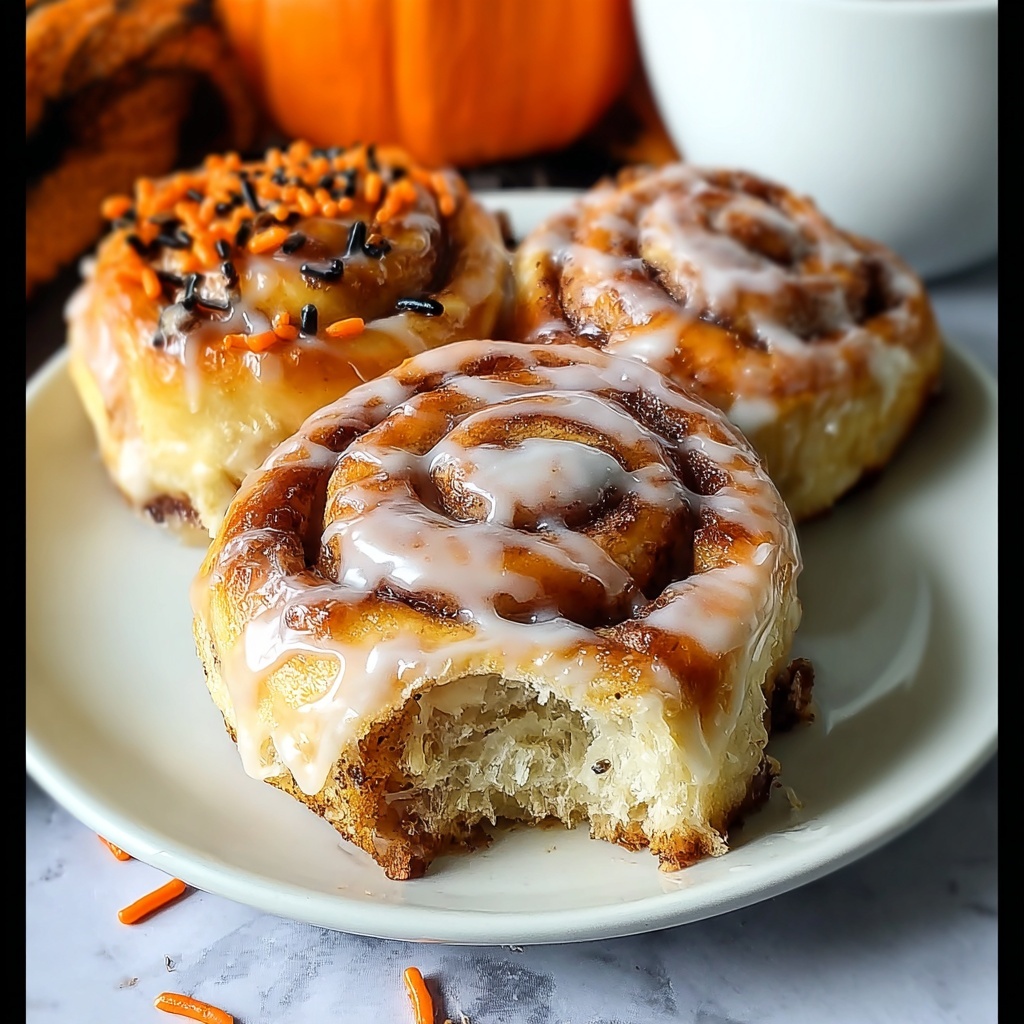
After baking, let the rolls cool just a bit, then drizzle the vibrant colored icing over the top in spooky swirls or patterns. Finish by sprinkling on Halloween-themed decorations for that festive wow factor.
How to Serve Halloween Cinnamon Rolls Recipe
Garnishes
For an extra festive flair, sprinkle some crunchy Halloween-themed candies or edible glitter over the icing. It adds not just color but a delightful texture contrast that makes every bite exciting and Instagram-worthy.
Side Dishes
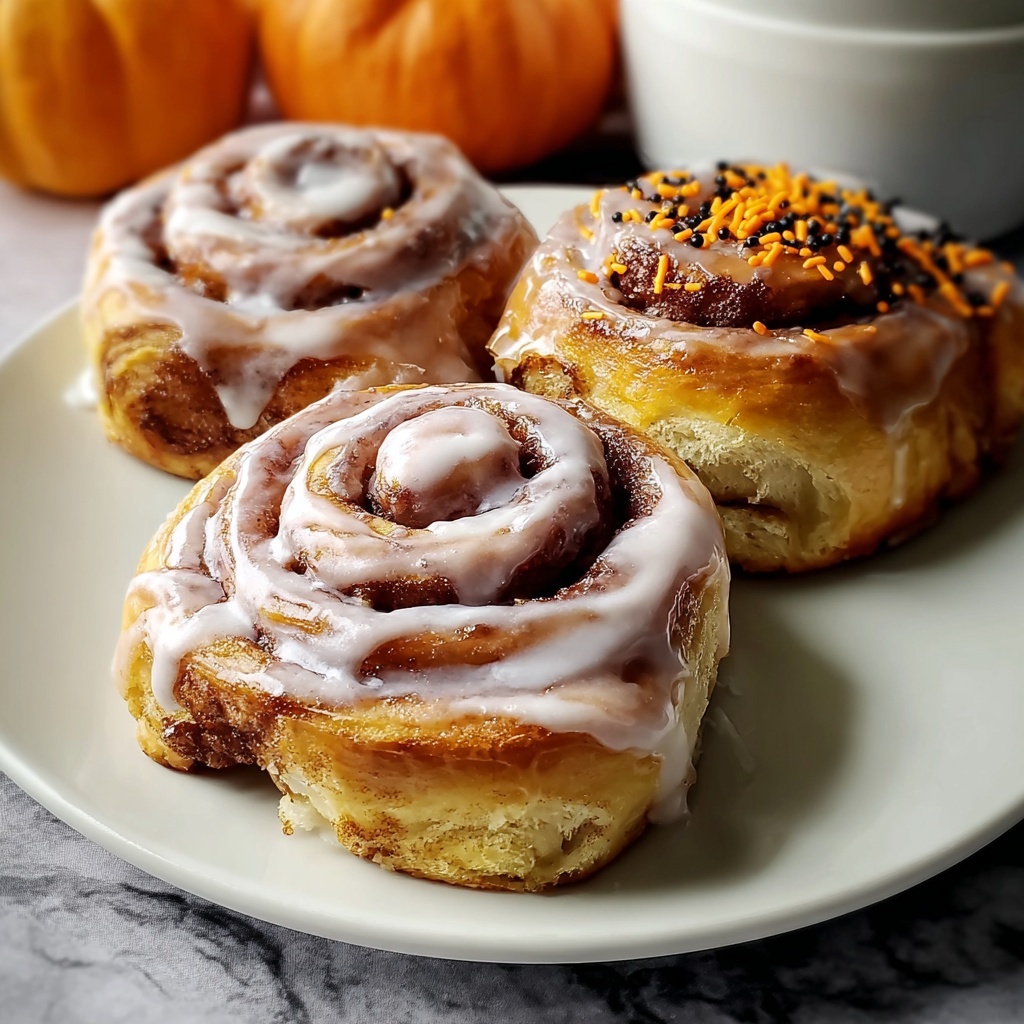
Pair your Halloween Cinnamon Rolls Recipe with a warm cup of spiced apple cider or a rich pumpkin latte. These drinks perfectly complement the cinnamon sweetness and deepen the autumn vibe of your breakfast or brunch table.
Creative Ways to Present
Try arranging the cinnamon rolls on a Halloween-themed serving tray or in a pumpkin-shaped dish for added fun. You could even decorate with themed napkins and plates to turn your treat into the centerpiece of your seasonal celebration.
Make Ahead and Storage
Storing Leftovers
If you’re lucky enough to have leftovers, store them in an airtight container at room temperature for up to two days. This keeps them soft and prevents the icing from drying out, so they’re just as delicious the next time you reach for a treat.
Freezing
Halloween Cinnamon Rolls Recipe also freezes beautifully. Wrap individual rolls tightly in plastic wrap and place them in a freezer-safe bag. They’ll keep well for up to three months, making it easy to enjoy festive flavors anytime.
Reheating
To revive your rolls, gently warm them in the microwave for 20-30 seconds or in a low oven until heated through. This restores that fresh-baked, gooey texture that makes cinnamon rolls so irresistible.
FAQs
Can I use instant yeast instead of active dry yeast?
Yes! Instant yeast works well and often doesn’t require proofing in warm milk. You can mix it straight into the flour with the other dry ingredients for convenience.
How do I make the rolls extra fluffy?
Longer kneading and allowing the dough to rise until well doubled are key. Also, avoiding too much flour during kneading helps keep the dough tender and airy.
Can I substitute the food coloring with natural alternatives?
Certainly! Pumpkin or carrot juice can add natural orange hues, and activated charcoal powder is great for black. Just keep in mind the colors might be a bit more muted.
Are these cinnamon rolls suitable for freezing before baking?
Definitely! After cutting the rolls and placing them in the baking dish, freeze them covered tightly. When ready to bake, thaw completely, let rise, then bake as usual.
What if I don’t have Halloween sprinkles?
No worries! You can use chopped nuts, mini chocolate chips, or small candies in fall colors to keep the festive spirit alive with what you have on hand.
Final Thoughts
This Halloween Cinnamon Rolls Recipe is one of those treat-yourself moments that feels comforting yet festive, perfect for sharing with friends and family. The delightful mix of warm spices, soft dough, and playful decorations makes every bite memorable. I genuinely hope you try making this recipe and enjoy the sweet, seasonal joy it brings to your table. Happy baking and even happier Halloween!