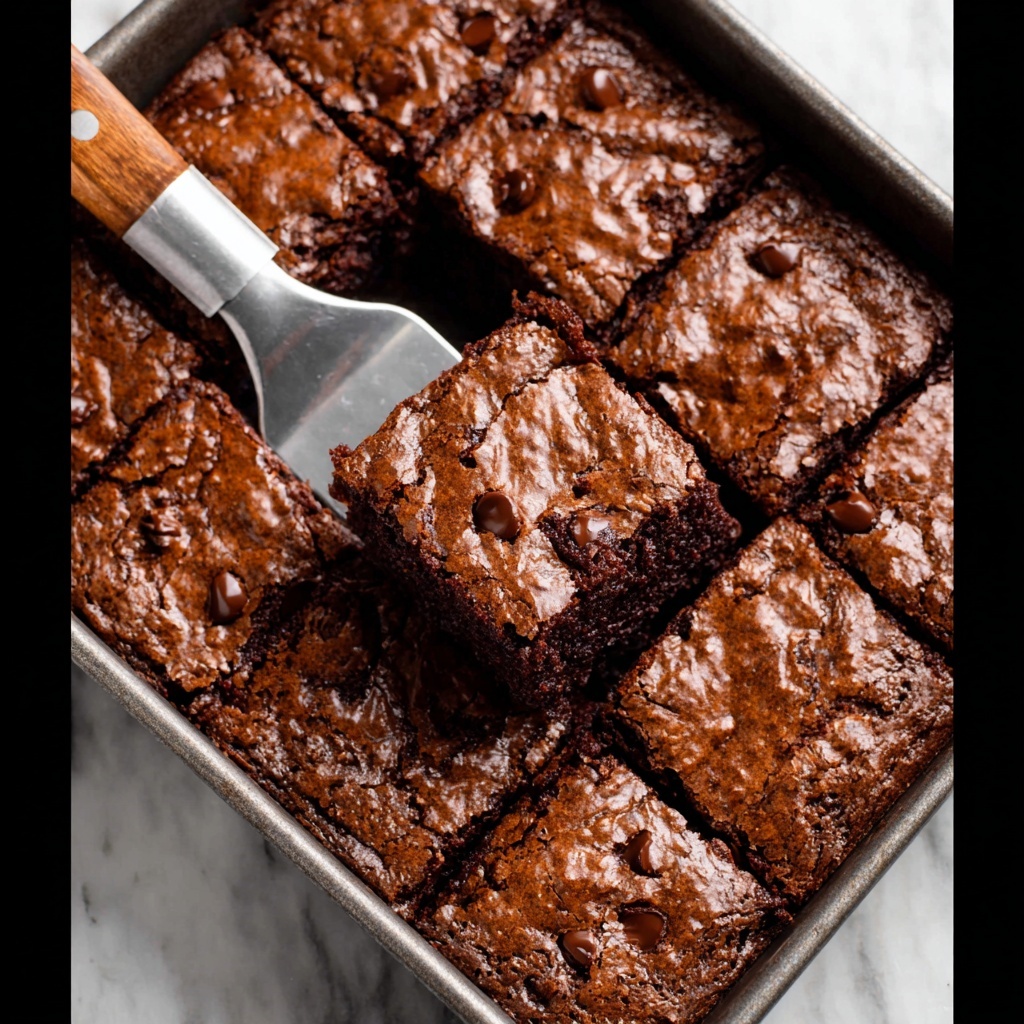
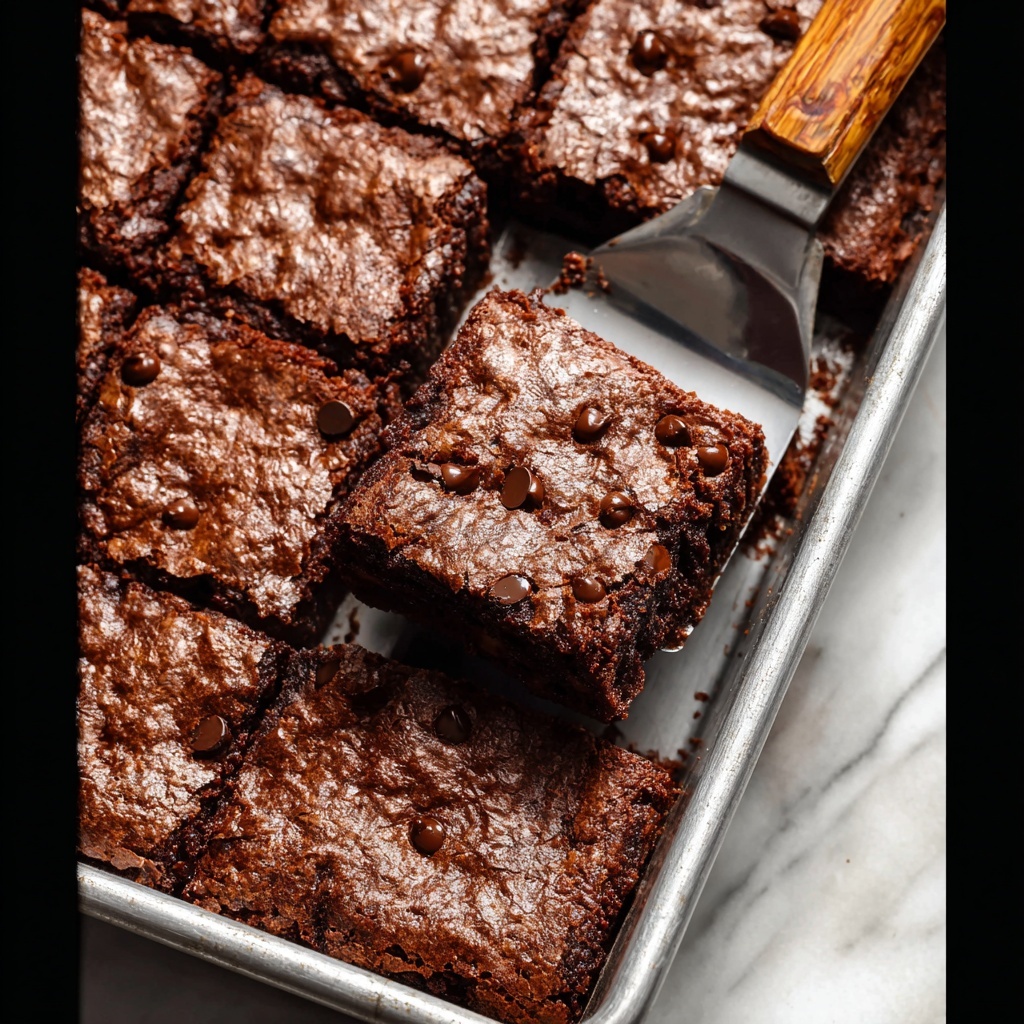
If you’re on the hunt for a crowd-pleasing dessert that blends rich chocolate flavor with a fudgy, melt-in-your-mouth texture, this Homemade Brownie Mix Recipe is about to become your new best friend. Whether you’re planning a last-minute treat or prepping in advance, this mix effortlessly combines pantry staples into an unforgettable brownie experience. From the first bite, you’ll notice how the perfect balance of cocoa, sugar, and just a hint of espresso creates a depth of flavor that makes these brownies utterly irresistible.
Ingredients You’ll Need
These ingredients are straightforward but each plays a vital role in delivering that classic brownie magic. From the rich cocoa powder to the slight kick of espresso, every component ensures your brownies are bursting with flavor, tender crumb, and that perfect fudgy texture.
- Granulated sugar: Sweetens the brownies and helps create a chewy crust on top.
- Unsweetened cocoa powder: Provides deep chocolate flavor and dark color.
- All Purpose Flour: Offers structure without making the brownies cakey.
- Espresso powder (optional): Enhances the chocolate intensity without adding coffee taste.
- Baking powder: A tiny lift agent balancing the density perfectly.
- Kosher salt: Brightens flavors by balancing sweetness and enhancing chocolate notes.
- Semisweet chocolate chips (optional): Adds pockets of melty chocolate throughout.
- Vegetable oil: Keeps brownies moist and tender, helping that luscious texture.
- Large eggs: Bind all ingredients together and contribute to richness.
- Pure vanilla extract: Rounds out the flavor with a warm, comforting aroma.
How to Make Homemade Brownie Mix Recipe
Step 1: Combine the Dry Ingredients
Start by whisking together the granulated sugar, unsweetened cocoa powder, all purpose flour, espresso powder if using, baking powder, and kosher salt in a large bowl. This mix forms the backbone of your brownie batter, ensuring the cocoa and flour are evenly distributed for consistent flavor and texture in every bite.
Step 2: Add the Wet Ingredients
Next, pour in the vegetable oil, eggs, and vanilla extract. Stir gently with a spatula or wooden spoon until everything is just combined—avoid overmixing to keep your brownies tender and fudgy. Adding the oil instead of butter keeps the brownies moist, while the eggs provide structure.
Step 3: Stir in the Chocolate Chips (Optional)
For an extra indulgent touch, fold in the semisweet chocolate chips so they melt in pockets while baking, giving bursts of gooey chocolate throughout your brownies. This step is optional but truly elevates the experience to the next level.
Step 4: Prepare to Bake
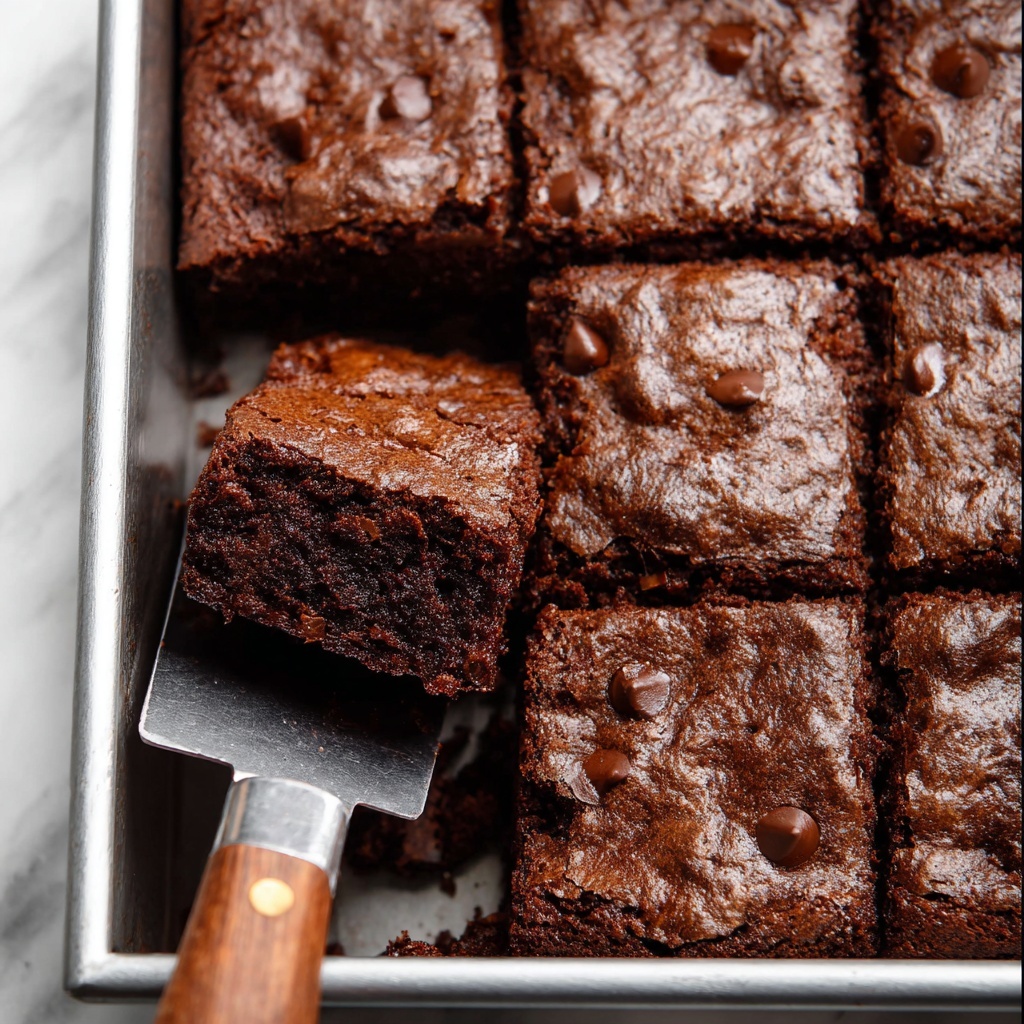
Pour your batter into a greased or lined 8×8-inch baking pan, spreading it out evenly. This ensures an even bake and that familiar brownie shape with slightly crisp edges inviting you in.
Step 5: Baking Time
Bake in a preheated oven at 350°F (175°C) for about 20-25 minutes. The timing depends on your preference: a slightly underbaked center yields fudgy brownies, while a few extra minutes will give you a more cake-like texture—both delicious in their own right.
How to Serve Homemade Brownie Mix Recipe
Garnishes
A simple dusting of powdered sugar or a sprinkle of flaky sea salt can transform your brownies from everyday to elegant. For a more decadent touch, add whipped cream or a scoop of vanilla ice cream to create a luscious contrast with the rich chocolate.
Side Dishes
Pair your brownies with fresh berries or a drizzle of caramel sauce to add brightness and a touch of acidity that complements the deep chocolate flavors beautifully. A cup of strong coffee or milk also makes the perfect companion to balance the sweetness.
Creative Ways to Present
Cut the brownies into cubes and serve them skewered with fresh fruit or marshmallows for a fun, snackable dessert. You could also sandwich a spoonful of peanut butter or frosting between two brownie layers for an indulgent treat that’s sure to impress guests.
Make Ahead and Storage
Storing Leftovers
Store your leftover brownies in an airtight container at room temperature for up to 3 days without losing their softness. Keeping them well sealed prevents drying out, so you get that freshly baked feel each time.
Freezing
If you want to keep your Homemade Brownie Mix Recipe results fresh longer, wrap individual brownie squares tightly in plastic wrap and place them in a freezer-safe bag. They can be frozen for up to 3 months and thaw quickly at room temperature.
Reheating
To enjoy your brownies warm, microwave a piece for 15-20 seconds or warm in a low oven for a few minutes. This will revive their fudgy texture and intensify the chocolate aroma, almost like they just came out of the oven.
FAQs
Can I make this Homemade Brownie Mix Recipe gluten-free?
Absolutely! Simply swap the all purpose flour for a gluten-free baking blend. Just be sure it contains xanthan gum to help with structure since gluten will be absent.
Do I have to use espresso powder?
Nope! The espresso powder is optional but highly recommended if you want to deepen the chocolate flavor without adding coffee taste. You can skip it if you prefer.
Can I substitute butter for vegetable oil?
Yes, melted butter works well and adds a bit of richness, but the texture will be slightly different—often a bit more cake-like and less moist than using oil.
How do I know when my brownies are done?
Look for a set top with a slight jiggle in the center. A toothpick may come out with moist crumbs but shouldn’t have raw batter clinging to it. This ensures fudgy brownies rather than dry ones.
Can I double this Homemade Brownie Mix Recipe?
You sure can! Just double every ingredient and bake in a larger pan or spread in two pans to maintain even thickness and baking time.
Final Thoughts
There is something so comforting and joyful about making your own Homemade Brownie Mix Recipe from scratch. It’s simple yet indulgent, a dessert that feels like a warm hug in every bite. Whether you’re new to baking or a seasoned pro, these brownies invite you to get creative, experiment with your favorite add-ins, and most importantly, savor every delicious moment. Go ahead and whip up a batch—you’ll be glad you did!