“`html
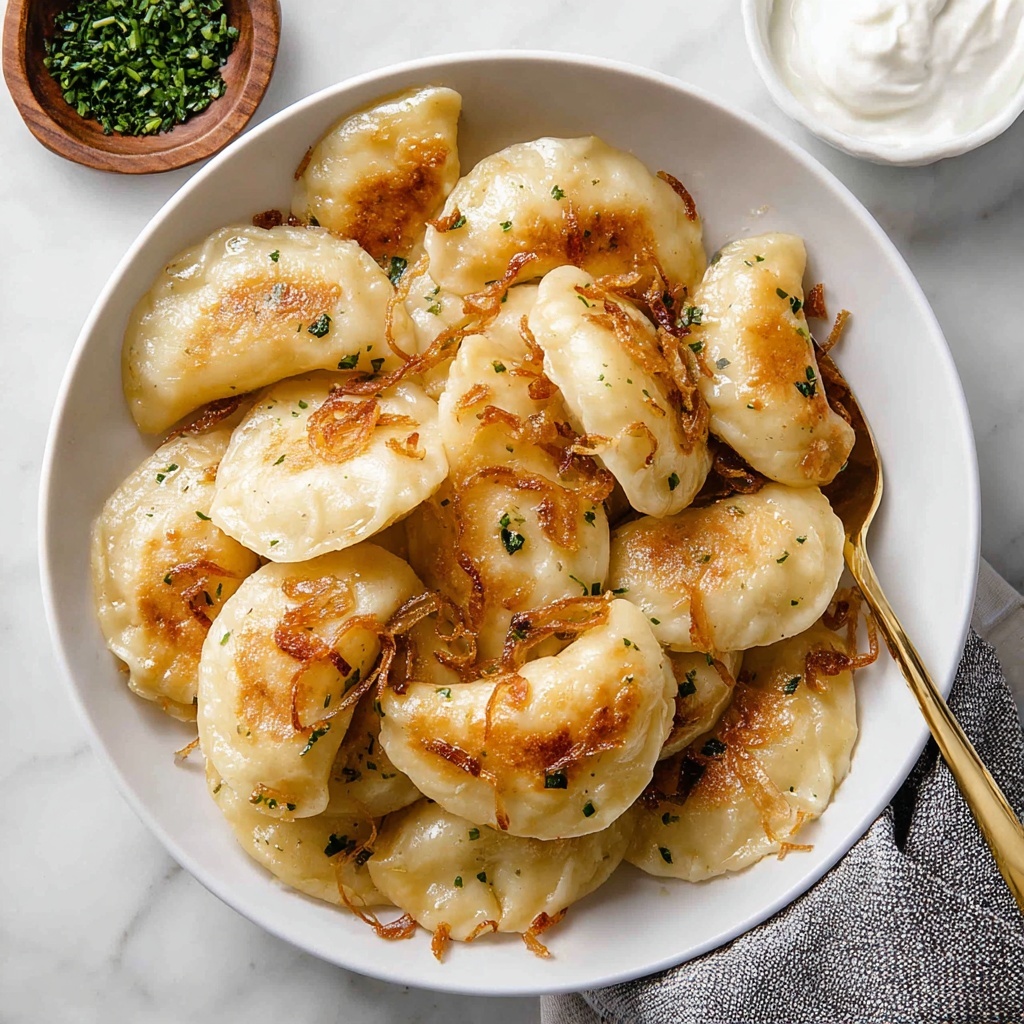
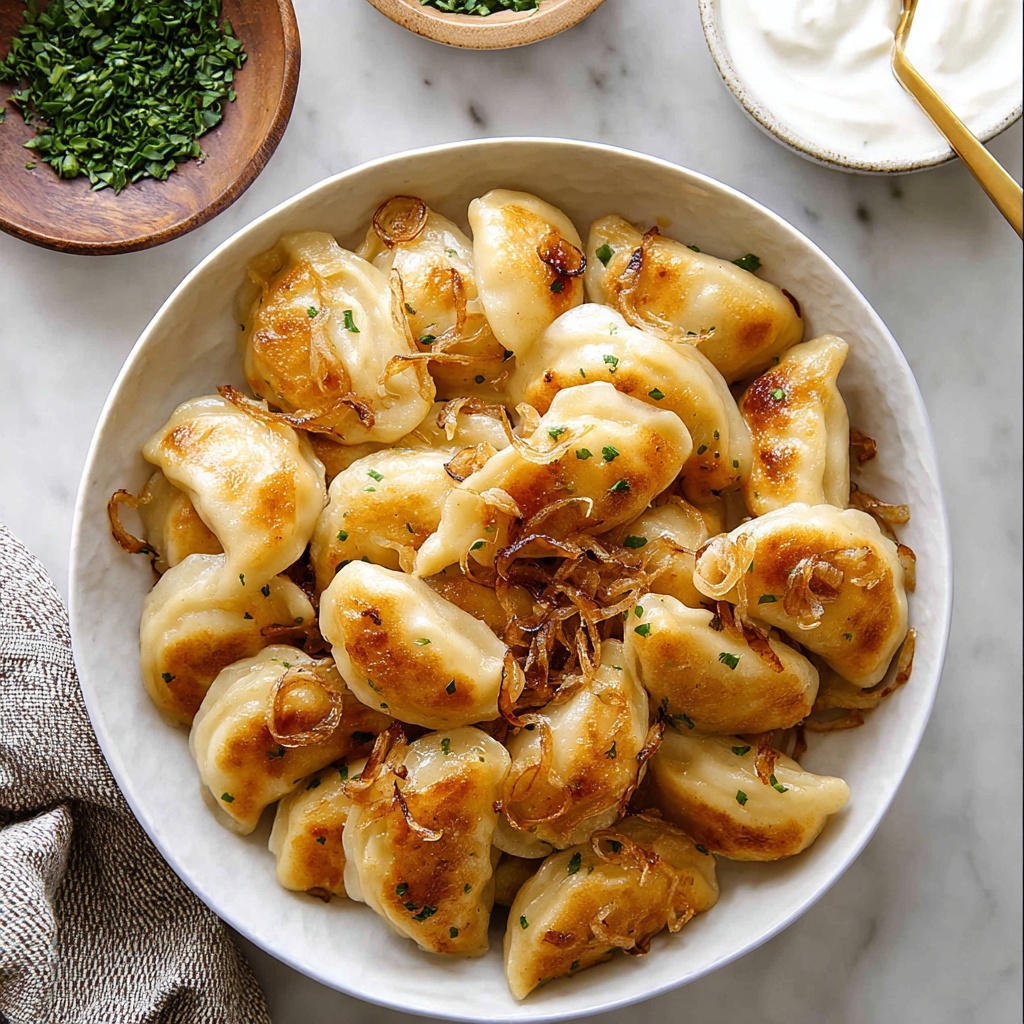
If you’ve ever dreamed of crafting tender, pillowy pockets of dough filled with a rich, comforting blend of potatoes and cheddar cheese, then you’re in for a treat with this Homemade Pierogies Recipe. These traditional Eastern European dumplings combine velvety mashed potatoes, sharp cheddar, and a flaky dough that is surprisingly simple to make from scratch. The magic lies in their golden, buttery finish and the delightful contrast between the crisped edges and soft filling inside, making each bite an absolute delight. Whether you’re a seasoned cook or a curious beginner, this recipe will quickly become a cherished staple in your kitchen.
Ingredients You’ll Need
Don’t be intimidated by the ingredient list—each component plays a vital role in creating the perfect texture and flavor for your pierogies. Simple, wholesome ingredients come together to build a dough that’s both tender and sturdy, along with a savory, cheesy potato filling that’s heavenly in every bite.
- All-purpose flour (2½ cups): The backbone of the dough, providing structure and elasticity for easy rolling and shaping.
- Kosher salt (1 tsp for dough + 2½ tsp for filling): Essential for balancing flavors and seasoning both the dough and filling perfectly.
- Sour cream (1 cup): Adds moisture and a subtle tang to the dough, making it tender and flavorful.
- Large egg (1): Acts as a binder for the dough, helping it hold together beautifully.
- Unsalted butter, melted (2 tbsp): Infuses richness in the dough and helps develop a tender crumb.
- Russet potatoes (1½ pounds, peeled and chopped): The star of the filling—starchy and creamy, perfect for mashing smoothly.
- Freshly shredded cheddar cheese (1 cup): Offers a sharp, melty addition that pairs perfectly with the potatoes.
- Onion powder (¼ tsp): Enhances the depth of flavor with a subtle, savory note without overpowering the filling.
- Ground black pepper (½ tsp): Adds a little warmth and spice to the filling.
- Salted butter (3 tbsp): Used for sautéing onions and finishing the pierogies with a luscious buttery glaze.
- Small onion (½, thinly sliced): Provides a sweet, caramelized topping that complements the filling beautifully.
How to Make Homemade Pierogies Recipe
Step 1: Prepare the Dough
Start by whisking together the flour and salt in a large bowl. Then, mix in the sour cream, melted unsalted butter, and the egg until everything begins to come together into a smooth, pliable dough. Knead it gently on a lightly floured surface for about 5 to 7 minutes until it’s elastic but not sticky. Cover the dough with a clean kitchen towel and let it rest for at least 20 minutes—the resting step relaxes the gluten, making the dough easier to roll thin later on.
Step 2: Make the Filling
While the dough rests, boil the peeled and chopped russet potatoes in salted water until fork-tender, approximately 15 minutes. Drain them thoroughly and mash until smooth, adding the kosher salt, onion powder, black pepper, and shredded cheddar cheese. Mix everything until the cheese is melted and fully incorporated into the fluffy potato base. The result should be creamy, cheesy, and perfectly seasoned.
Step 3: Roll and Cut the Dough
Once rested, roll the dough out on a floured surface to about ⅛ inch thick. Using a round cutter or a drinking glass roughly 3 inches in diameter, cut out circles. Gather the scraps, reroll, and repeat until all the dough is used. These circles will become the perfect size for filling and folding into your pierogies.
Step 4: Fill and Seal
Place about one tablespoon of the potato-cheese filling in the center of each dough circle. Carefully fold the dough over to form a half-moon shape, pinching the edges tightly to seal and prevent any filling from escaping. For extra security and a decorative touch, you can crimp the edges with a fork.
Step 5: Cook the Pierogies
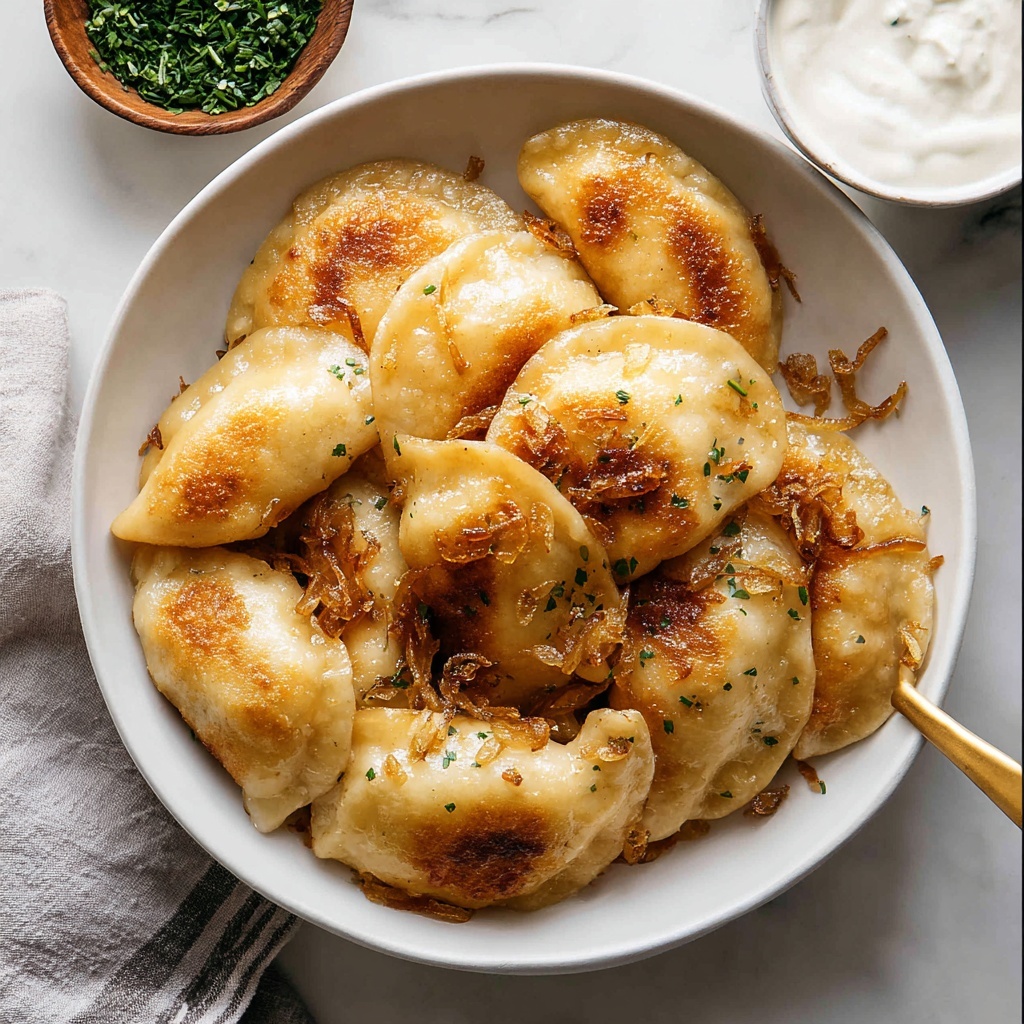
Bring a large pot of salted water to a boil. Drop in the pierogies in batches and cook until they float to the surface, usually about 3 to 4 minutes. Remove them with a slotted spoon and immediately sauté in melted salted butter along with the thinly sliced onions until both the pierogies and onions develop a golden, crispy exterior. This final step adds a delightful texture contrast and rich flavor that really completes the dish.
How to Serve Homemade Pierogies Recipe
Garnishes
Top your homemade pierogies with a dollop of sour cream or a sprinkling of chopped fresh herbs like chives or parsley. The cool creaminess balances the warm, savory filling, while fresh herbs add brightness and a pop of color that makes the dish look as good as it tastes.
Side Dishes
Homemade pierogies pair wonderfully with sautéed greens like spinach or kale, vibrant sauerkraut for a tangy crunch, or a fresh green salad for a light counterpoint. They also make a fantastic accompaniment to roasted meats or grilled sausages for heartier meals.
Creative Ways to Present
For a fun twist, serve your pierogies with a variety of dips such as caramelized onion jam, garlic butter sauce, or even a spicy mustard. Layer them in a casserole with melted cheese and baked until bubbly for a comforting pierogie bake. The Homemade Pierogies Recipe invites endless creativity depending on your mood and company!
Make Ahead and Storage
Storing Leftovers
Leftover pierogies can be stored in an airtight container in the refrigerator for up to 3 days. To preserve their texture, avoid stacking them while warm. Reheat gently in a skillet with a bit of butter to bring back the crispness of the edges.
Freezing
You can freeze uncooked pierogies by placing them on a parchment-lined tray without touching, then transferring to a freezer bag once firm. Frozen pierogies will keep well for up to 2 months. When ready, cook them straight from the freezer—just add an extra minute or two to the boiling time.
Reheating
Reheat pierogies by sautéing in butter over medium heat until warmed through and crisp on the outside. Alternatively, reheat in the oven at 350°F for 10–15 minutes or until piping hot. Avoid microwaving to prevent them from becoming soggy and losing their delightful texture.
FAQs
Can I make the dough without sour cream?
Absolutely! While sour cream adds tenderness and a slight tang, you can substitute it with Greek yogurt or even milk mixed with a bit of lemon juice. The dough might be a little less rich, but it will still work beautifully.
Can I use other fillings for my homemade pierogies recipe?
Definitely! Pierogies are wonderfully versatile. Try fillings like sauerkraut and mushrooms, sweet cheese and herbs, or even mashed sweet potatoes. The homemade pierogies recipe dough adapts well to all sorts of delicious stuffings.
How thin should I roll the pierogie dough?
Rolling the dough to about ⅛ inch thickness gives you a perfect balance—thin enough to be tender once cooked but sturdy enough to hold the filling without tearing.
What if my pierogies open while cooking?
This usually happens if the edges aren’t sealed tightly enough or if there is too much filling. Make sure to pinch the edges firmly, and don’t overfill the pierogies to keep everything intact during boiling and frying.
Can I bake pierogies instead of boiling and frying?
You can! Baking pierogies is a great alternative—just brush them with melted butter or oil and bake at 375°F until golden, about 20 minutes. The texture will be different from the traditional method but still delicious.
Final Thoughts
There’s something truly special about making pierogies from scratch, and this Homemade Pierogies Recipe invites you to experience that joy in your own kitchen. The process is rewarding, the flavors comforting, and the results absolutely delightful. Once you try them, I bet these little pockets of happiness will become a beloved go-to recipe for family dinners, gatherings, or cozy nights in. So go ahead, roll up your sleeves, and enjoy every moment of making—and sharing—this wonderful dish!
“`