If you’ve ever wondered how to capture that sweet, fresh essence of summer in a bite, let me share my absolute favorite kitchen secret: How to Cook Corn on the Cob Recipe. This classic dish is all about celebrating the natural sweetness of corn with a simple technique that takes mere minutes but delivers maximum flavor. Whether you’re firing up the grill or boiling on the stove, knowing this straightforward approach guarantees perfectly tender, juicy corn every time. Get ready to add a little sunshine to your meal with this delightful recipe that’s as easy as it is delicious.
Ingredients You’ll Need
Great cooking starts with great ingredients, and this recipe is no exception. The ingredients here are incredibly simple but essential—they highlight and enhance the natural taste, sweetness, and texture of corn on the cob.
- 8 ears corn on the cob: Freshness is key for sweet, crisp bites; look for ears with green, tight husks and bright silk.
- 2 tablespoons granulated sugar: This subtle addition enhances the corn’s natural sugars without overpowering.
- Water: Just plain water to create the perfectly balanced cooking bath that steams and softens the kernels.
- Butter (optional): Adds creamy richness and a lovely sheen—use a quality butter for best results.
How to Make How to Cook Corn on the Cob Recipe
Step 1: Prepare Your Pot and Water
Start by filling a large pot with enough water to reach about the height of your corn cobs. This ensures the corn can stand upright with the husks pulling gently back but not submerged. Add the granulated sugar next—this little trick boosts the sweetness, bringing out that natural corn flavor in a subtle, magical way. Bring this sugar water to a full, rolling boil before introducing the corn.
Step 2: Add The Corn with Care
Gently set your prepared ears of corn into the boiling water. The husks should be carefully pulled back and tied to prevent tearing but still attached, leaning against the pot’s sides. This method softens the husks and keeps the corn tender but intact. This also helps keep the flavorful moisture locked in the kernels.
Step 3: Boil Briefly for Perfection
Boil the corn for exactly one minute. I know it sounds short, but this quick cooking time is a game changer—it’s enough to soften the kernels slightly while keeping them crisp and juicy, perfect for that satisfying bite. Use tongs to carefully remove the corn, being mindful not to pull on the softened husks, which can tear easily after boiling.
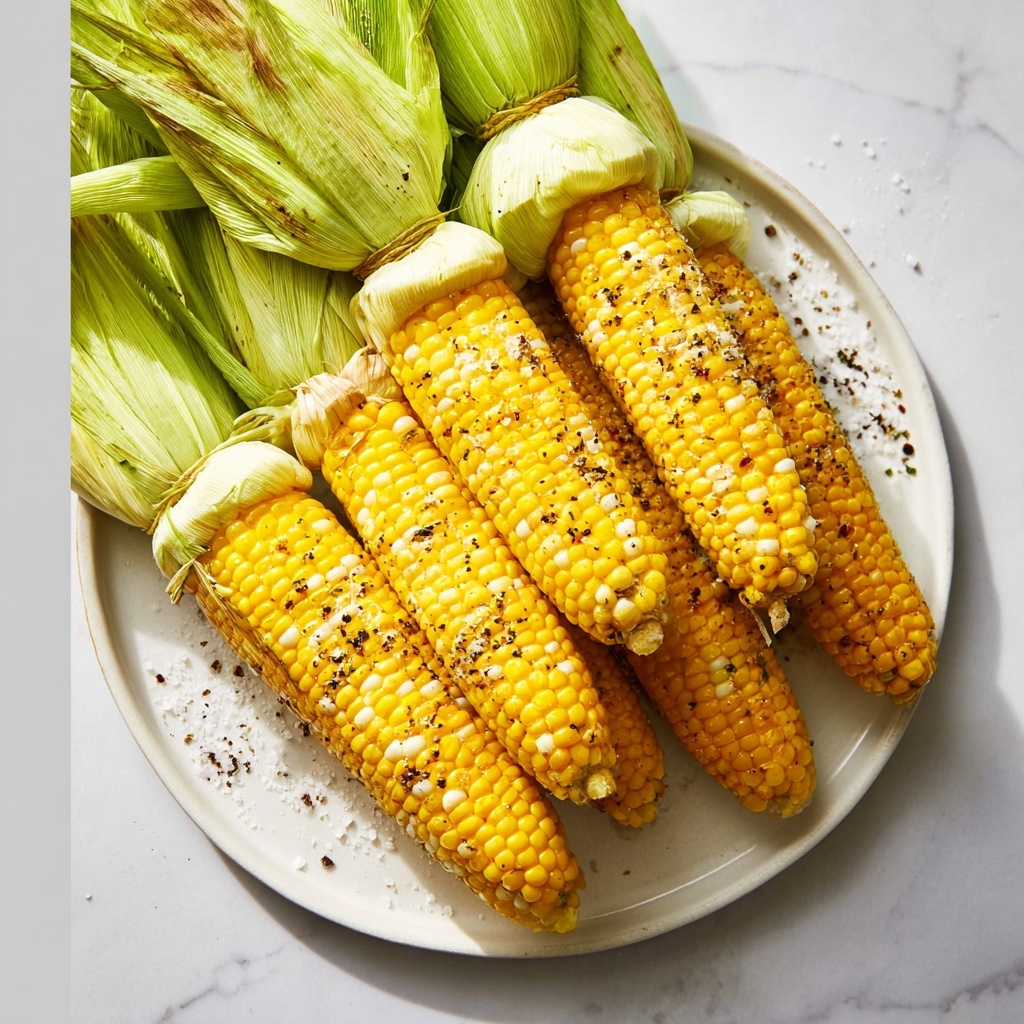
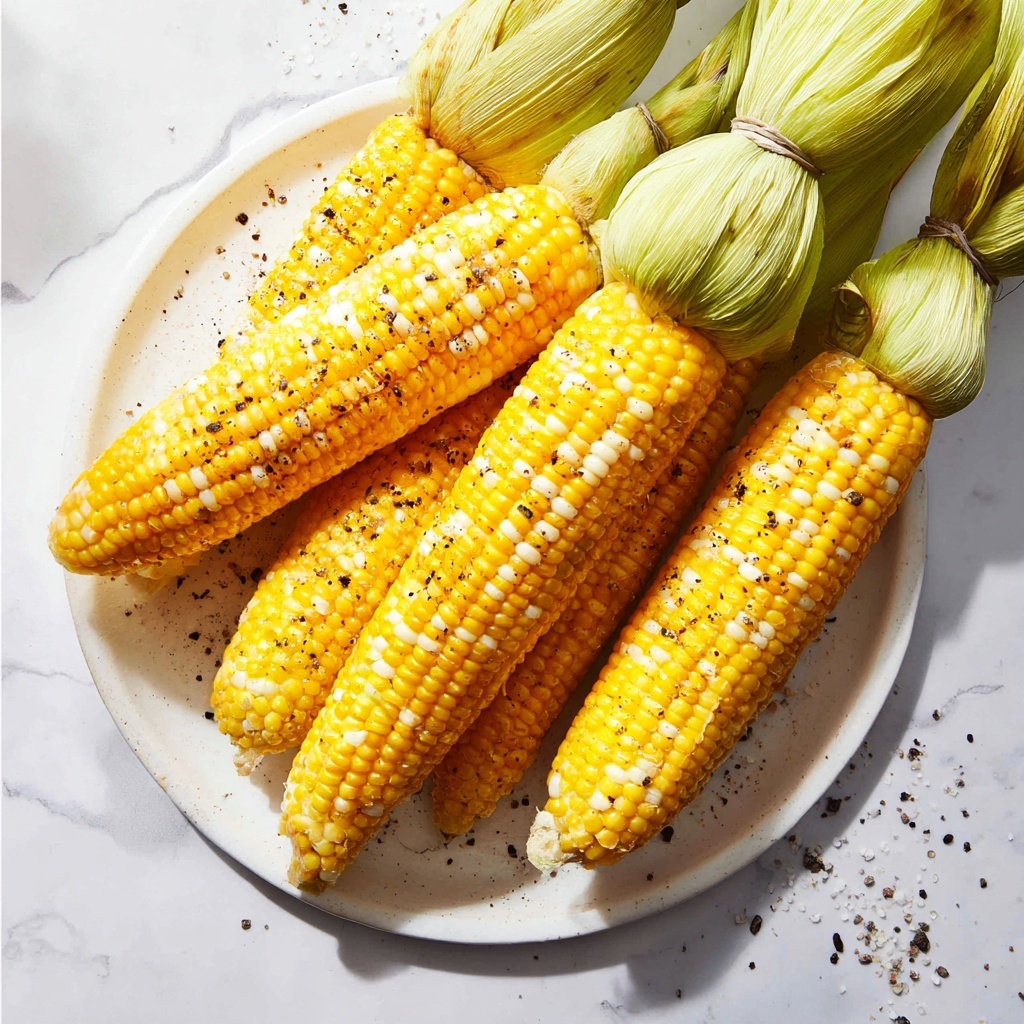
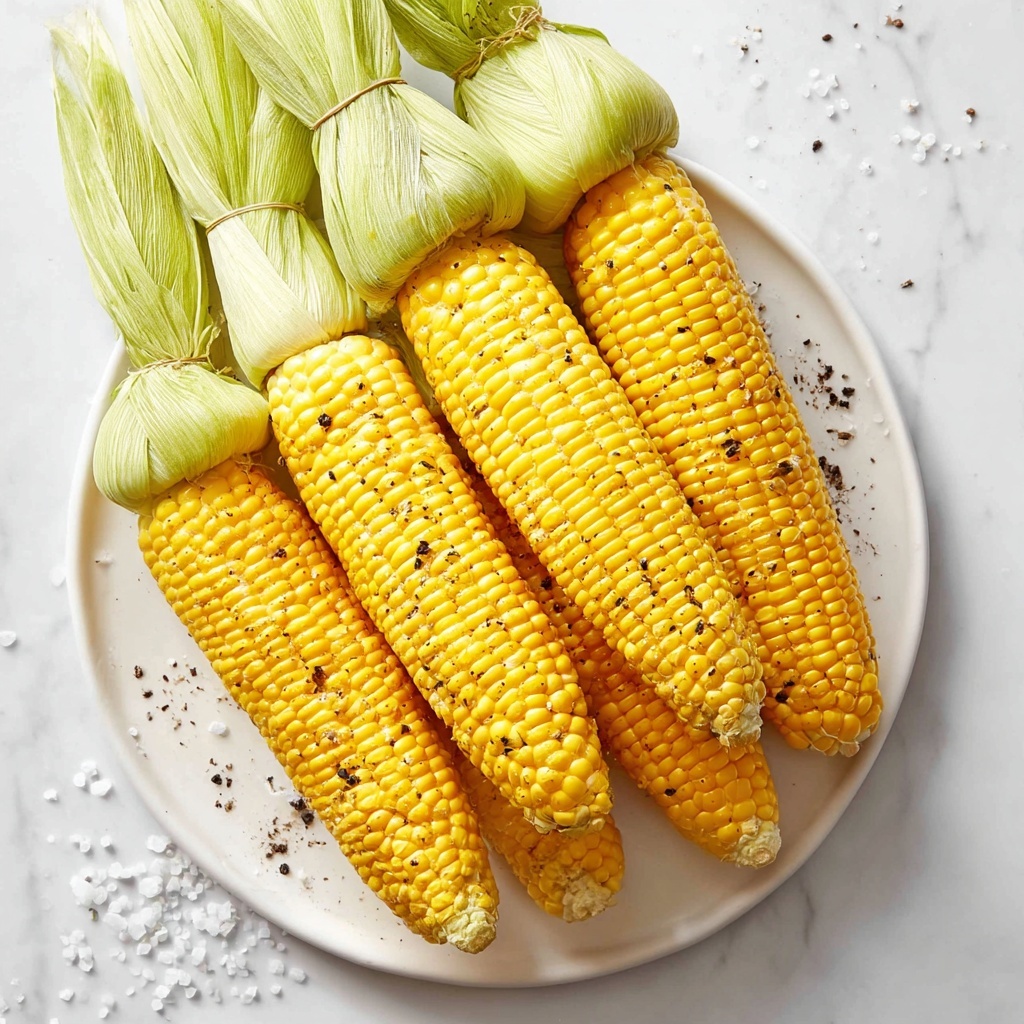
Step 4: Ready to Serve
Place the cooked corn on a serving plate, husks still tied back for a rustic charm and easy handling. The color should be vibrant, and the kernels juicy enough to burst beautifully with each bite.
Step 5: Butter and Season (Optional but Recommended)
If you love buttered corn on the cob, here is a neat trick: butter a slice of bread generously, then rub the hot ear of corn across the buttered bread. This helps coat each kernel evenly without burning your fingers. Finish with a sprinkle of salt and pepper to bring out all the flavors just right.
How to Serve How to Cook Corn on the Cob Recipe
Garnishes
Nothing elevates corn on the cob more than thoughtful garnishes. Sprinkle fresh chopped herbs like parsley or cilantro for a bright, herbal note. A dash of smoked paprika or chili powder can introduce a smoky kick that pairs wonderfully with the natural sweetness. Or for a fun twist, try a squeeze of lime and a sprinkle of cotija cheese for a Mexican street corn vibe.
Side Dishes
This dish pairs beautifully with almost anything. Think creamy coleslaw for contrast in texture, fresh tomato salad for acidity, or grilled chicken for a wholesome summer meal. Corn’s versatility makes it a perfect sidekick to lighter proteins and fresh salads.
Creative Ways to Present
Impress guests by serving the corn with the husks tied back as rustic handles, or slice boiled cobs into smaller segments and sprinkle them into summer salads or salsas. You can even make mini corn “kebabs” by cutting kernels off the cob and threading them with veggies on skewers for a fun finger food. Presentation can be simple and charming or wildly inventive depending on your mood!
Make Ahead and Storage
Storing Leftovers
If you’re lucky enough to have leftovers, store them in an airtight container in the refrigerator within two hours of cooking. The corn stays best when eaten within 1 to 2 days, retaining most of its sweetness and texture.
Freezing
Freezing cooked corn on the cob is possible but best done with kernels removed from the cob. Cut off the kernels, blanch in boiling water for about 4 minutes, then cool and freeze in airtight bags. This method preserves flavor far better than freezing whole cobs after cooking.
Reheating
To reheat corn on the cob, the best technique is to wrap the ears in a damp paper towel and microwave for about 30 seconds to 1 minute. Alternatively, gently heat over simmering water or on the grill just until warmed through to avoid drying out the kernels.
FAQs
Can I use frozen corn on the cob for this recipe?
Frozen corn on the cob is convenient but usually benefits from longer cooking times than this quick boil. Fresh corn is best for this recipe because it cooks quickly and retains sweetness and crunch.
Why add sugar to the boiling water?
Adding sugar to the water enhances the natural sweetness of the corn without making it taste sugary. This little extra step amplifies the flavor perfectly.
Is it necessary to keep the husks on while boiling?
Keeping the husks tied back but attached protects the kernels during boiling, preventing them from drying out and helping steam the corn evenly. It also adds a rustic, effortless look for serving.
Can I grill instead of boiling?
Absolutely! Grilling corn is another fantastic way to cook it, adding smoky flavor and a nice char. However, this recipe focuses on boiling to highlight sweet, tender corn without the smoky notes.
How do I prevent the corn from becoming mushy?
The key is timing—boiling for just one minute keeps the kernels tender-crisp and full of juice rather than soft and mushy.
Final Thoughts
I hope you’re as excited as I am to try this foolproof How to Cook Corn on the Cob Recipe that celebrates the natural sweetness and joy of fresh corn. It’s quick, simple, and endlessly satisfying—perfect for any meal or gathering. Once you master this technique, you’ll wonder why you ever complicated a dish that tastes this good with so little fuss. Grab some fresh ears, follow these steps, and let the corn magic happen!