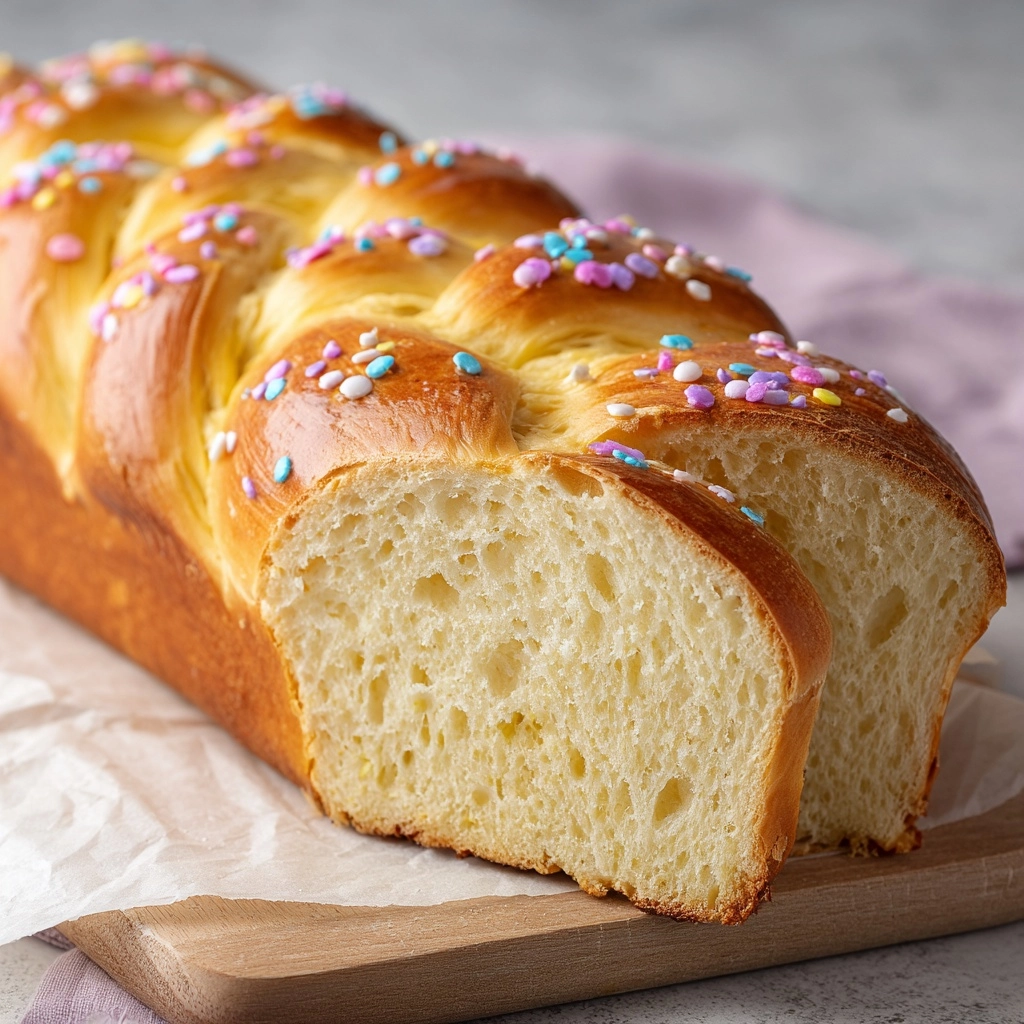
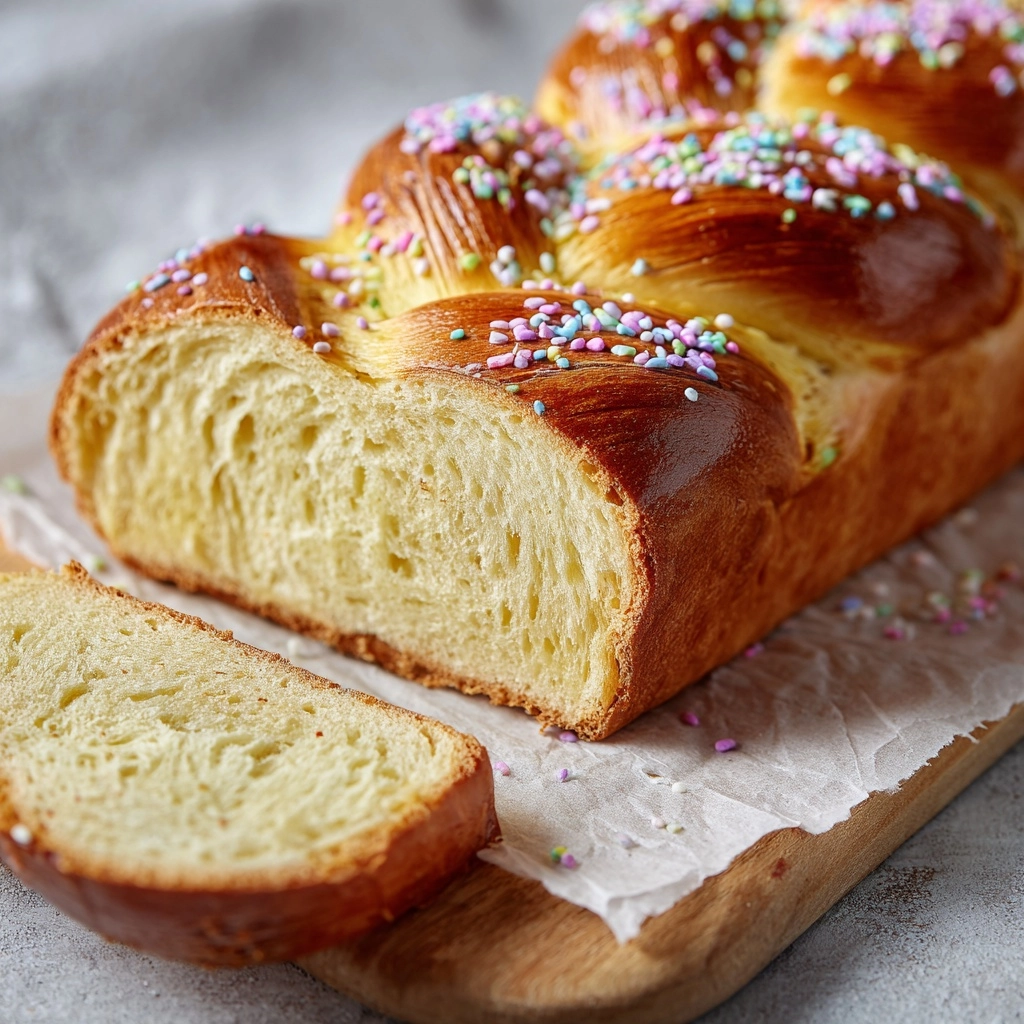
If your ideal holiday morning starts with a sweet, tender loaf of festive bread that’s as stunning as it is delicious, then Italian Ricotta Easter Bread is about to become your new springtime tradition. This classic treat is beloved for its beautiful braided shape, bursts of citrusy lemon zest, gentle richness from ricotta, and that irresistible crunch of colored sprinkles on top. Whether you’re celebrating Easter or simply want to bring a bit of Italian bakery charm to your table, Italian Ricotta Easter Bread has everything you need for show-stopping, crowd-pleasing bliss.
Ingredients You’ll Need
The beauty of Italian Ricotta Easter Bread lies in its simple yet purposeful ingredients—each adds something essential, from the creamy crumb to the vibrant finish. Fresh, flavorful pantry staples work their magic here to create true bakery-style perfection at home.
- All-purpose flour: The sturdy backbone for both structure and softness in the bread’s crumb.
- Baking powder: Adds a gentle lift, ensuring the loaf bakes up light and airy.
- Baking soda: Teams up with baking powder to create even more tender texture.
- Salt: Just enough to sharpen all the sweet and savory flavors.
- Granulated sugar: Sweetens the dough for that classic dessert-bread appeal.
- Unsalted butter (softened): Lends rich flavor and irresistible moisture to every bite.
- Whole milk ricotta cheese: The secret to an exceptionally plush, delicate crumb—it makes the bread almost cake-like.
- Large eggs: Bind the dough, add richness, and help create the beautiful golden color.
- Vanilla extract: For that warm, welcoming aroma and flavor that always says “home.”
- Almond extract (optional): Just a dash brings a subtle, nutty complexity—highly recommended if you love almond sweets.
- Zest of 1 lemon: Brightens every bite and lifts this bread to truly festive territory.
- Milk (for brushing): Gives the crust a lovely sheen and helps the sprinkles stick.
- Colored sprinkles for decorating: Adds cheerful pops of color and crunchy sweetness that make this loaf unmistakably celebratory.
How to Make Italian Ricotta Easter Bread
Step 1: Prepare Your Ingredients and Oven
Start by setting the tone for your bake—preheat your oven to 350°F (175°C) and line a baking sheet with parchment paper for easy clean-up and a crisp bottom crust. As you measure and lay out your ingredients, let your butter come to room temperature; soft butter will cream perfectly and ensure your Italian Ricotta Easter Bread turns out light and tender.
Step 2: Mix the Dry Ingredients
In a medium bowl, whisk together the all-purpose flour, baking powder, baking soda, and salt. Taking a moment to combine these ensures even distribution, so your bread rises evenly with no surprises. Plus, pre-mixing avoids overworking the dough later—key for maximum softness!
Step 3: Cream the Butter and Sugar
Grab a large mixing bowl and beat together the softened butter and granulated sugar. Creaming them until the mixture is pale and fluffy introduces air, setting the stage for that melt-in-your-mouth crumb Italian Ricotta Easter Bread is famous for. This step makes all the difference!
Step 4: Incorporate the Ricotta and Eggs
Add the whole milk ricotta cheese right into your creamed butter-sugar mixture and mix until smooth. Next, beat in the eggs one at a time, ensuring each is fully blended before adding the next. This slow, steady layering transforms your base into a rich and silky batter.
Step 5: Add Flavorings and Zest
Stir in the vanilla extract, almond extract (if using), and that gorgeous fresh lemon zest. These flavors perfectly complement the ricotta and make your kitchen smell out-of-this-world. This is the fragrant heart of Italian Ricotta Easter Bread!
Step 6: Combine Wet and Dry Mixtures
Gradually add the dry ingredients to your wet mixture, stirring gently to form a soft, slightly sticky dough. Be careful not to overmix—you want all the ingredients just combined so your bread stays airy and delicate.
Step 7: Shape and Braid the Dough
Divide your dough into 3 equal portions. On a lightly floured surface, roll each into an 18-inch rope. Lay the ropes side by side and braid them gently—a rustic braid is perfect. Form the braid into a ring and pinch the ends together to seal. This festive shape is a hallmark of Italian Ricotta Easter Bread.
Step 8: Decorate and Bake
Place your braided ring onto the prepared baking sheet. Brush the top with milk to encourage even browning, then scatter with colored sprinkles—make it as vibrant as your holiday spirit! Bake for 25 to 30 minutes, or until the loaf is golden brown and your kitchen smells utterly magical.
Step 9: Cool and Slice
Let the baked bread cool completely on a wire rack. This rest helps set the crumb so it slices beautifully. Once cooled, cut generous slices and marvel at your homemade Italian Ricotta Easter Bread masterpiece!
How to Serve Italian Ricotta Easter Bread
Garnishes
To make your Italian Ricotta Easter Bread truly festive, garnish it with extra sprinkles just before serving or add a light dusting of powdered sugar for an elegant finishing touch. If you’re celebrating Easter, you can place a few dyed eggs in the center of the bread ring for a traditional and colorful display.
Side Dishes
This bread loves company! Serve slices alongside fresh fruit salad, creamy mascarpone, or a platter of cured meats and cheeses for a balanced and bountiful brunch spread. A mug of espresso or cappuccino pairs beautifully with the tender crumb and citrus notes of Italian Ricotta Easter Bread.
Creative Ways to Present
For a joyful holiday centerpiece, place your Italian Ricotta Easter Bread on a large platter and surround it with spring blooms or edible flowers. You can also slice and arrange it on a tiered cake stand for extra drama, or wrap it in colorful cellophane as a heartfelt homemade gift.
Make Ahead and Storage
Storing Leftovers
Wrap any leftover Italian Ricotta Easter Bread tightly in plastic wrap or store in an airtight container at room temperature. It will stay moist and delicious for up to three days, making it perfect for snacking or breakfast all week.
Freezing
To freeze, let the bread cool completely, then wrap individual slices or the whole loaf in plastic wrap followed by a layer of foil. Tuck it in the freezer for up to two months. Thaw overnight at room temperature for fresh-from-the-oven flavor whenever you crave a slice.
Reheating
Gently warm individual slices in the microwave for 10–15 seconds or reheat in a 300°F oven for a few minutes. This revives the bread’s tender crumb and enhances its sweet, buttery aroma—your kitchen will smell just as inviting as when you first baked it!
FAQs
Can I make Italian Ricotta Easter Bread without almond extract?
Absolutely! The almond extract adds a delicious depth of flavor, but your bread will still be delightful with just vanilla and lemon zest if you prefer or need to keep it nut-free.
Why is ricotta cheese used in this bread?
Ricotta gives the loaf an incredibly moist and tender crumb, making each slice softer and more luxurious than standard sweet bread. It also adds a subtle richness that’s simply irresistible.
Can I braid the bread differently or make smaller loaves?
Definitely! Feel free to create smaller braided rings, individual knots, or even a simple three-strand braid without forming a ring. Adjust the bake time as needed—smaller loaves may bake a bit faster.
Can I use part-skim ricotta instead of whole milk ricotta?
You can, but whole milk ricotta produces a richer, softer bread. If you use part-skim ricotta, your loaf will still be tasty, but the texture might be slightly less plush.
Is Italian Ricotta Easter Bread only for Easter?
Not at all! While it’s a classic for Easter, this bread brings sunshine to any spring gathering, brunch, or family celebration. Its festive look and irresistible flavor are welcome any time of year.
Final Thoughts
Baking Italian Ricotta Easter Bread is more than just making dessert—it’s embracing tradition, celebration, and a bit of Italian magic right in your kitchen. I hope you feel inspired to treat yourself and your loved ones to a loaf that’s as joyful as it is delicious. Give it a try, and let the sweet memories (and scents!) fill your home.