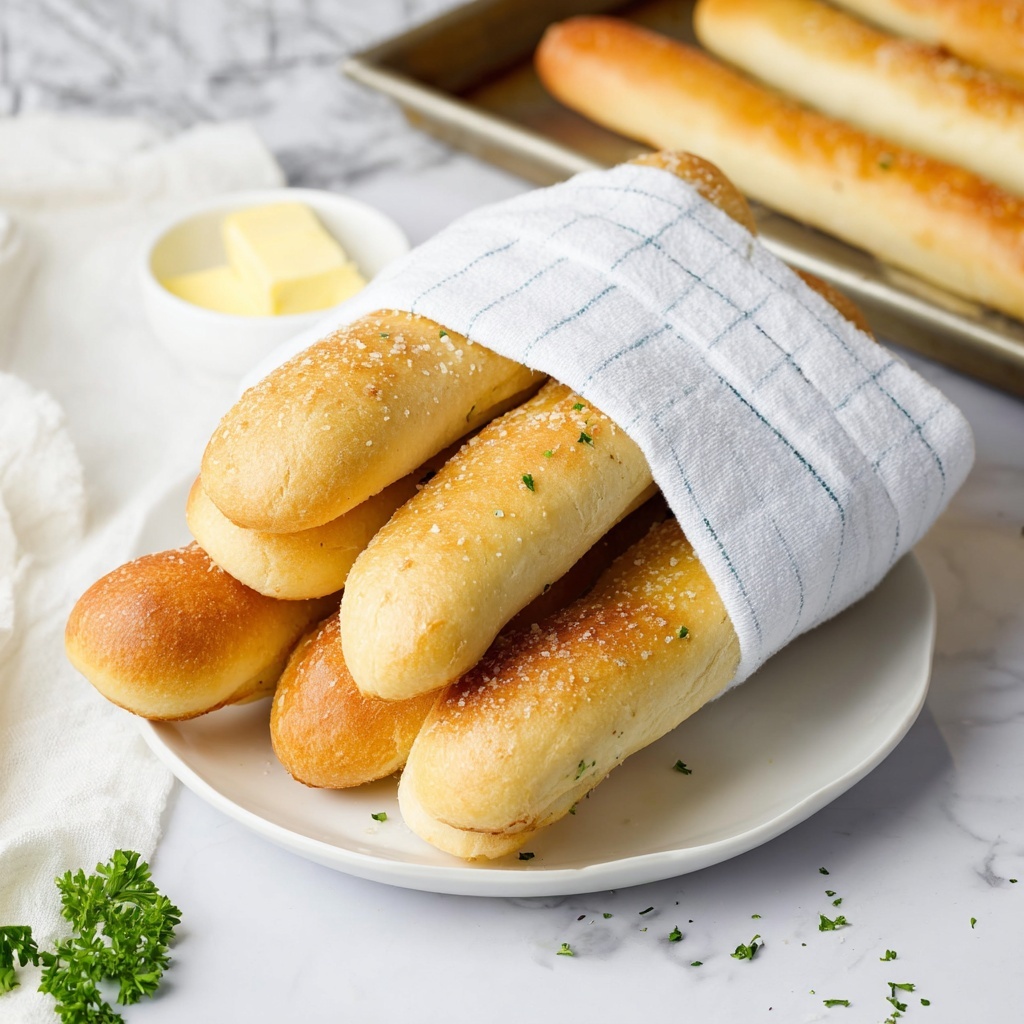
If you have ever found yourself dreaming about those warm, soft, and buttery treats served at your favorite Italian restaurant, then you are going to love this Olive Garden Breadsticks Recipe. These breadsticks are soft on the inside, slightly crispy on the outside, and bursting with buttery garlic flavor. Making them at home is surprisingly straightforward, and each bite delivers that iconic Olive Garden charm that makes these breadsticks so irresistible. Whether you’re planning a cozy family dinner or want an easy appetizer to impress your guests, this recipe will soon become one of your go-to favorites.
Ingredients You’ll Need
Creating the perfect Olive Garden Breadsticks Recipe starts with simple, essential ingredients that work together to create a soft, flavorful dough that bakes to golden perfection. Each ingredient plays a key role — from the yeast that makes the dough rise, to the garlic salt that brings in that signature savory note.
- 1 cup warm water: This activates the yeast and helps bring the dough together.
- 1 Tbsp active dry yeast: The magic ingredient responsible for that airy, soft texture.
- 2 tbsp sugar: Feeds the yeast and adds a subtle sweetness.
- 1 tsp salt: Balances the flavors and enhances the bread’s overall taste.
- 3 tbsp vegetable oil: Keeps the dough tender and moist.
- 2 1/2 cups all-purpose flour: The foundation of your breadsticks, forming the dough.
- 2 tbsp butter melted: Brushed on top for that irresistible golden finish and rich flavor.
- 1/2 tsp garlic salt (with parsley flakes): Adds the classic savory seasoning with a hint of herb freshness.
How to Make Olive Garden Breadsticks Recipe
Step 1: Activate the Yeast
Start by dissolving the active dry yeast and sugar in warm water. This step is crucial, as the yeast needs to become foamy to ensure your breadsticks will rise properly. Give it about 5 to 10 minutes, and watch as it bubbles up—this means your yeast is alive and kicking.
Step 2: Mix the Dough
Next, add the salt, vegetable oil, and two cups of the flour into the yeast mixture. Stir everything together until combined. Gradually add the remaining flour, about a quarter cup at a time, until the dough pulls away from the sides of the bowl but feels soft and just slightly sticky. This balance keeps the breadsticks tender without being too dense.
Step 3: Knead to Perfection
Turn the dough out onto a floured surface and knead until it becomes smooth and elastic. If it’s too sticky, sprinkle on a bit more flour as you go. After kneading, place the dough in a lightly greased bowl, cover it, and let it rise for at least 30 minutes in a warm spot until it doubles in size. This rest allows the breadsticks to develop that pillowy texture you crave.
Step 4: Shape the Breadsticks
Once risen, gently punch down the dough to release the air. Divide it into 12 equal portions. Roll each piece into a 9-inch rope — this part is fun because you get to really feel the soft dough come to life! Place your ropes on a parchment-lined baking sheet, giving them space to expand.
Step 5: Second Rise
Cover your shaped breadsticks with a clean towel and let them rise again for 20 to 30 minutes. This extra rise enhances the fluffiness and prepares them for baking.
Step 6: Bake to Golden Brown
During the last 10 minutes of the second rise, preheat your oven to 400°F. Bake your breadsticks for 15 to 17 minutes or until they achieve a beautiful golden brown color. The smell that fills your kitchen at this point is absolutely heavenly.
Step 7: Butter and Season
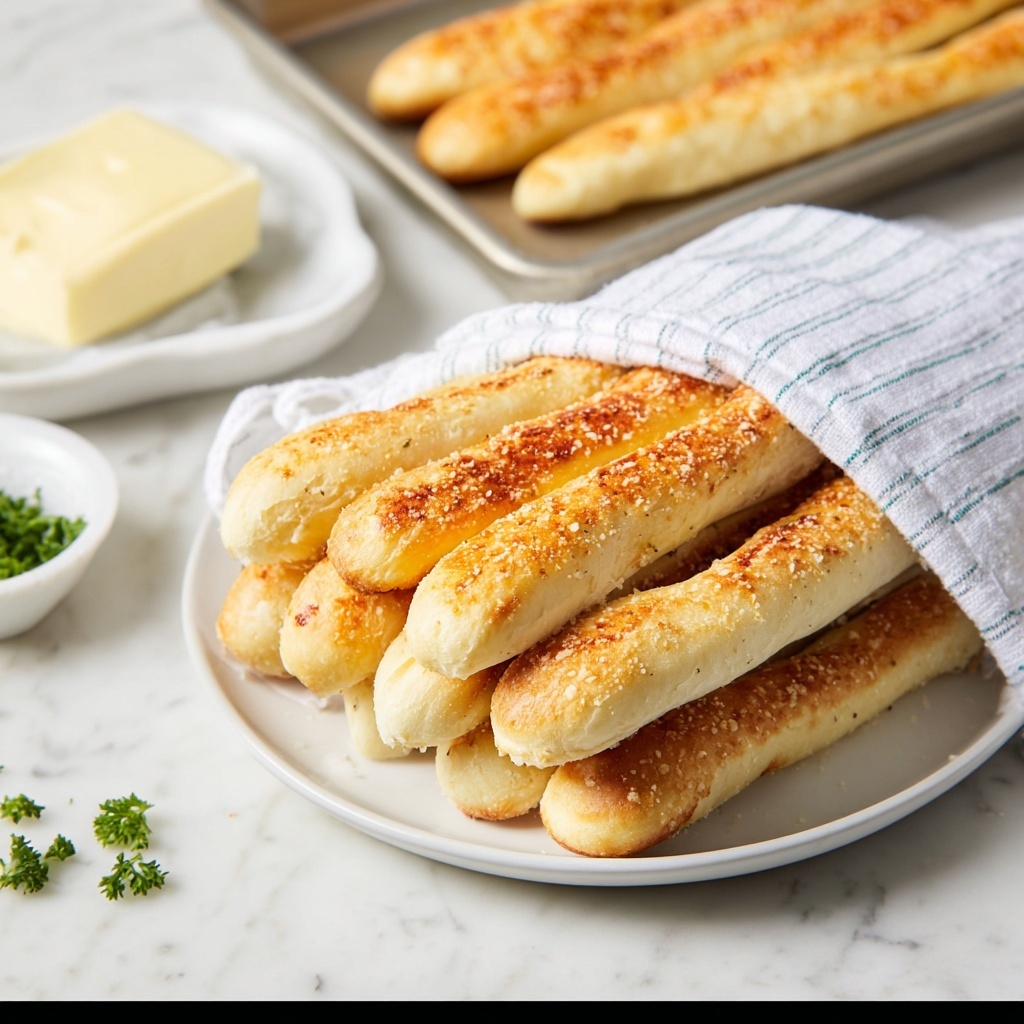
The final touch is brushing the warm breadsticks with melted butter and sprinkling them generously with garlic salt infused with parsley flakes. This finishing step locks in flavor and gives your breadsticks that unforgettable Olive Garden taste that keeps everyone reaching for more.
How to Serve Olive Garden Breadsticks Recipe

Garnishes
While the garlic salt and parsley flakes are the classic favorites, feel free to add a sprinkle of freshly grated Parmesan cheese or a dusting of Italian seasoning to give them a personal twist. These small garnishes elevate the flavor and add a pretty touch.
Side Dishes
Olive Garden Breadsticks Recipe pairs beautifully with soups like creamy tomato basil or hearty minestrone. They also shine alongside a fresh garden salad or pasta dishes with marinara or Alfredo sauce, making every meal feel like an authentic Italian feast.
Creative Ways to Present
Try serving your breadsticks in a rustic basket lined with a colorful napkin or standing them upright in a tall glass alongside a bowl of garlic-infused dipping oil or marinara sauce. This makes for a charming appetizer that looks as good as it tastes.
Make Ahead and Storage
Storing Leftovers
If you end up with any leftovers (though that’s rare!), store your breadsticks in an airtight container or wrapped tightly with foil at room temperature. They stay fresh for up to two days, ready to be enjoyed warm or at room temperature.
Freezing
You can freeze unbaked dough ropes by laying them out on a baking sheet until firm, then transferring them to a freezer bag. When you’re ready, thaw overnight in the fridge, allow them to rise and bake as usual. Alternatively, freeze baked breadsticks wrapped in foil for up to two months.
Reheating
To bring your breadsticks back to life, pop them into the oven at 350°F for 5 to 7 minutes. If you want to refresh that buttery garlic flavor, brush them with a bit of melted butter and garlic salt right after reheating, and enjoy them as if freshly baked.
FAQs
Can I use instant yeast instead of active dry yeast?
Absolutely! If using instant yeast, you can mix it directly with the flour without dissolving it first in water. Just be sure to adjust rising times as instant yeast tends to act faster.
How do I make the breadsticks more fluffy?
Ensure your dough rises properly—both the first and second rise are key. Also, don’t add too much flour when kneading; the dough should be soft and slightly sticky to keep that tender crumb.
Can I make these breadsticks gluten-free?
While this recipe is designed for all-purpose flour, you can experiment with gluten-free flour blends that are suitable for bread baking. Keep in mind texture and rise might vary, so additional binding agents may be needed.
What if I don’t have garlic salt with parsley flakes?
No worries! You can make your own by combining garlic powder, salt, and dried parsley flakes. This way, you control the flavors and freshness to your liking.
Is it necessary to use melted butter after baking?
It’s highly recommended because the butter adds moisture and richness while helping the garlic salt stick to the breadsticks. If you want a lower-fat option, you can skip it, but it won’t have quite the same signature finish.
Final Thoughts
Once you try this Olive Garden Breadsticks Recipe, you might just toss aside store-bought breadsticks forever. It’s an easy, comforting treat that fills your kitchen with amazing aromas and fills your plate with that soft, buttery goodness you love. Gather your ingredients, roll up your sleeves, and get ready to impress everyone at your table with these beautifully homemade breadsticks. Happy baking!