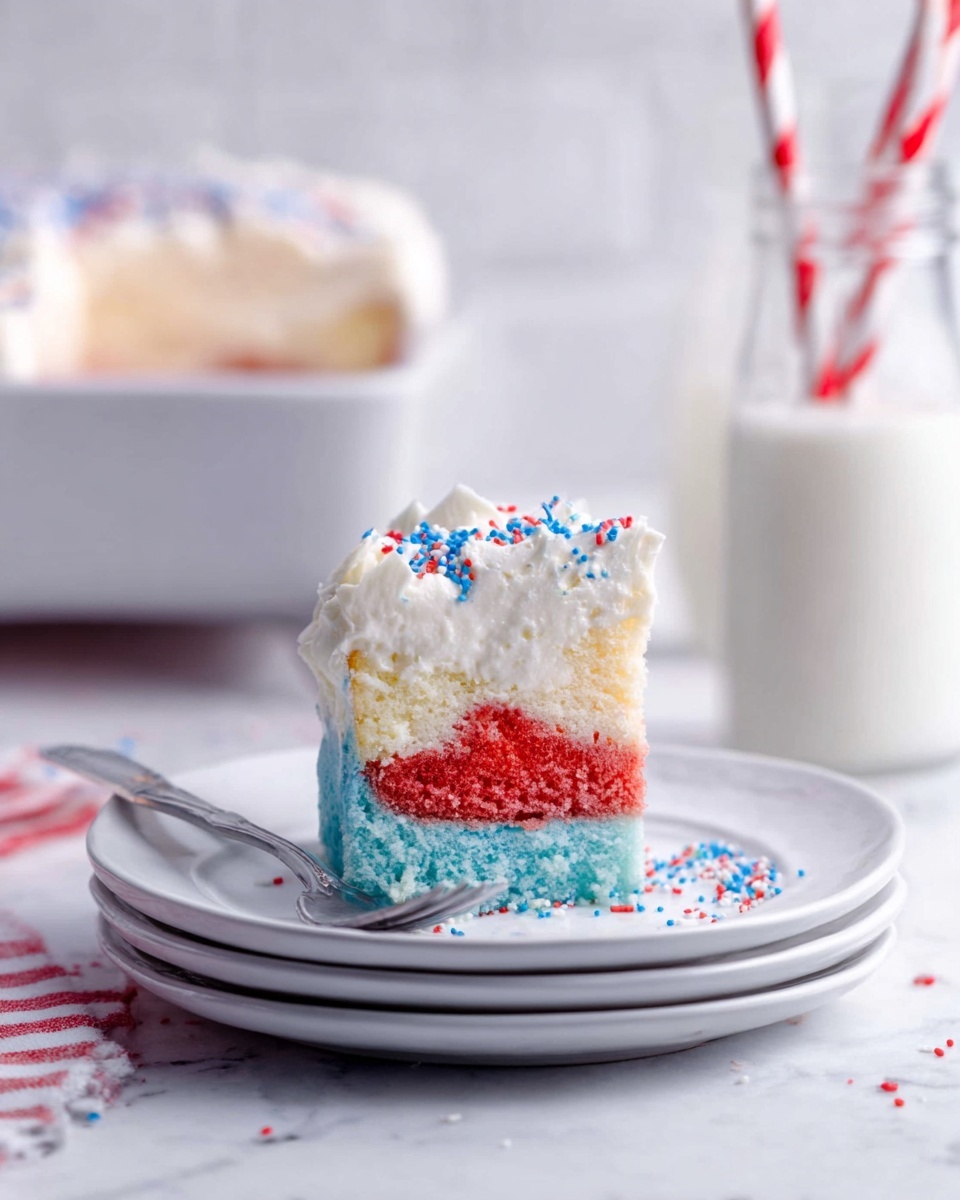
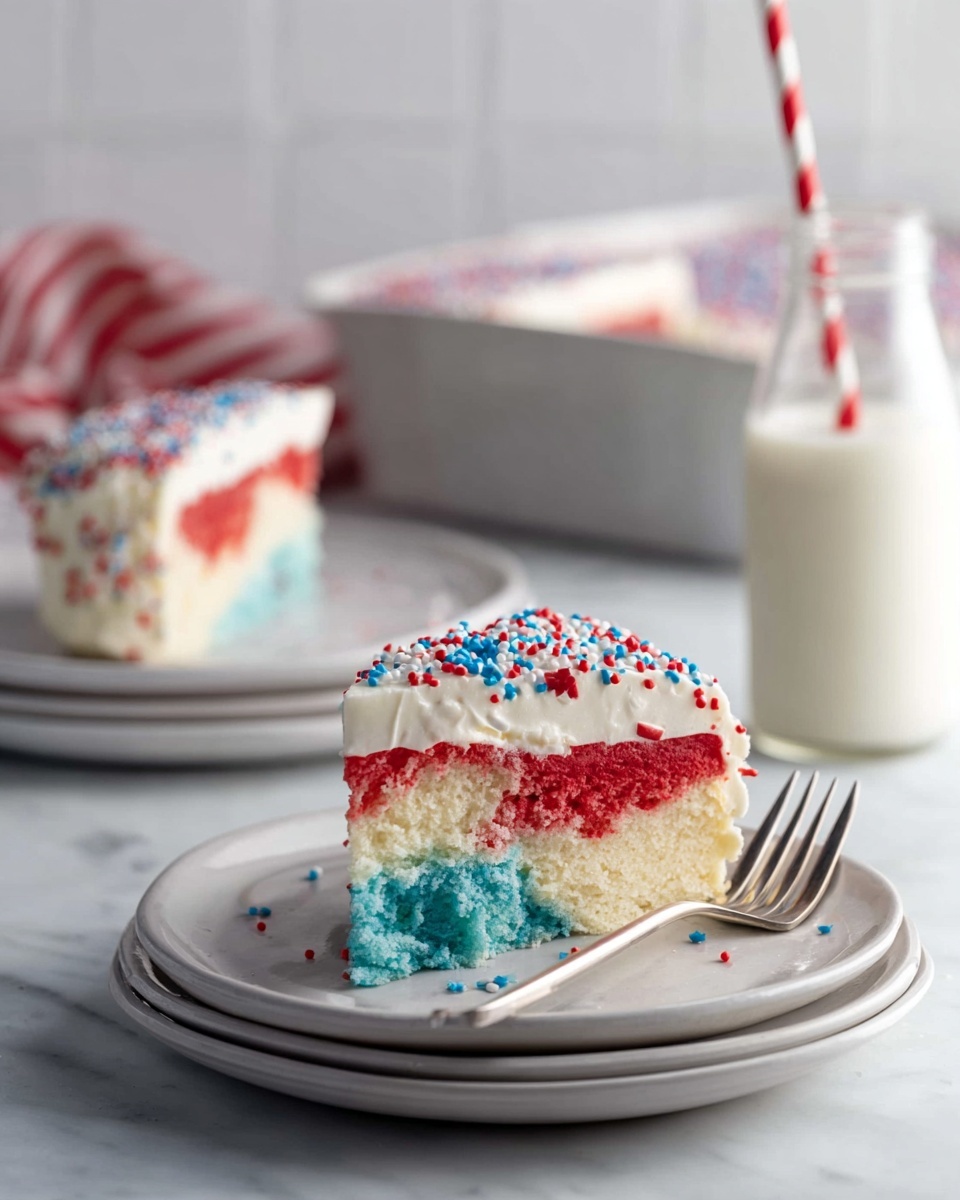
If you’re craving a stunning dessert that brings festive cheer and delicious flavor to any gathering, this Red White and Blue Layered Cake Recipe is your new best friend. With its vibrant colors and creamy whipped topping, it’s not just a treat for your taste buds but also a feast for the eyes. Whether it’s a holiday celebration, a birthday bash, or just a fun way to brighten up your dessert table, this layered cake combines simple ingredients with an easy technique to create show-stopping results that everyone will love.
Ingredients You’ll Need
Every ingredient in this recipe plays an essential role, from creating moist, colorful layers to achieving that fluffy, luscious whipped cream topping. These simple staples come together to build texture, flavor, and the patriotic charm that makes this dessert unforgettable.
- 1 box white cake mix: The base of the cake provides a soft and tender crumb, perfect for coloring and layering.
- 3.4 oz package white chocolate pudding mix: Adds delightful white chocolate richness and moistness to the cake batter and whipped cream.
- 2 tablespoons reserved pudding mix: Set aside to enhance the whipped cream topping with subtle sweetness and texture.
- 1 ¼ cups water: Hydrates the cake mix to create a smooth, pliable batter.
- ½ cup vegetable oil: Keeps the cake moist and tender without overpowering the delicate flavors.
- 4 large eggs: Provide structure and richness to the cake layers.
- 1 ¼ teaspoon red gel food coloring: Intensely vibrant for that perfect red layer.
- 1 teaspoon blue gel food coloring: Adds a beautiful, rich blue hue that stands out.
- 2 cups heavy whipping cream: Whipped to fluffy perfection to create the light and creamy frosting.
- Red, white, and blue sprinkles (optional): Give your finished cake an extra dash of festive sparkle.
How to Make Red White and Blue Layered Cake Recipe
Step 1: Prepare the Cake Batter and Divide
Start by mixing the white cake mix, the white chocolate pudding mix (reserve 2 tablespoons for later), water, vegetable oil, and eggs together until you have a smooth, lump-free batter. This mixture is the foundation, so take your time to get it just right. Once combined, divide the batter evenly into three separate bowls—this sets you up to create those iconic red, white, and blue layers.
Step 2: Add Colors to Two Portions of Batter
Gently stir red gel food color into one bowl and blue gel food color into the other. The third bowl will remain the pristine white layer, which naturally complements the other two. Remember, gel food coloring offers the richest hues without thinning the batter, ensuring your layers bake up perfectly moist and vividly colored.
Step 3: Bake Each Layer Separately
Pour each colored batter into separate greased or parchment-lined cake pans. Bake them according to your cake mix’s instructions—usually around 30 to 35 minutes—until a toothpick inserted in the center comes out clean. Let the cakes cool completely on wire racks; patience here pays off with clean, firm layers perfect for stacking.
Step 4: Whip the Cream and Fold in Pudding Mix
While the cakes cool, whip the heavy cream using an electric mixer until it just starts to thicken. Sprinkle in the reserved 2 tablespoons of pudding mix and continue whipping until stiff peaks form. This luscious, white chocolate whipped cream will serve as the frosting that ties the layers together beautifully.
Step 5: Assemble the Cake
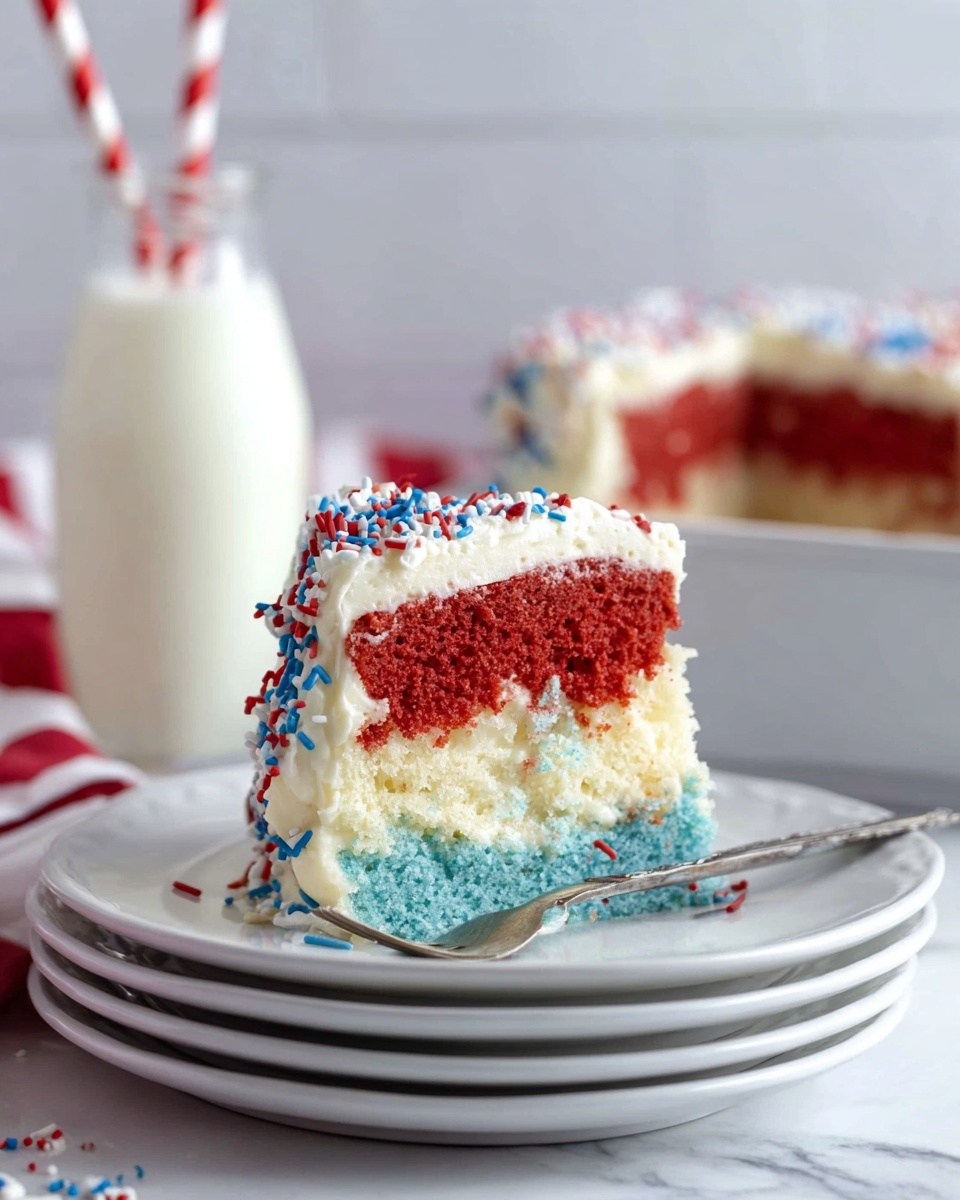
Place the blue layer on your cake stand or serving plate first. Spread a generous layer of whipped cream on top. Next, add the white layer and repeat the process with more whipped cream. Finally, place the red layer on top and coat the entire cake with the remaining whipped cream. Smooth out the frosting or get creative with decorative swirls.
Step 6: Add Final Touches
Finish by sprinkling red, white, and blue sprinkles around the edges and on top for an extra pop of color and sparkle. Chill the cake for at least an hour to let the flavors meld and the whipped cream set firmly before serving.
How to Serve Red White and Blue Layered Cake Recipe
Garnishes
Enhance your Red White and Blue Layered Cake Recipe with thoughtful garnishes that brighten each slice. Fresh berries like strawberries, blueberries, and raspberries add natural sweetness and texture alongside the colorful layers. You can also add a few mint leaves for a refreshing contrast that looks as lovely as it tastes.
Side Dishes
This cake pairs wonderfully with light, complementary sides like a scoop of vanilla ice cream or a dollop of lemon curd to cut through the richness. Fresh fruit salads or sparkling beverages such as lemonade or a crisp rosé can help balance the cake’s sweetness and create a festive spread.
Creative Ways to Present
For an eye-catching centerpiece, serve the slices on patriotic-themed plates or atop a decorative cake stand. Try layering individual servings in clear cups for a casual party setup, perfect for mingling guests. Alternatively, decorate each slice with mini American flags or edible glitter for a bit of extra fun.
Make Ahead and Storage
Storing Leftovers
Keep your leftover slices fresh by covering them tightly with plastic wrap or storing in an airtight container in the refrigerator. The whipped cream topping is delicate and best enjoyed within 2 to 3 days to maintain its fluffy texture and prevent the cake from drying out.
Freezing
Want to save your Red White and Blue Layered Cake Recipe for later? You can freeze individual slices wrapped well in plastic wrap and foil, protecting them from freezer burn. Frozen, they will hold up for about 1 month. Thaw overnight in the fridge for best results before serving.
Reheating
This cake is best enjoyed chilled, so reheating isn’t necessary or recommended. Instead, allow frozen slices to thaw slowly in the refrigerator. This way, your whipped cream remains fresh and the flavors stay vibrant and delightful with every bite.
FAQs
Can I use homemade cake instead of cake mix?
Absolutely! If you prefer baking your cake from scratch, a simple white cake recipe works brilliantly. Just make sure the batter is thick enough to hold the gel colors well and bake the layers evenly for that iconic Red White and Blue appearance.
Is there a substitute for white chocolate pudding mix?
You can omit the white chocolate pudding mix and substitute with vanilla pudding mix or even instant vanilla custard powder. The pudding enhances moistness and adds flavor but isn’t essential if you want to keep the recipe simpler.
Can I make this cake vegan or dairy-free?
To customize this Red White and Blue Layered Cake Recipe for a vegan or dairy-free diet, consider using plant-based cake mixes, dairy-free whipped cream alternatives, and egg substitutes. Keep in mind this might alter the texture slightly but can still yield a deliciously festive cake.
How do I get such vibrant red and blue colors?
Gel food coloring is your secret weapon here! It produces bold, bright colors without thinning out the batter, unlike liquid food coloring, which can sometimes dilute the texture. Use a little at a time and build up the color to your preferred intensity.
Can I bake the layers in one pan and slice them?
Baking layers separately is best for even cooking and clean colors. However, you can bake a thicker cake and slice it into three layers with a serrated knife or cake leveler. Just be sure to cool the cake completely for easy slicing and neat layers.
Final Thoughts
This Red White and Blue Layered Cake Recipe is a celebration in every sense—simple to make, visually stunning, and deliciously rewarding. It’s perfect for making memories with family and friends around any patriotic occasion or summer get-together. Go ahead, give it a try and let those gorgeous layers steal the show on your dessert table!