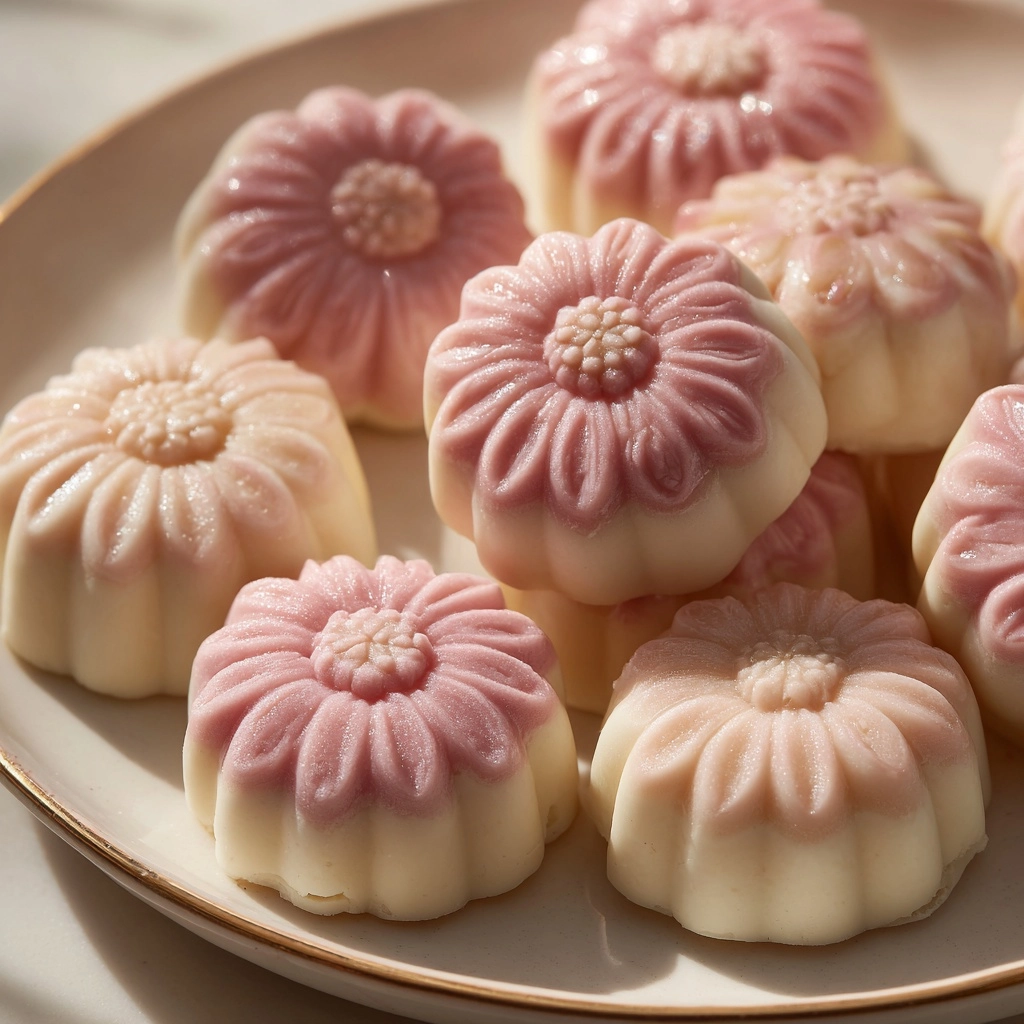
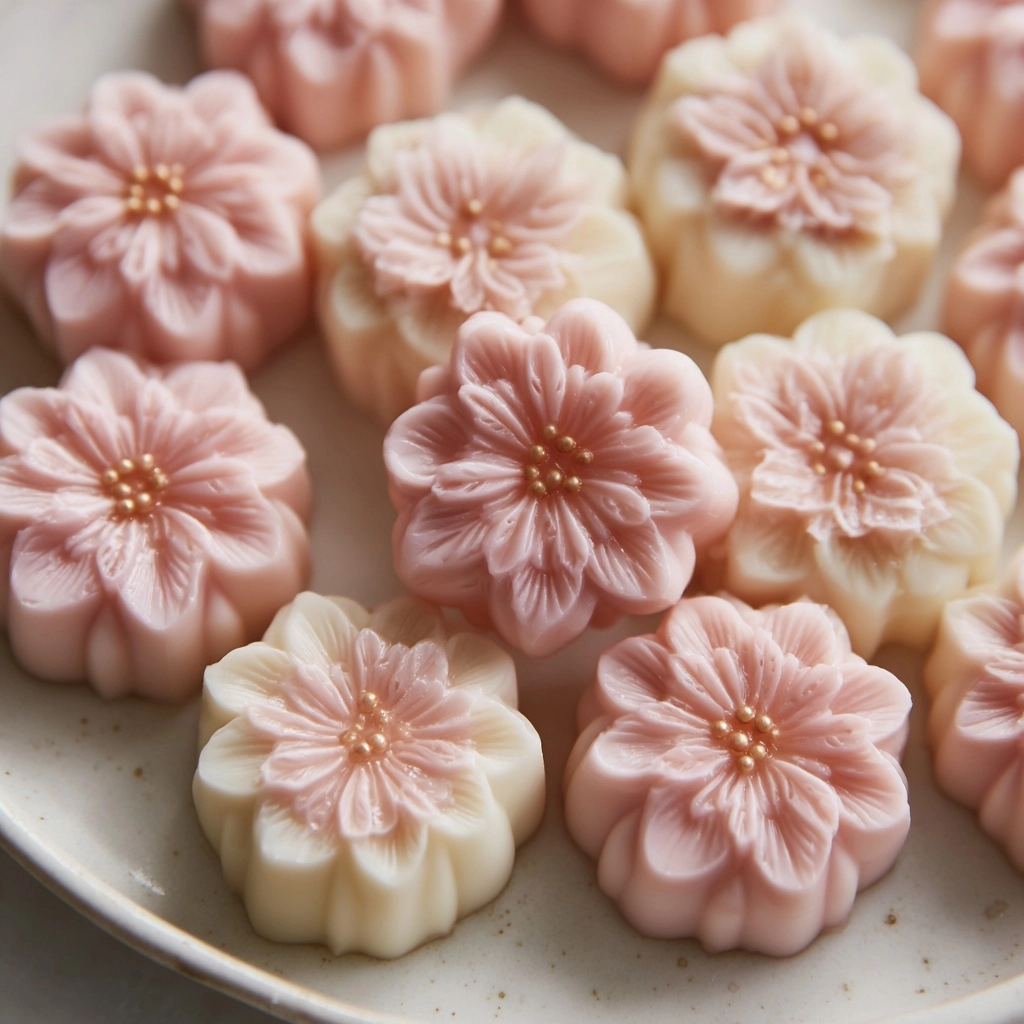
Experience the enchanting tradition of Snow Skin Mooncakes right at home! These delicate, no-bake mooncakes are a beloved treat during the Mid-Autumn Festival, featuring a luxuriously soft and chewy “snow skin” wrapped around your favorite sweet fillings. Unlike their baked counterparts, Snow Skin Mooncakes are refreshingly chilled, beautifully customizable with different colors and flavors, and just as fun to make as they are to eat. If you’ve always dreamed of making these iconic, mochi-like gems from scratch, you’re in for a delightful experience.
Ingredients You’ll Need
Gathering the simple yet essential ingredients for Snow Skin Mooncakes is half the pleasure! Each component serves an important role, whether it’s giving that signature chewy bite, a hint of creaminess, or a burst of color and flavor. Let’s break down the lineup before you start mixing and molding.
- Glutinous rice flour: Soft and stretchy, this is the secret behind that irresistibly chewy snow skin—make sure you have extra for dusting!
- Rice flour: Adds lightness to the dough, helping balance the mochi-like texture so every bite melts in your mouth.
- Wheat starch or cornstarch: Essential for a smooth, translucent finish—cornstarch works in a pinch if you can’t find wheat starch.
- Powdered sugar: Gently sweetens the dough and dissolves easily, keeping the skin tender and smooth.
- Whole milk: Brings moisture and a touch of richness to the dough, resulting in that signature soft bite.
- Sweetened condensed milk: Adds creaminess and a sweet boost that deepens the flavor profile.
- Vegetable oil: Keeps the dough pliable and glossy, making it easy to knead and shape.
- Filling of choice: Red bean, lotus seed, or custard are classic; each one brings its own personality—choose your favorite or mix and match!
- Optional food coloring or flavoring extract: For playful, pastel colors or subtle flavors—think matcha, berry, or rose water to make your mooncakes pop.
How to Make Snow Skin Mooncakes
Step 1: Sift and Mix the Dry Ingredients
Start by adding the glutinous rice flour, rice flour, wheat starch (or cornstarch), and powdered sugar into a large mixing bowl. Using a fine sieve, sift everything together thoroughly—this not only ensures a lump-free snow skin but also makes it incredibly soft. Don’t rush this step; a perfectly mixed flour base is the key to flawless mooncakes!
Step 2: Combine the Wet Ingredients
In a separate bowl, whisk together the whole milk, sweetened condensed milk, and vegetable oil. The combination of creaminess from the milk and silky richness from the oil is what gives Snow Skin Mooncakes their signature, pillowy mouthfeel.
Step 3: Make the Batter
Gradually pour the wet mixture into your bowl of dry ingredients, whisking as you go. The batter should become silky and smooth, free of lumps. For the smoothest texture, strain the batter through a fine sieve before proceeding. This extra step is worth it—trust me!
Step 4: Steam the Dough
Pour the strained batter into a heatproof dish or shallow pan and cover with foil or a plate to prevent water droplets from dripping in. Steam over medium heat for about 25 minutes or until the dough sets into a soft, opaque mass. The aroma at this stage is heavenly—a sneak peek at the deliciousness to come.
Step 5: Knead the Dough
Allow the steamed dough to cool just enough that it’s comfortable to handle (wear gloves to protect your hands—the dough stays warm!). Transfer the dough onto a clean surface dusted lightly with glutinous rice flour. Knead gently until it’s smooth, elastic, and no longer sticky. Handle with care—a gentle touch yields the softest mooncakes.
Step 6: Portion and Wrap the Filling
Divide your dough into equal portions, depending on the size of your mooncake mold. Flatten each piece into a small disc, place a generous spoonful of your favorite filling in the center, then gather and pinch the edges to seal. Roll gently in your palms to create a neat ball—this process is surprisingly soothing!
Step 7: Shape and Mold
Lightly dust your mooncake mold with glutinous rice flour to prevent sticking, then press a filled dough ball into the mold. Give it a gentle but firm squeeze, then invert and release. Voilà—you’ve created the iconic look of Snow Skin Mooncakes! Repeat with the remaining dough and filling.
Step 8: Chill and Serve
Place your finished mooncakes on a tray, cover, and let them chill in the refrigerator for at least 2 hours. This step is essential, as it sets the delicate skin and enhances the refreshingly cool texture that makes Snow Skin Mooncakes so special.
How to Serve Snow Skin Mooncakes

Garnishes
A light dusting of glutinous rice flour just before serving keeps the mooncakes from sticking together and adds a pretty, snowy finish. For a little flair, you can also top them with edible flowers, gold leaf, or a sprinkle of tea powder to match the filling flavor—it’s all about that wow factor!
Side Dishes
A cup of lightly brewed jasmine or oolong tea pairs beautifully with Snow Skin Mooncakes, enhancing their delicate flavors. For an even more festive spread, include bowls of fresh fruit or a simple Asian fruit salad—these sides balance the sweetness of the mooncakes perfectly and make your gathering feel elegant and complete.
Creative Ways to Present
Arrange your vibrant Snow Skin Mooncakes on a bamboo tray, nestled in cupcake liners of different colors, or stack them in decorative gift boxes for a personal touch. Try mixing natural food colorings into your dough to create a rainbow selection, or cut the mooncakes into halves or quarters for an eye-catching display of their beautiful fillings.
Make Ahead and Storage
Storing Leftovers
Store Snow Skin Mooncakes in an airtight container in the refrigerator for up to 3 days. Place parchment or wax paper between layers to keep them from sticking and to preserve their delicate appearance. Enjoy them straight from the fridge for that signature cool, chewy bite.
Freezing
If you’d like to make a big batch ahead of time, wrap each mooncake tightly in plastic wrap and freeze in an airtight container. They’ll keep beautifully for up to one month. When you’re ready to serve, let them thaw in the fridge overnight—they’ll taste just as soft and fresh as the day you made them.
Reheating
Snow Skin Mooncakes are meant to be served chilled, so there’s no need to reheat. In fact, warming them will alter their signature soft, chewy texture. If your mooncakes get a little too firm from the fridge, just give them a few minutes at room temperature before serving for extra tenderness.
FAQs
Can I use different fillings for Snow Skin Mooncakes?
Absolutely! Classic options like lotus seed paste and red bean are timeless, but you can get creative with matcha, chocolate, custard, or fruit pastes. Try making a mixed platter for a beautiful and flavorful variety.
Why is my snow skin dough sticky or hard to handle?
This often happens if the dough is still warm or hasn’t been dusted with enough glutinous rice flour during kneading and molding. Let it cool down sufficiently and keep your hands and work surface lightly floured for easier shaping.
How do I get vibrant colors in my mooncakes?
Use gel food coloring or natural powders like matcha, beetroot, or butterfly pea flower. Divide your dough and knead in a few drops or a pinch of powder until you achieve the desired hue—just remember a little goes a long way!
What’s the best way to keep the mooncakes from sticking to the mold?
Lightly dusting your mooncake mold with glutinous rice flour before each use works wonders. Tap out any excess so you keep detail in the design without overwhelming the delicate skin.
Are Snow Skin Mooncakes gluten-free?
If you use cornstarch instead of wheat starch and choose glutinous rice flour and rice flour that are certified gluten-free, then yes, these mooncakes can be made entirely gluten-free! Always double-check ingredient labels if allergies are a concern.
Final Thoughts
Snow Skin Mooncakes are truly a labor of love, but one hundred percent worth the effort. They brighten up any celebration, from Mid-Autumn Festival to a cozy afternoon tea. There’s nothing more rewarding than seeing your homemade creations line up in a rainbow of colors and flavors—so don’t hesitate, round up your ingredients and make this special treat for friends and family!