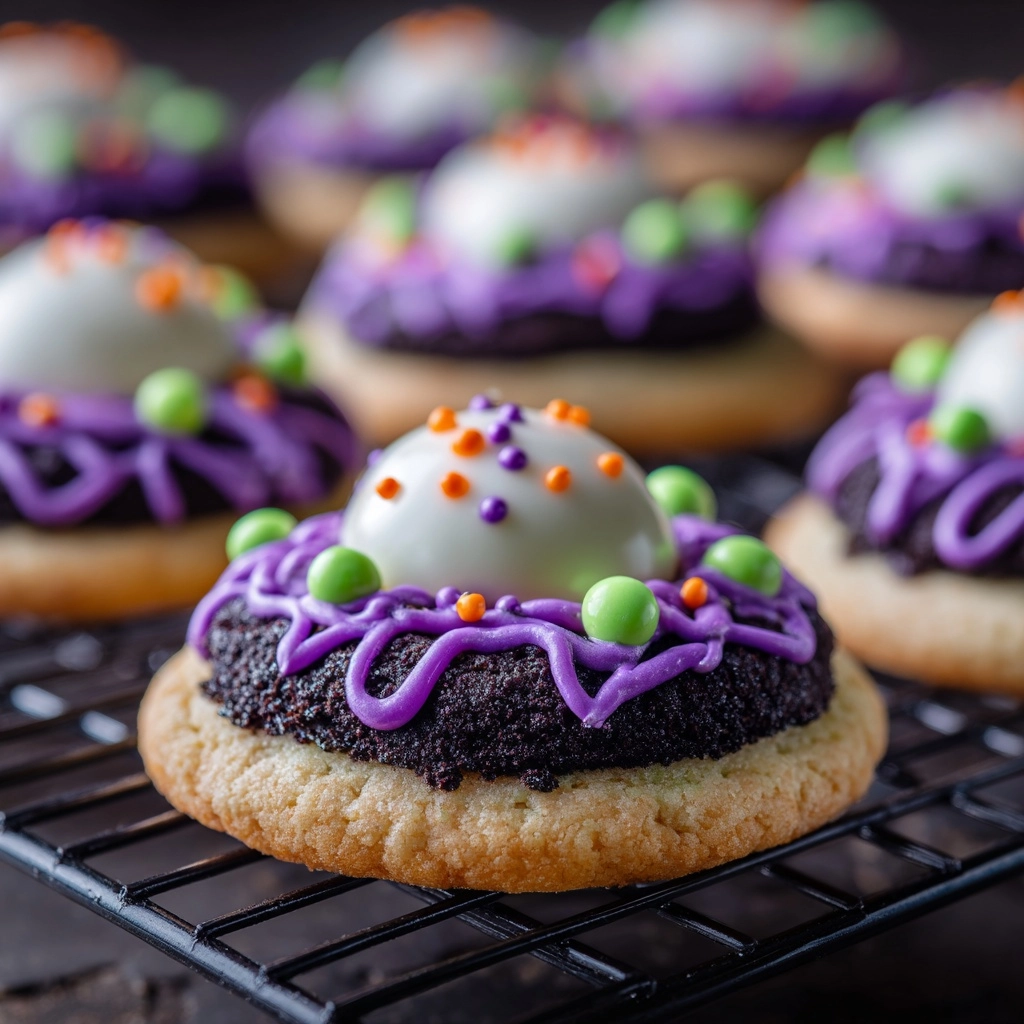
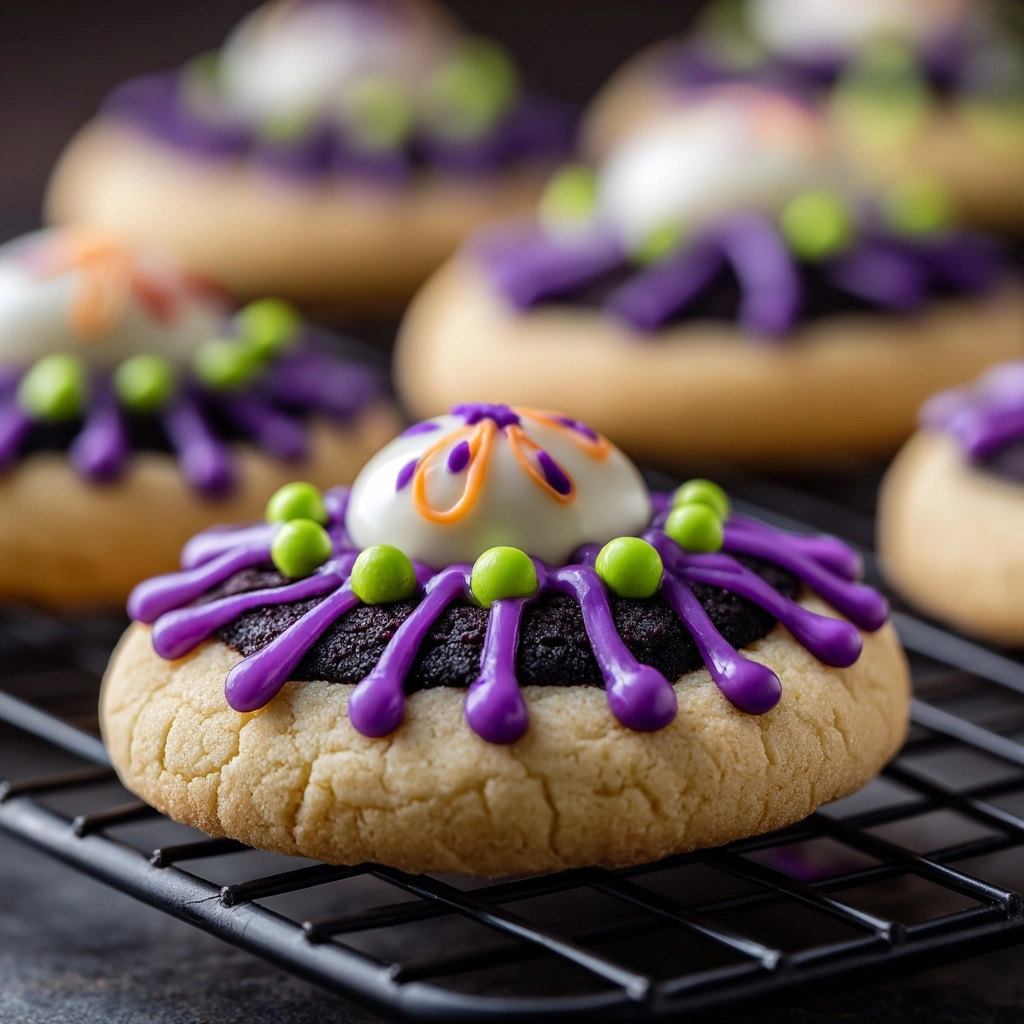
Whipping up Witch Hat Cookies is pure magic for your Halloween festivities—these whimsical little treats combine fudge-striped shortbread cookies, chocolate kisses, and vibrant frosting to create an irresistibly cute cookie that’s equal parts fun and delicious. Whether you’re hosting a spooky bash or just want to surprise your family with a festive snack, Witch Hat Cookies are the delightful, no-bake way to bring a sprinkle of Halloween enchantment to any gathering.
Ingredients You’ll Need
-
Fudge-Striped Shortbread Cookies:
- 1 package fudge-striped shortbread cookies (about 24 cookies)
Chocolate Kiss Candies:
- 24 chocolate kiss candies (unwrapped)
Frosting:
- 1/3 cup vanilla or chocolate frosting (store-bought or homemade)
Optional:
- Orange or purple food coloring
Sprinkles for decoration
How to Make Witch Hat Cookies
Step 1: Prepare the Frosting
If you’re feeling extra festive, start by tinting your frosting with a few drops of orange or purple food coloring. Swirl the color in until you’ve got an even, vibrant shade that will stand out on your cookie base—it’ll make each hat even more spellbinding.
Step 2: Flip the Cookies
Place your fudge-striped cookies upside down on a clean work surface so that the chocolate-covered side is facing up. This way, the smooth, glossy chocolate will peek out from under each finished hat, making them look just like the real thing.
Step 3: Add the Frosting
Using a piping bag, a zip-top bag with the corner snipped, or just a spoon, dollop a small mound of frosting onto the center of each cookie. This sticky little mountain will anchor your chocolate kiss and make sure everything stays in place.
Step 4: Attach the Chocolate Kiss
Now the fun part—press a chocolate kiss candy gently into the frosting on each cookie. You’ll see the hat shape take form immediately. If you’re going for extra flair, swirl a tiny bit more frosting around the base of the kiss for that finished, magical touch.
Step 5: Decorate
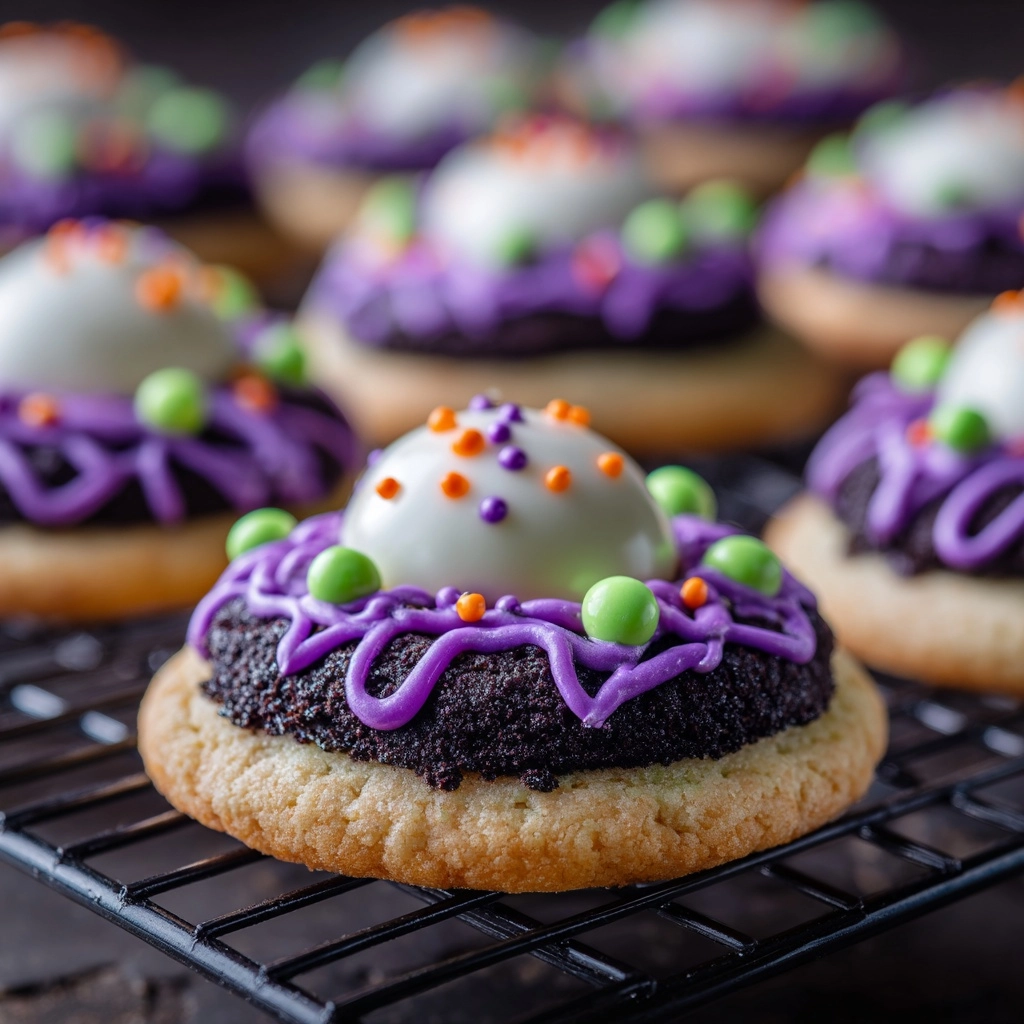
Grab your sprinkles, edible glitter, or any other mini candies you love, and add them around the base of the “hat.” Let your creativity run wild! It’s these finishing details that truly bring your Witch Hat Cookies to life.
Step 6: Let Them Set
Let the cookies sit out at room temperature for about 15 to 20 minutes—just enough time for the frosting to firm up a bit. This will help the hats stay assembled and make them easier to serve and enjoy without any messy mishaps.
How to Serve Witch Hat Cookies
Garnishes
For an extra festive touch, consider adding a sprinkle of edible glitter or a tiny candy “buckle” at the base of each hat. A thin piping of contrasting frosting—think purple lines on orange hats or vice versa—can give each treat a truly haunted finishing detail.
Side Dishes
Pair Witch Hat Cookies with bowls of orange-and-black popcorn, cups of spooky punch, or a platter of fresh fruit cut into crescent moons and stars. These sweet-and-simple snacks create a memorable spread that’s equal parts fun and flavor.
Creative Ways to Present
Arrange the cookies in a circle on a cauldron-shaped tray or scatter them among faux spider webs for a playful Halloween display. Pile them high on a black cake stand, or use cupcake liners for a grab-and-go treat bar—these Witch Hat Cookies look like magical treasures no matter how you show them off!
Make Ahead and Storage
Storing Leftovers
Store leftover Witch Hat Cookies in an airtight container at room temperature for up to 3 days. Make sure the frosting has set completely before stacking to avoid sticking—layer parchment or wax paper in between if needed.
Freezing
If you want to make a batch ahead of your party, you can freeze Witch Hat Cookies! Arrange them in a single layer in a freezer-safe container, using parchment to separate the layers. Thaw at room temperature for about 30 minutes before serving; the taste and texture will be just as enchanting as freshly made.
Reheating
These cookies are at their best served at room temperature and don’t require reheating. If for some reason your cookies are a little chilly from storage, let them sit out for 10-15 minutes before enjoying so the frosting softens just a touch.
FAQs
Can I use a different type Dessert
Absolutely! While fudge-striped shortbread cookies offer the iconic hat-brim look, you can swap them out for any flat round cookie you like. Just make sure it’s sturdy enough to hold the chocolate kiss and frosting.
Is homemade frosting better than store-bought?
Both work wonderfully, so it depends on your mood and how much time you have. Homemade frosting lets you pick your flavors and colors, but store-bought versions are super convenient and just as tasty for Witch Hat Cookies.
Will the colors from food coloring stain hands?
If you use a good gel food coloring and mix it thoroughly into your frosting, staining is minimal. Just be sure to wash hands soon after decorating to keep things mess-free and colorful only where you want!
Can kids help make Witch Hat Cookies?
Yes! This is a fantastic recipe for little helpers. Kids love pressing the kisses onto the cookies and decorating with sprinkles—just be sure to supervise any tiny hands with the piping bag or spoon.
How far in advance can I prepare these cookies?
You can make Witch Hat Cookies up to two days ahead of serving. Just keep them in a cool, dry place and store them in a container with layers of wax paper to keep them picture-perfect until party time.
Final Thoughts
Witch Hat Cookies are as fun to make as they are to eat, and they’re sure to bring bright smiles (and maybe a few giggles) to your Halloween festivities. Gather your ingredients, let your creativity shine, and don’t be surprised if these cookies disappear as soon as you set them out. Give them a try and add a little extra magic to your table this season!

